You are using an out of date browser. It may not display this or other websites correctly.
You should upgrade or use an alternative browser.
You should upgrade or use an alternative browser.
Project Blue Jeep
- Thread starter Snboarder113
- Start date
Snboarder113
Hooked
That was a pile of work. Time for a beer after all of that.
2015 JKUR AEV JK350
1985 CJ8 Scrambler
Yeah. It wasn’t horrible. Just lengthy. I love that little trans jack though.
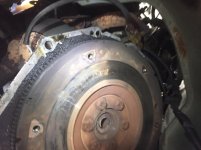
Who knows more about Jeep flywheels than me? I’ve read that it’s concave and that you should not get it machined, is there truth to this? Trying to not have to buy a flywheel if possible. Was told to just scuff it up with emery cloth and run it if there’s no obvious defects, anyone agree with that advice?
I didn’t take a great picture of it to go off but I don’t see anything obvious
Sent from my iPhone using WAYALIFE
Strodinator
Caught the Bug
I've turned many Jeep flywheels, never heard anything about them being concave. I could be wrong but it wouldn't make practical sense to design a concave flywheel.
Sent from my SM-G960W using WAYALIFE mobile app
Yeah. It wasn’t horrible. Just lengthy. I love that little trans jack though.
Who knows more about Jeep flywheels than me? I’ve read that it’s concave and that you should not get it machined, is there truth to this? Trying to not have to buy a flywheel if possible. Was told to just scuff it up with emery cloth and run it if there’s no obvious defects, anyone agree with that advice?
I didn’t take a great picture of it to go off but I don’t see anything obvious
View attachment 347503
Sent from my iPhone using WAYALIFE
Sent from my SM-G960W using WAYALIFE mobile app
Snboarder113
Hooked
I've turned many Jeep flywheels, never heard anything about them being concave. I could be wrong but it wouldn't make practical sense to design a concave flywheel.
Sent from my SM-G960W using WAYALIFE mobile app
Er maybe convex. It’s “dome shaped”
Found this from factory service manual,
“Inspect the flywheel whenever the clutch disc,
cover and housing are removed for service. Check
condition of the flywheel face, hub, ring gear teeth,
and flywheel bolts.
Minor scratches, burrs, or glazing on the flywheel
face can be reduced with 180 grit emery cloth. However,
the flywheel should be replaced if the disc contact
surface is severely scored, heat checked, cracked,
or obviously worn.
Flywheel machining is not recommended. The flywheel
surface is manufactured with a unique contour
that would be negated by machining. However,
cleanup of minor flywheel scoring can be performed
by hand with 180 grit emery, or with surface grinding
equipment. Replace the flywheel if scoring is
deeper than 0.0762 mm (0.003 in.).”
Sent from my iPhone using WAYALIFE
RockinAZJK
Caught the Bug
Back to having a floor. And a frame. And a clutch.
Sent from my iPhone using WAYALIFE
I’d say that’s fair lol
Sent from my iPhone using WAYALIFE
Snboarder113
Hooked
I’d say that’s fair lol
Sent from my iPhone using WAYALIFE
Fun things in the future but that’s on hold til the world returns to normal.
Long arm, about 6” lift, sye, corner armor, build tire carrier, sliders, rock lights, lightbar, lunchbox the 44, gears, etc. The usual TJ build.
Snboarder113
Hooked
Snboarder113
Hooked
Cousin Clyde
Hooked
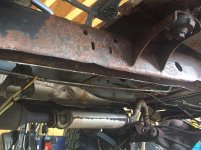
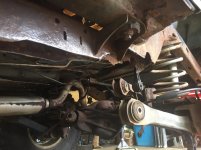
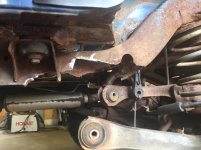
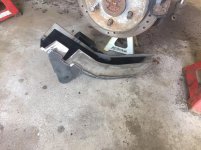
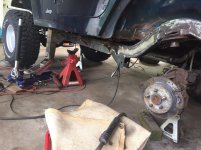
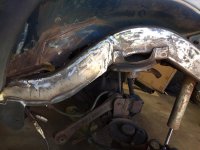
More Today
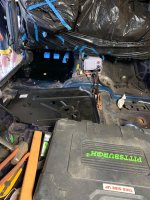
View attachment 347644
View attachment 347645
View attachment 347646
Some welds will need to be ground off and redone. So do me a favor and don’t zoom
Sent from my iPhone using WAYALIFE
You sir, are a gangster.
Tackling that much rust takes massive patience.
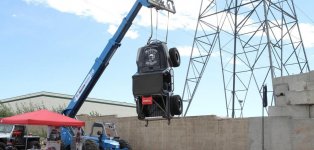
I’m from NY. (Don’t tell anyone). I used to travel around and live in this Chevy 1500 that my band mates and I bought. The frame looked about as rusted as yours so I boxed the whole thing in with angle and plate. Even though rust is a pain, it is so rewarding to conquer. Seeing that big ass van being lifted up by the frame after I fixed it was so satisfying. Keep up the good work.

Sent from my iPhone using WAYALIFE
Snboarder113
Hooked
Cousin Clyde
Hooked
Snboarder113
Hooked
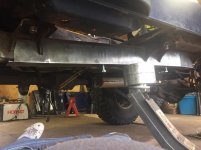
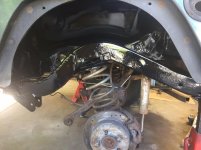
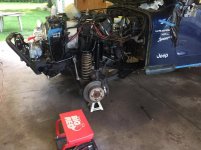
Long day. Got a ton done.
Rusty fender bolts be damned I got that bastard off after 2 hours.
First had to get all the engine bay crap off he inner fender
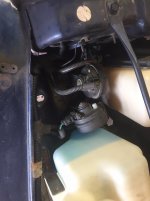
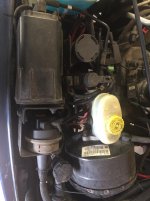
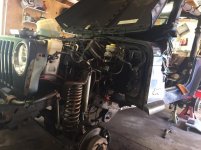
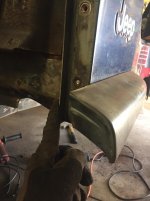
New and old, this and getting the under side of the tub cleaned up took a few hours alone.
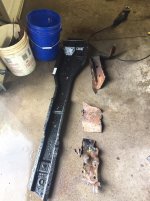
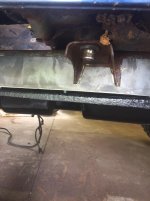
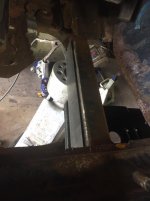
Had to modify the new piece a little as it was the full piece that had all he pinch seams where it’s spot welded and I didi t want to drill through the outside of tub and have to repaint the tub. So I cut and drilled spots to be welded in.
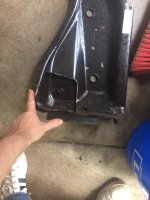
Getting it under the Jeep and on top of the tub mounts took FOREVER tight squeeze because the back body bolt spun so I just left it in, meaning I couldn’t just jack up the whole side of the tub. As well as... there’s no where to jack FROM that wouldn’t crumple the cut up and rusted body. I left the door on and closed for some rigidity.
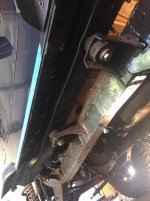
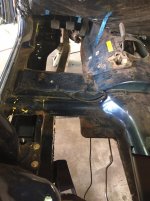
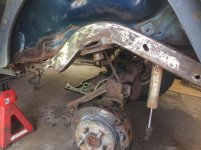
Cleaned and painted the front frame, accidentally oversprayed the shock so punted that too.
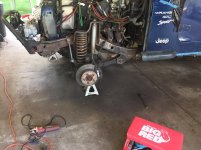
Sent from my iPhone using WAYALIFE
Rusty fender bolts be damned I got that bastard off after 2 hours.
First had to get all the engine bay crap off he inner fender


New and old, this and getting the under side of the tub cleaned up took a few hours alone.

Had to modify the new piece a little as it was the full piece that had all he pinch seams where it’s spot welded and I didi t want to drill through the outside of tub and have to repaint the tub. So I cut and drilled spots to be welded in.

Getting it under the Jeep and on top of the tub mounts took FOREVER tight squeeze because the back body bolt spun so I just left it in, meaning I couldn’t just jack up the whole side of the tub. As well as... there’s no where to jack FROM that wouldn’t crumple the cut up and rusted body. I left the door on and closed for some rigidity.


Cleaned and painted the front frame, accidentally oversprayed the shock so punted that too.


Sent from my iPhone using WAYALIFE
Elroy231
Active Member
Whoa you been busy I see. Coming along good tho! You've got a good place going. Stupid ass rust.
Now that you've got some experience you wanna come a couple hours north? [emoji23]
Sent from my SM-G965U using WAYALIFE mobile app
Now that you've got some experience you wanna come a couple hours north? [emoji23]
Sent from my SM-G965U using WAYALIFE mobile app
Snboarder113
Hooked
Whoa you been busy I see. Coming along good tho! You've got a good place going. Stupid ass rust.
Now that you've got some experience you wanna come a couple hours north? [emoji23]
Sent from my SM-G965U using WAYALIFE mobile app
Oh man. Is your tub rotting too?
Sent from my iPhone using WAYALIFE
Elroy231
Active Member
I probably have a year or so before I'll be doing floor plans. Fronts anyway. When it rains I get setting water in front. Which side gets water depends on the slight lean toward passenger or driver. The usual reasons for the leak are not the cause. I'm gonna find some full doors and see if that helps. I want a set anyway and I think this is ample explanation for my wife as to why I need them.Oh man. Is your tub rotting too?
Sent from my iPhone using WAYALIFE
Sent from my SM-G965U using WAYALIFE mobile app
Snboarder113
Hooked
I probably have a year or so before I'll be doing floor plans. Fronts anyway. When it rains I get setting water in front. Which side gets water depends on the slight lean toward passenger or driver. The usual reasons for the leak are not the cause. I'm gonna find some full doors and see if that helps. I want a set anyway and I think this is ample explanation for my wife as to why I need them.
Sent from my SM-G965U using WAYALIFE mobile app
They have surface rust yet? Clean them up and throw paint at them while you can.
The old one was way worse, I lost most the pictures to photobucket of the rust repairs on this one but I had to cut so much of that tub up it wasn’t even funny.
https://wayalife.com/showthread.php?t=31551
Between the two you should be able to convince her
Sent from my iPhone using WAYALIFE
Elroy231
Active Member
It's a little beyond the surface. Heck it's a 99., i'm sure theres some hidden treasures just waitin to be found.
Sent from my SM-G965U using WAYALIFE mobile app
Sent from my SM-G965U using WAYALIFE mobile app
Snboarder113
Hooked
I had to modify the shit out of this pan. Took forever and I was not happy about it.
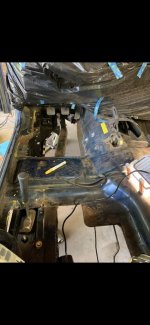
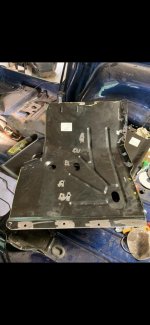
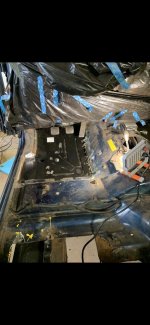
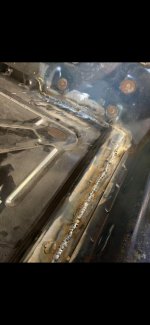
Also seam sealer does not spread easily. Fun fact.
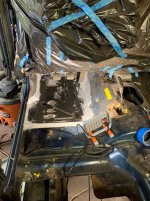
It’ll get painted and I always run with carpet so it’s fine. It could definitely have been done better. But it’s in. It’s secure. And it won’t leak.
Sent from my iPhone using WAYALIFE


Also seam sealer does not spread easily. Fun fact.

It’ll get painted and I always run with carpet so it’s fine. It could definitely have been done better. But it’s in. It’s secure. And it won’t leak.
Sent from my iPhone using WAYALIFE
wjtstudios
Hooked
Such a PITA, but it’s done. Onto to the next project!
2015 JKUR AEV JK350
1985 CJ8 Scrambler
2015 JKUR AEV JK350
1985 CJ8 Scrambler

