Thanks to all for the help
I do know to mark the caps, and them, along with the shims have to go back exactly how they came out.
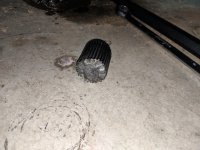
I have worked mostly on Toyotas, and they are easier, since you get the whole chunk up where it is easy to get to. Most had Detroit Lockers or Lock Right, so the broken shaft could be driven out from the other side.
Now I'm learning about all the differences in the Jeep.
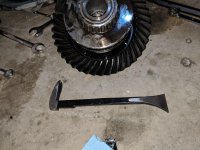
The Jeep has been regeared, 5.13s, and I can see multiple small shims on each side. I am concerned now that once I get them out, I won't be able to get them all crammed back in without a case speader.
I found one on Amazon for $169, but the good ones seem to be around $500, so I am concerned about the cheap one doing the job.
From what I understand, as long as I done mess with the pinion, and put all the shims back as they were that the set up will be the same as it is now. Is that correct?
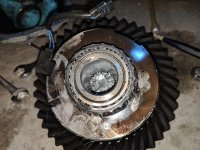
There are no big slivers or flakes in there, but lots of tiny ones. It looks like metal flake paint. Lots of brake clean and rags are in order.
Other than the PITA getting the carrier out and back it is one of the least dramatic issues in my 4 wheeling career.
I will keep you posted on how it goes