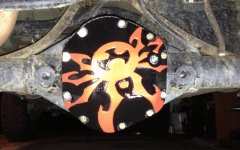
Installing a set of heavy duty replacement differential covers is one of the cheapest modifications you can do to your Jeep that'll help it look cool and give it some extra protection. They are also of the easiest to install and can be done in about 15-30 minutes an axle. This write-up outlines what you'll need to install most aftermarket differential covers as well as show you how to do it. While this write-up is written in regards to a front Dana 44 axle, the process is exactly the same for the rear and even for a Dana 30 or Dana 35. The only thing that is different is the cover being used.
What You Will Need
• 13mm Socket
• 3/8″ Drive Ratchet
• Torque Wrench
• 1/2" or 13mm Socket
• 1/4″ Allen Bit (SOLID covers and the like)
• H14 Hex Bit (SOLID covers and the like)
• 12-Point 5/16" Socket (Dynatrac covers)
• 3″ Ratchet Extension
• Dead Blow Hammer
• Gasket Scraper
• Brake Cleaner
• Oil Catch Pan
• Paper Towels
• 2-Quarts 75W90 Gear Oil or heavier if you tow or have a high gear ratio
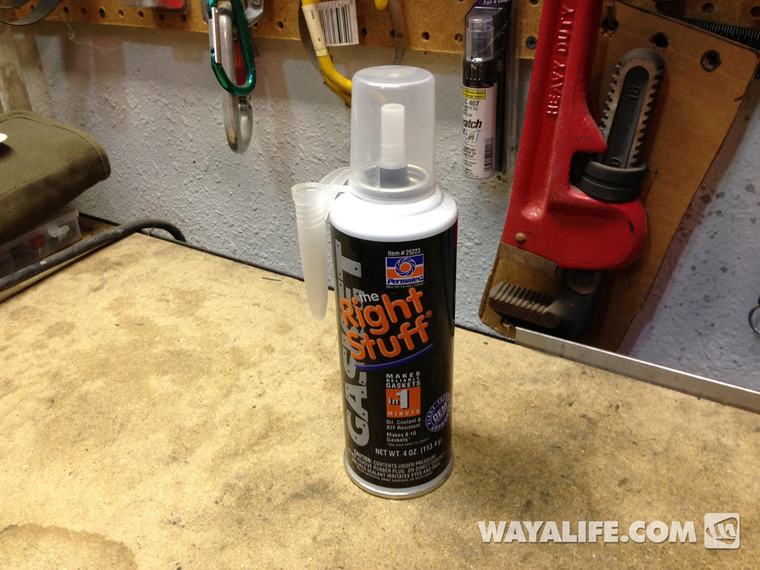
• The Right Stuff RTV by Permatex
Instructions
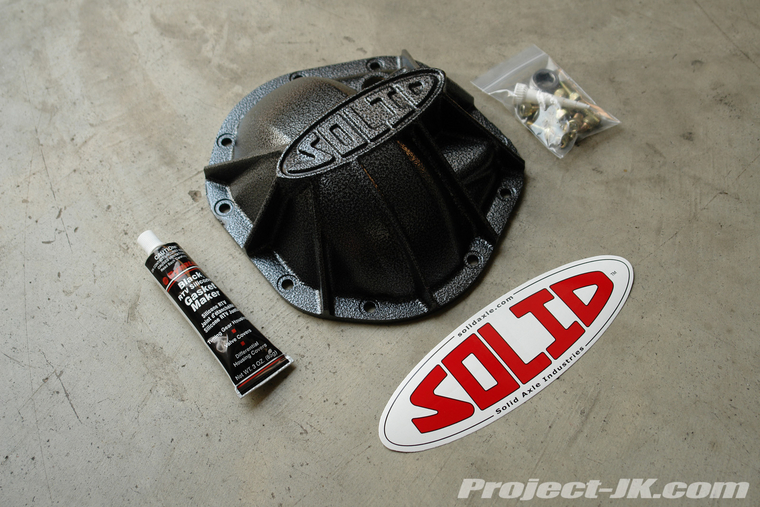
This is a pic of all the things you will get with a SOLID Dana 44 differential cover. Different covers will come with different bolts and even if yours comes with basic RTV, I would highly recommend that you use The Right Stuff by Permatex instead. Make sure that you have everything in the list above before you begin this project.
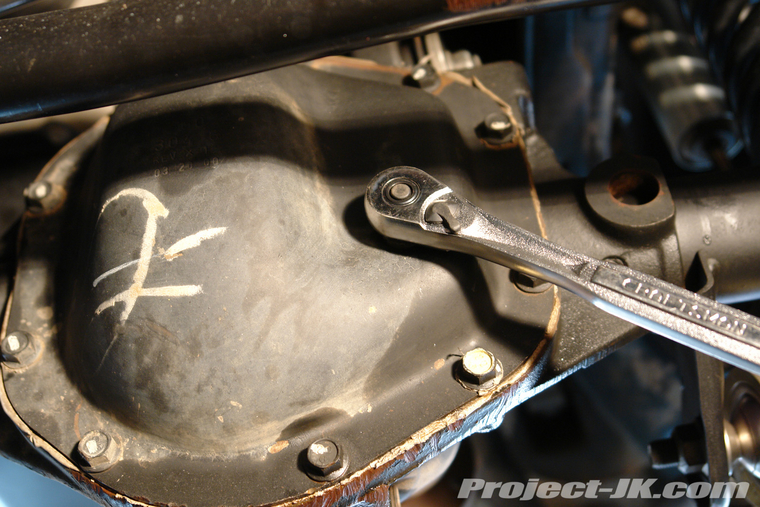
1. If you have a Jeep JK Wrangler, begin this install by using the square head of a 3/8″ Drive ratchet to remove the fill bolt from the differential cover as shown. If you do not have a JK Dana 30 or Dana 44 axle, skip down to Step #5.
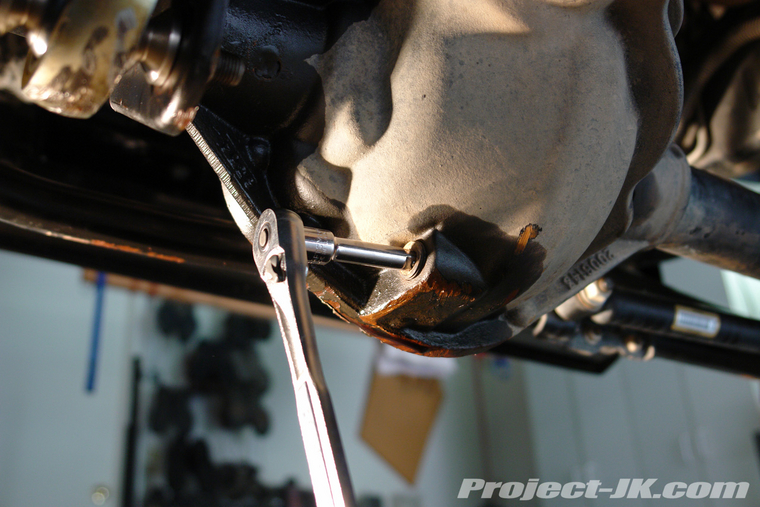
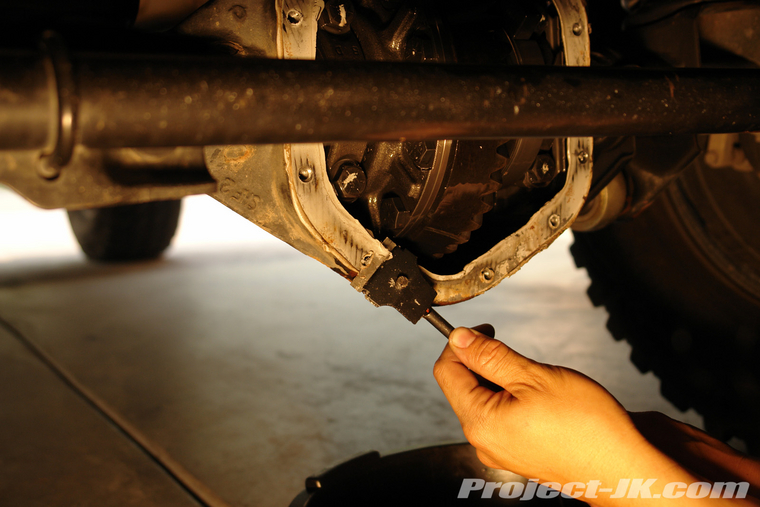
2. Place an oil catch pan underneath your differential and then, using a 3/8″ drive ratchet with a 3″ extension attached to it, remove the drain bolt from the base of the housing.
3. Allow your Jeep JK Wrangler’s differential to drain completely before proceeding.
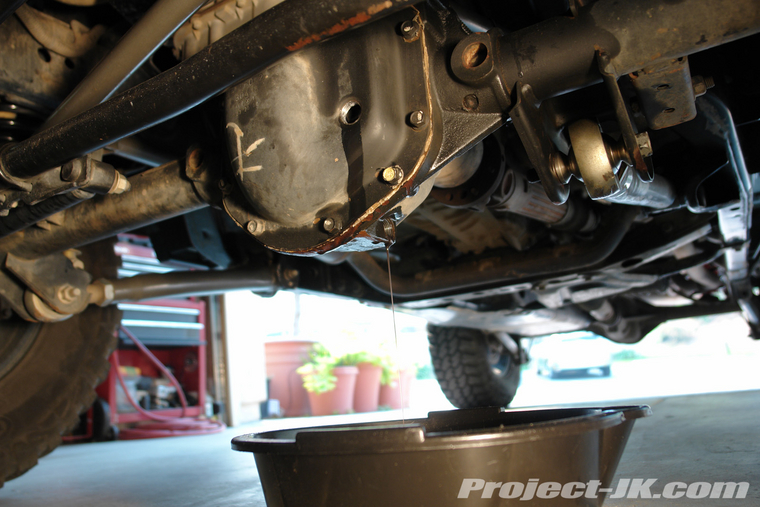
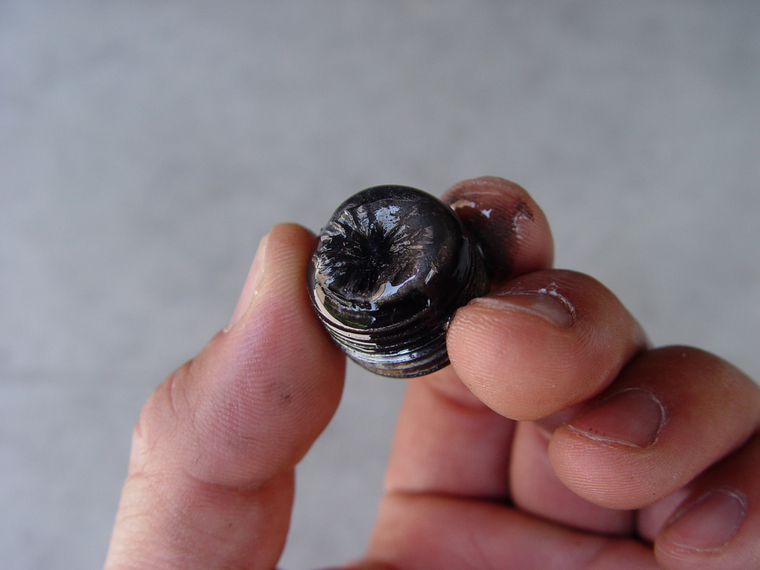
4. The drain bolt on a Jeep JK Wrangler differential is magnetic and the inside end of it should be fuzzy with fine iron filings. Check for any chunks of metal (as that would indicate you have problems that need to be addressed) and then use a paper towel and some brake cleaner to wipe the bolt clean.
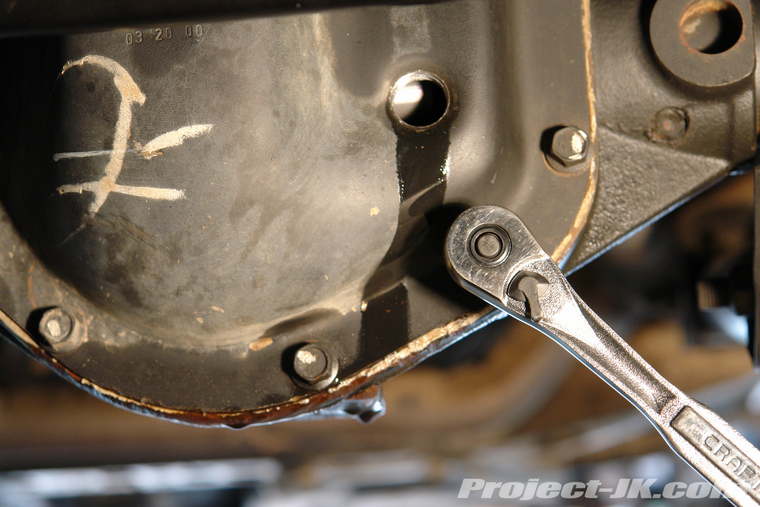
5. Using a 1/2" or 13mm socket, remove 9 of the 10 bolts on your differential cover and leave the last one on top.
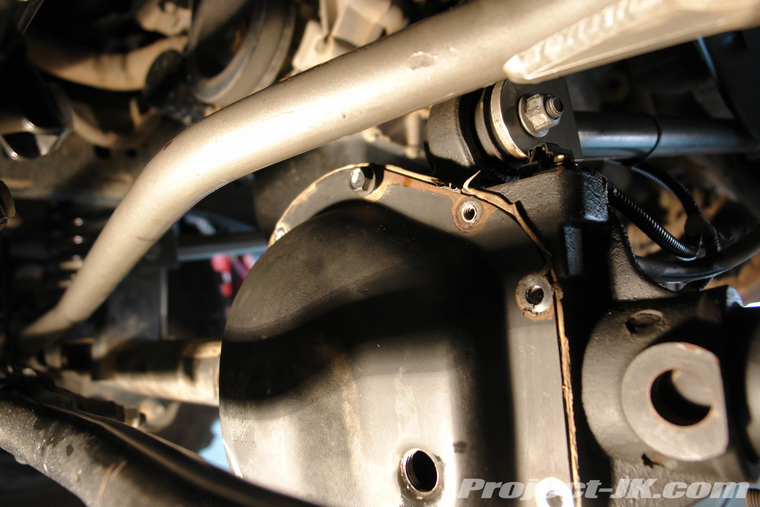
6. Loosen but DO NOT remove the last bolt on top your differential cover as shown in this pic. This will keep the cover from falling during the next step.
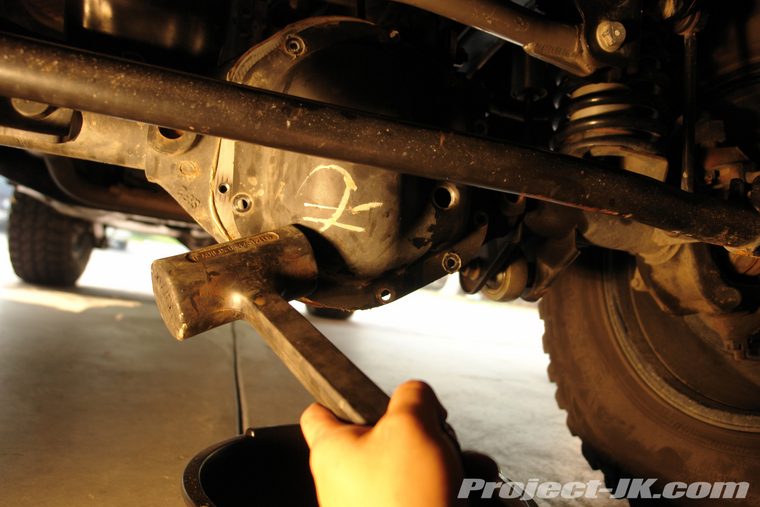
7. Using a dead blow hammer, strike the side of your Jeep JK Wrangler’s differential cover until it separates from the housing. Once the cover is free, remove remaining bolt and cover.
8. Using a gasket scraper or flat razor, thoroughly clean off the remaining RTV gasket material clinging to the mating surface of your differential housing. Be mindful to not damage the mating surface and try not to let the removed gasket material fall inside the differential.
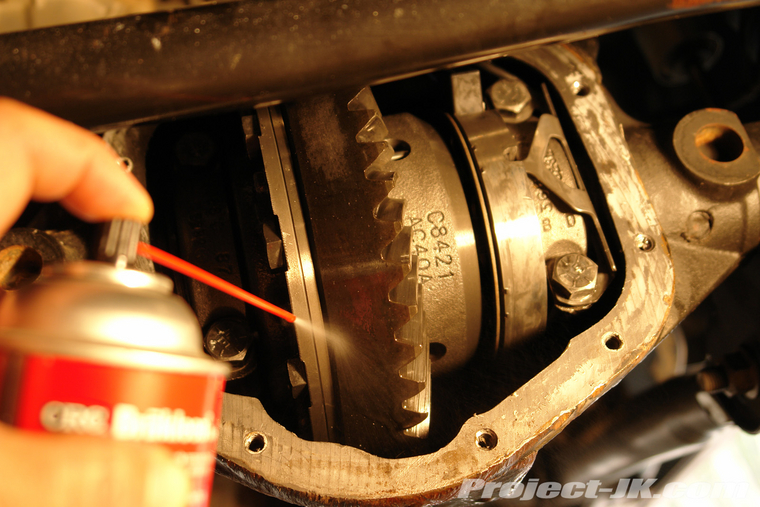
9. Using brake cleaner, thoroughly spray down the entire inside of your differential.
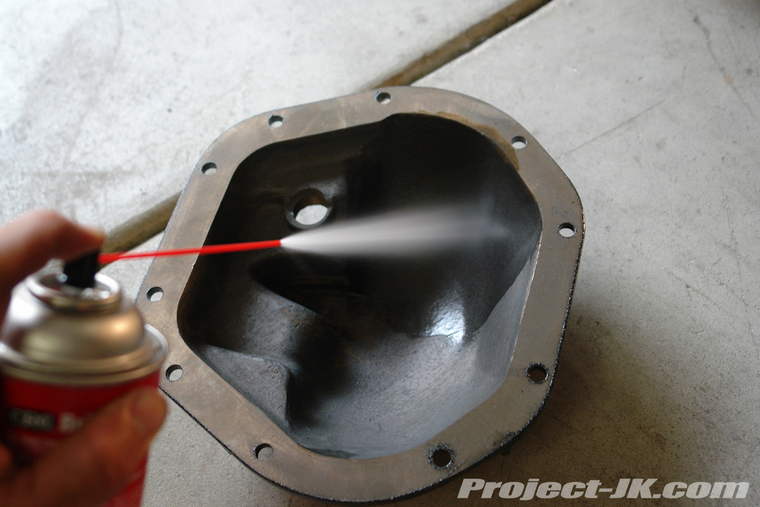
10. Using brake cleaner, thoroughly spray the inside of your new aftermarket differential cover as well as the mating surface and wipe it clean with a clean rag or paper towel.
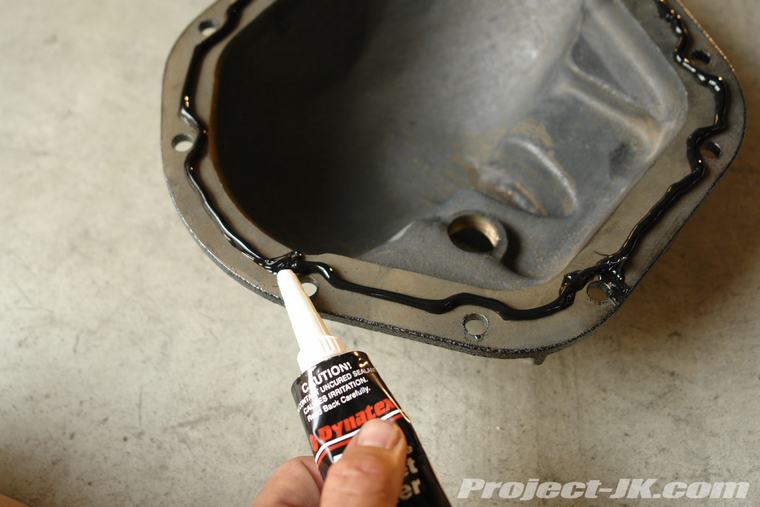
11. Draw a continuous 1/4″ bead of RTV along the entire mating surface of your new differential cover as shown. While this write-up shows the use of basic high temperature RTV, I would again highly recommend that you use The Right Stuff by Permatex as it will provide a much better and stronger gasket. I personally would not recommend that you use a reusable gasket like a Lube-Locker.
12. Carefully place your new heavy duty differential cover onto your differential housing making sure not to move it around too much. Then, fasten it in place using the new bolts provided with the cover. Make sure to fasten the bolts in a criss-cross star like pattern and then tighten them down to 25-30 ft. lbs. of torque. Depending on the type of bolts you received with your new cover, you may need to use a 1/4″ allen bit (SOLID type covers as shown), a 12-point 5/16" socket (Dynatrac covers) or 1/2" socket for factory type bolts. NOTE: It is very important that you do NOT over torque these bolts and that installation of the cover should be done within 5 minutes after applying the RTV.
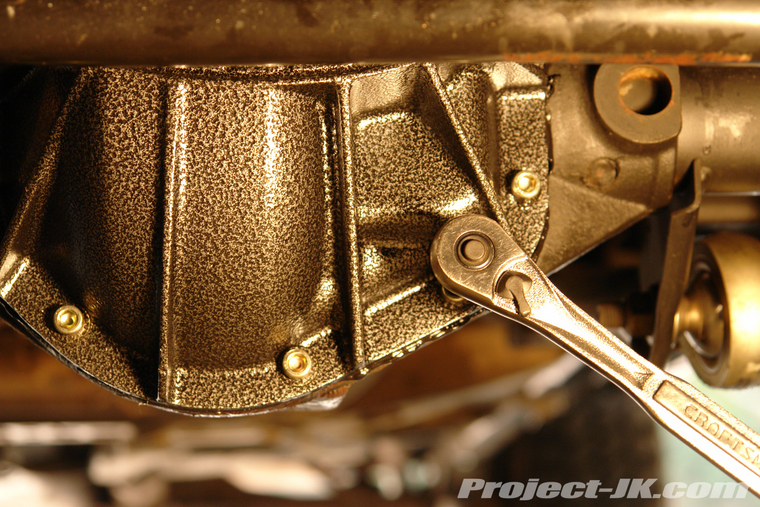
13. If you have a Jeep JK Wrangler, use a 3/8″ drive ratchet with a 3″ extension to reinstall the drain bolt back on to the base of your differential. Tighten this bolt to 25 ft. lbs. of torque.
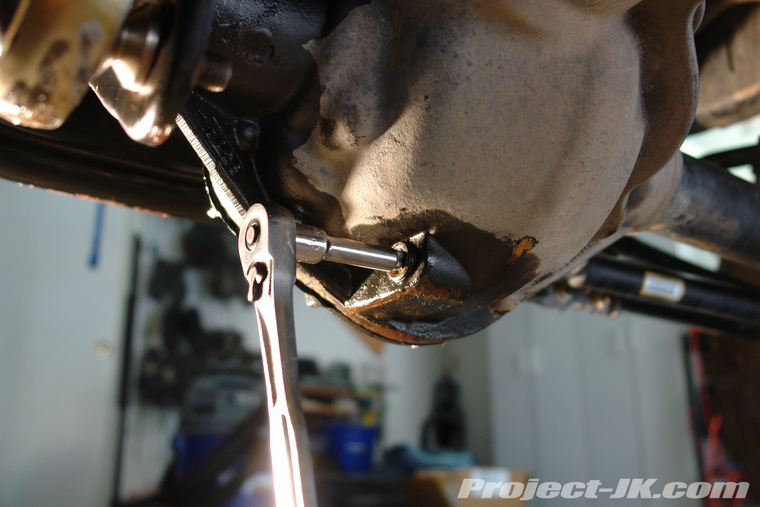
14. Fill up your differential with the factory specified amount of gear oil. On a Jeep JK Wrangler front Dana 44, that will be 2.7 pints (1.35 quarts) and on a rear Dana 44, 4.75 pints (2.375 quarts). If you are unsure how much you'll need in your axle, a good rule of thumb to follow is that you only need as much gear oil as is needed to get it to reach the bottom of your axle tubes. You can use a zip tie bent in a 90° angle to act as a dip stick to help you know where that is.
IF you have a limited slip differential, you will need to add friction modifier into your differential or, be sure to use a synthetic gear oil as it will have friction modifier in it. DO NOT be tempted to fill up your differential with anymore gear oil than is needed or else it will get pumped out of the breather tube and make a big mess.
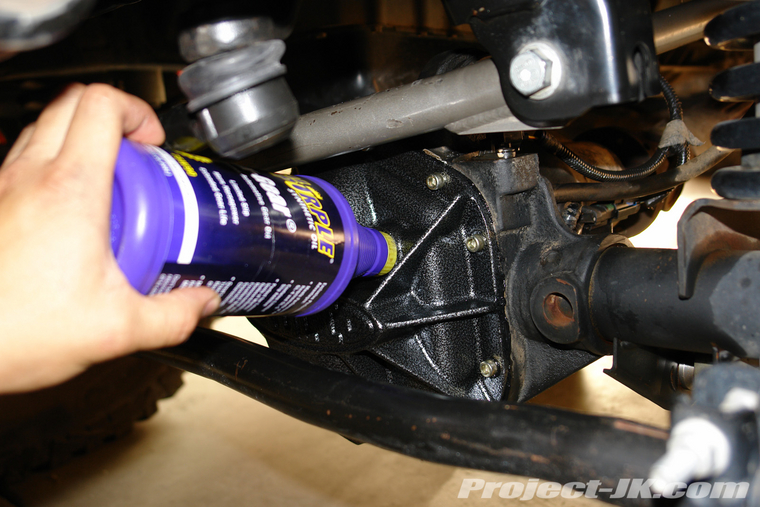
15. Some covers like SOLID use a new fill bolt that will require the use of a H-14 hex bit to secure. Others will just use a standard bolt and all you'll need to install it is a 3/8" drive ratchet. Tighten this bolt to 25 ft. lbs. of torque.
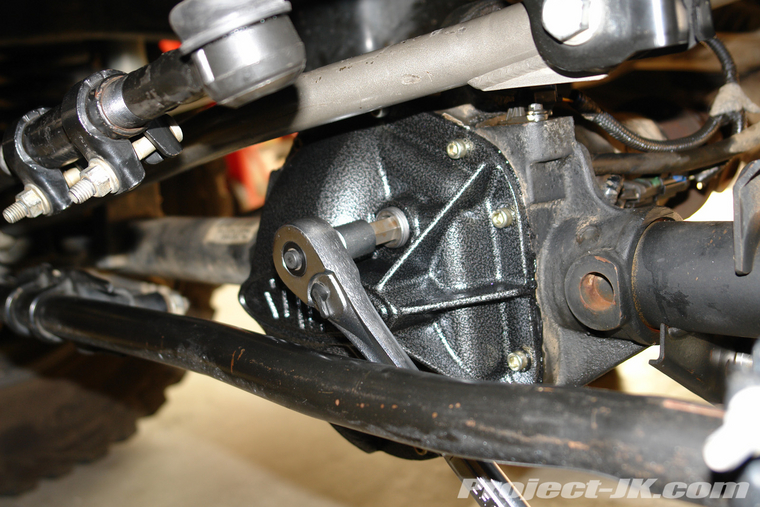
That’s it! Not only will your Jeep's differentials have a cool new look to them, they will also provide additional protection from the rocks! Please let me know if you have any questions and don’t forget to take your used gear oil to your local recycling center (PepBoys, Autozone or the like).
What You Will Need
• 13mm Socket
• 3/8″ Drive Ratchet
• Torque Wrench
• 1/2" or 13mm Socket
• 1/4″ Allen Bit (SOLID covers and the like)
• H14 Hex Bit (SOLID covers and the like)
• 12-Point 5/16" Socket (Dynatrac covers)
• 3″ Ratchet Extension
• Dead Blow Hammer
• Gasket Scraper
• Brake Cleaner
• Oil Catch Pan
• Paper Towels
• 2-Quarts 75W90 Gear Oil or heavier if you tow or have a high gear ratio
• The Right Stuff RTV by Permatex
Instructions
This is a pic of all the things you will get with a SOLID Dana 44 differential cover. Different covers will come with different bolts and even if yours comes with basic RTV, I would highly recommend that you use The Right Stuff by Permatex instead. Make sure that you have everything in the list above before you begin this project.
1. If you have a Jeep JK Wrangler, begin this install by using the square head of a 3/8″ Drive ratchet to remove the fill bolt from the differential cover as shown. If you do not have a JK Dana 30 or Dana 44 axle, skip down to Step #5.
2. Place an oil catch pan underneath your differential and then, using a 3/8″ drive ratchet with a 3″ extension attached to it, remove the drain bolt from the base of the housing.
3. Allow your Jeep JK Wrangler’s differential to drain completely before proceeding.
4. The drain bolt on a Jeep JK Wrangler differential is magnetic and the inside end of it should be fuzzy with fine iron filings. Check for any chunks of metal (as that would indicate you have problems that need to be addressed) and then use a paper towel and some brake cleaner to wipe the bolt clean.
5. Using a 1/2" or 13mm socket, remove 9 of the 10 bolts on your differential cover and leave the last one on top.
6. Loosen but DO NOT remove the last bolt on top your differential cover as shown in this pic. This will keep the cover from falling during the next step.
7. Using a dead blow hammer, strike the side of your Jeep JK Wrangler’s differential cover until it separates from the housing. Once the cover is free, remove remaining bolt and cover.
8. Using a gasket scraper or flat razor, thoroughly clean off the remaining RTV gasket material clinging to the mating surface of your differential housing. Be mindful to not damage the mating surface and try not to let the removed gasket material fall inside the differential.
9. Using brake cleaner, thoroughly spray down the entire inside of your differential.
10. Using brake cleaner, thoroughly spray the inside of your new aftermarket differential cover as well as the mating surface and wipe it clean with a clean rag or paper towel.
11. Draw a continuous 1/4″ bead of RTV along the entire mating surface of your new differential cover as shown. While this write-up shows the use of basic high temperature RTV, I would again highly recommend that you use The Right Stuff by Permatex as it will provide a much better and stronger gasket. I personally would not recommend that you use a reusable gasket like a Lube-Locker.
12. Carefully place your new heavy duty differential cover onto your differential housing making sure not to move it around too much. Then, fasten it in place using the new bolts provided with the cover. Make sure to fasten the bolts in a criss-cross star like pattern and then tighten them down to 25-30 ft. lbs. of torque. Depending on the type of bolts you received with your new cover, you may need to use a 1/4″ allen bit (SOLID type covers as shown), a 12-point 5/16" socket (Dynatrac covers) or 1/2" socket for factory type bolts. NOTE: It is very important that you do NOT over torque these bolts and that installation of the cover should be done within 5 minutes after applying the RTV.
13. If you have a Jeep JK Wrangler, use a 3/8″ drive ratchet with a 3″ extension to reinstall the drain bolt back on to the base of your differential. Tighten this bolt to 25 ft. lbs. of torque.
14. Fill up your differential with the factory specified amount of gear oil. On a Jeep JK Wrangler front Dana 44, that will be 2.7 pints (1.35 quarts) and on a rear Dana 44, 4.75 pints (2.375 quarts). If you are unsure how much you'll need in your axle, a good rule of thumb to follow is that you only need as much gear oil as is needed to get it to reach the bottom of your axle tubes. You can use a zip tie bent in a 90° angle to act as a dip stick to help you know where that is.
IF you have a limited slip differential, you will need to add friction modifier into your differential or, be sure to use a synthetic gear oil as it will have friction modifier in it. DO NOT be tempted to fill up your differential with anymore gear oil than is needed or else it will get pumped out of the breather tube and make a big mess.
15. Some covers like SOLID use a new fill bolt that will require the use of a H-14 hex bit to secure. Others will just use a standard bolt and all you'll need to install it is a 3/8" drive ratchet. Tighten this bolt to 25 ft. lbs. of torque.
That’s it! Not only will your Jeep's differentials have a cool new look to them, they will also provide additional protection from the rocks! Please let me know if you have any questions and don’t forget to take your used gear oil to your local recycling center (PepBoys, Autozone or the like).

