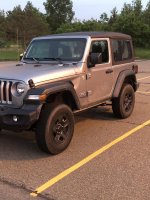
 put my 2.5” lift on. Now on to tires and who know what. It’s hard to decide what I want first. I need to win the lottery....
Sent from my iPhone using WAYALIFE mobile app
 put my 2.5” lift on. Now on to tires and who know what. It’s hard to decide what I want first. I need to win the lottery....
Oil change and tire rotation
View attachment 329004
Oil change and air filter change
View attachment 329005
Nothing (hasn’t moved in 4 months)
View attachment 329006
Sent from my iPhone using WAYALIFE mobile app
Do you just rotate your tires to different jeeps instead of front to back?
Sent from my iPhone using WAYALIFE
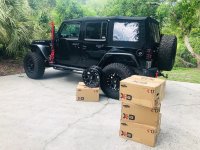
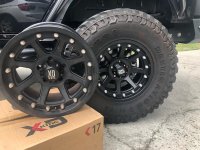
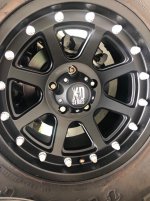
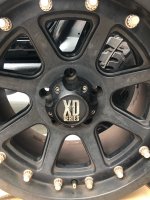
View attachment 329318View attachment 329319 new shoes today. 255/80r17 Mastercraft courser CXT.
Sent from my iPhone using WAYALIFE mobile app
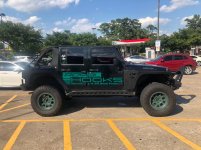
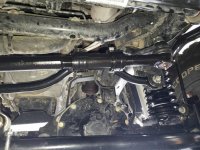
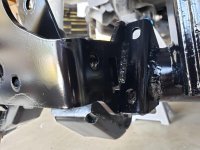
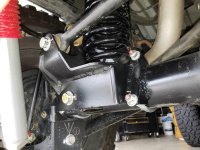
Replaced my drag link. Had some wobble and found the pitman end was shot.
Also got around to welding the front & rear trackbar brackets and adding ½ inch more bumpstop in the front.View attachment 329391View attachment 329392View attachment 329393
Sent from my SM-G965U1 using WAYALIFE mobile app
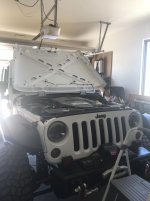
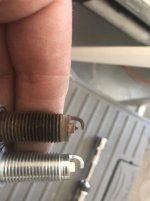
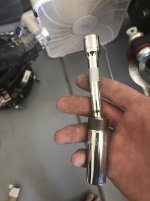
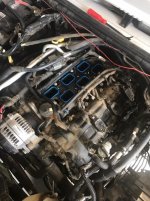
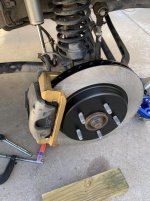
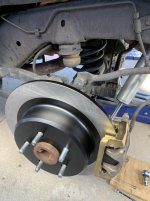
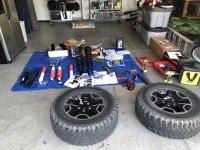
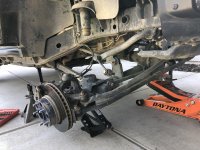
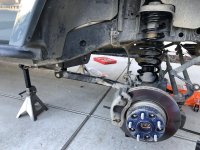
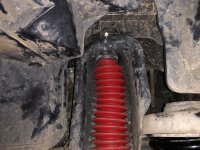
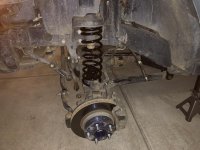
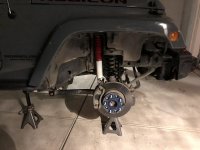
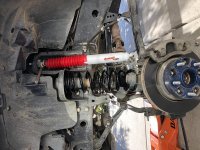
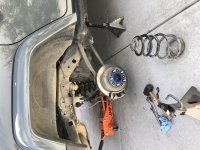
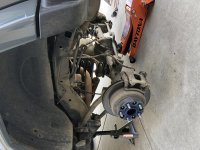
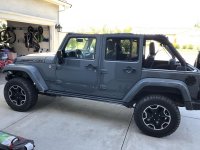
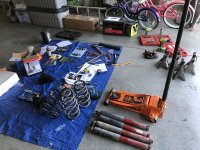
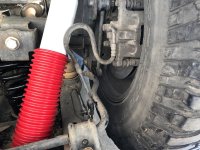
With the help of @Sharkey as my private life line, I installed my first lift on my first Jeep... by myself. I recently bought a Rancho 2" Sport Lift with the RS5000X shocks. I moved some obligations around and dedicated last Friday afternoon through Sunday to get the job done. It had to get done because this is my DD! In the end, I was successful. I finished late Saturday afternoon.
Earlier this week, I also had a local shop check my work for piece of mind, check the alignment, etc. The shop owner gave me the same sideways glance I imagined Sharkey giving me when I said I installed the geometry correction brackets. When both guys, who have way more experience and knowledge than me, basically said I didn't need them, I had the shop take them off. Better ground clearance and hopefully I'll be able to sell them to lessen the overall cost of the lift, tools, etc.
Overall, I'm happy with the ride. The Rancho springs and shocks feel a little more damped than stock in the slow whoops for comfort, but similar with normal road imperfections. I ended up with an exact 2" lift up front and 1" in the rear. The handling is a bit flightier without the correction brackets, but nothing to write home about. Taking them off was a good decision and I probably should have known I didn't need them before purchasing. Oh well. Now, I'm trying to figure out how big of a tire I can get under there without cutting my fenders. I'm thinking the 285/75/R17 Ridge Grappler (about a 34" tire), but I'm open to other suggestions for sizes. I would love 35's, but would have to do the fender trim to fit them - as others have shown and said.
Again, let me share my sincerest thanks to Sharkey for his help and responsiveness. I had a lot of anxiety starting in on this and felt a lot better having him available by private message. Thank you, Sir!! Also, I want to be sure to thank Eddie and Cindy for this forum and the knowledgeable folks on here. I had Eddie's old Project-JK writeup for installing a budget boost printed out as secondary instructions to the Rancho directions. They are still relevant and very helpful! You can see them in one of the photos below.
Some photos...
All laid out and ready to go. I had just started on the front.
View attachment 329473
First spring out... I was using a combination of jack stands, the scissor lift, and the new jack to control the axle and try to get the space needed to pull out the springs on each side. Slooooow and steady she goes.
View attachment 329475
First spring in...
View attachment 329476
That passenger side, front shock mount is not easy to get to. Fortunately, I was warned by many other build threads here. Thanks! The plastic was easier to cut than I thought, which was good, because I was getting a little tired.
View attachment 329479
Second spring in, but too late in the evening to put the driver's side shock on. I was working off a headlamp and shop light at 9:30pm anyway, so time to call it quits.
View attachment 329480View attachment 329481
Got started early the next morning after dropping the wife and kids off at the pool for their swim meet. I had a backup vehicle for any supply runs and getting started early meant it was much cooler than during the day! I think I went through a few hundred ounces of water during the course of this install because I was so hot, anxious, nervous to not mess up my DD, etc. There may have been many several beers after I was done though!! Driver's side shock installed (sorry for it being sideways. Can't seem to figure out how to turn it. Looks correct in iPhoto?!).
View attachment 329482
First rear spring in.
View attachment 329483
Last spring in!
View attachment 329484
By this point, I was just trying to get done and my photos were less frequent. First pic back on the ground and ready to measure for lift.
View attachment 329485
The aftermath in the garage. You can see Eddie's budget boost writeup in the front on the tarp. Great resource!!
View attachment 329486
I took it out for test drive - slow at first, a little faster later. I flexed it out a bit on a burm and saw that the hard brake lines were coming in contact with the sway bar (upside down photo). Another PM to Sharkey, another knowledgeable, sensible response.
View attachment 329487
I'm very glad I spent the time to install this. It's about as simple a lift as you can do, so it was a great first time install. As Sharkey mentioned in one of his PMs, it's a great way to learn about your suspension. So as of today, the brake lines are clearing the sway bar, the geometry correction brackets are off the Jeep and back in the box, and I'm enjoying that little extra hike up into the Jeep when I get in to drive. I look forward to getting this Jeep back out on the trail!
Nice work and congrats on tackling it yourself.
