Elroy231
Active Member
You sure are busy in that house. Some nice improvements tho. Alot of work.Thanks! Onto the next party.
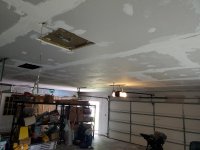
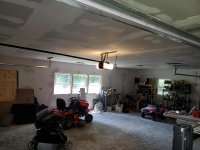
Finished paint. Moved some plumbing for the soak sink, new location to be determined later. Moved pex lines that were just nailed up to through joists, only thing that runs off pump is sprinklers/spigots the rest is city water. Also installed new frost-free spigots, and moved one that would be blocked by new bathroom to above the washer so can be accessed if the need ever arises. Started framing today, made a couple rookie mistakes, but it’s not structural obviously so made quick fixes.
View attachment 351079
View attachment 351080
View attachment 351081
View attachment 351082
View attachment 351083
Had to get on the roof after I chopped the old vent pipe out of my way (random silver pipe in front of wall in the corner) sealed the top up so it can’t rain into my wall- didn’t know it wasn’t sealed until I started this. Annnnd I forgot my damn Red Bull
View attachment 351084
View attachment 351085
View attachment 351086
View attachment 351087
Pewpew
View attachment 351088
View attachment 351089
Vanity, toilet, shower
View attachment 351090
Plumber coming to rough in and cut cement for drains this week roughly there.
View attachment 351091
Then I’ll finish the framing and start really building.
View attachment 351092
Yes I still have to box in the window I ran out of 2x4s.
Sent from my iPhone using WAYALIFE
Sent from my SM-G965U using WAYALIFE mobile app