fiend
Caught the Bug
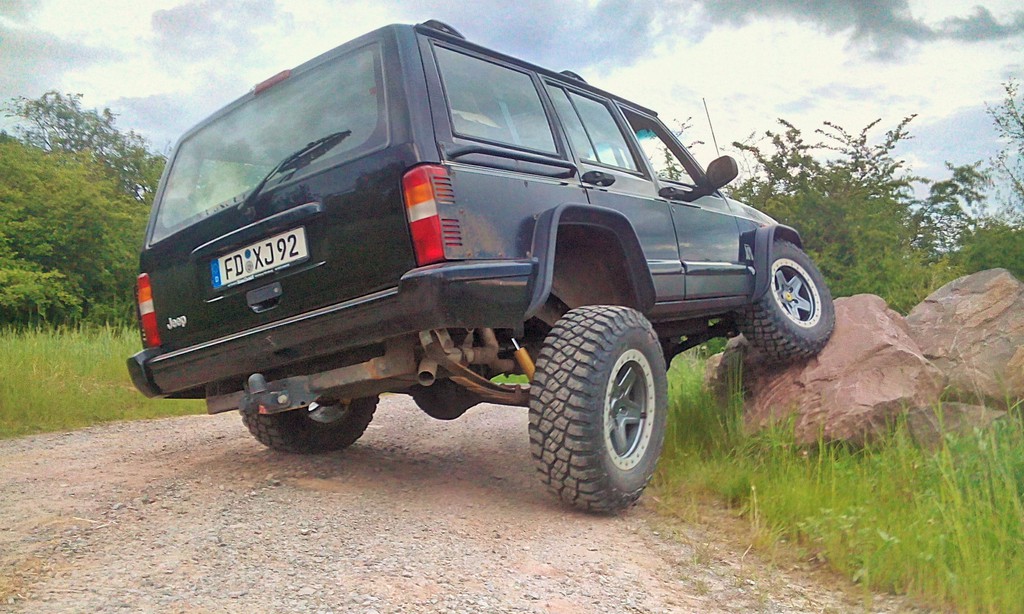
Jeep Wrangler JK - fromt 33" to 37"
Nice jeep.
They let you put your license plate on the roof in Germany?
Hey Guys,
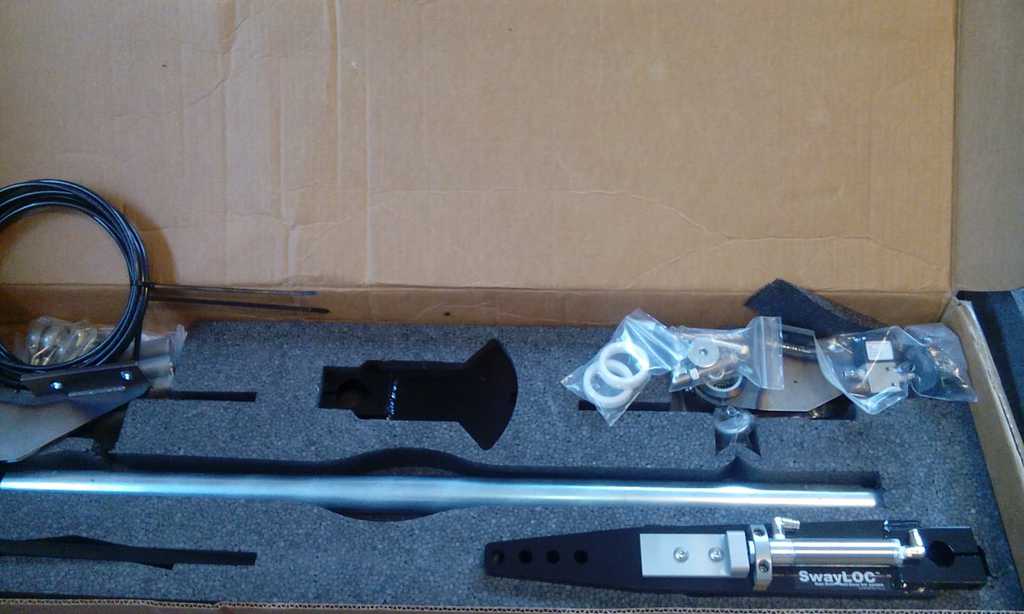
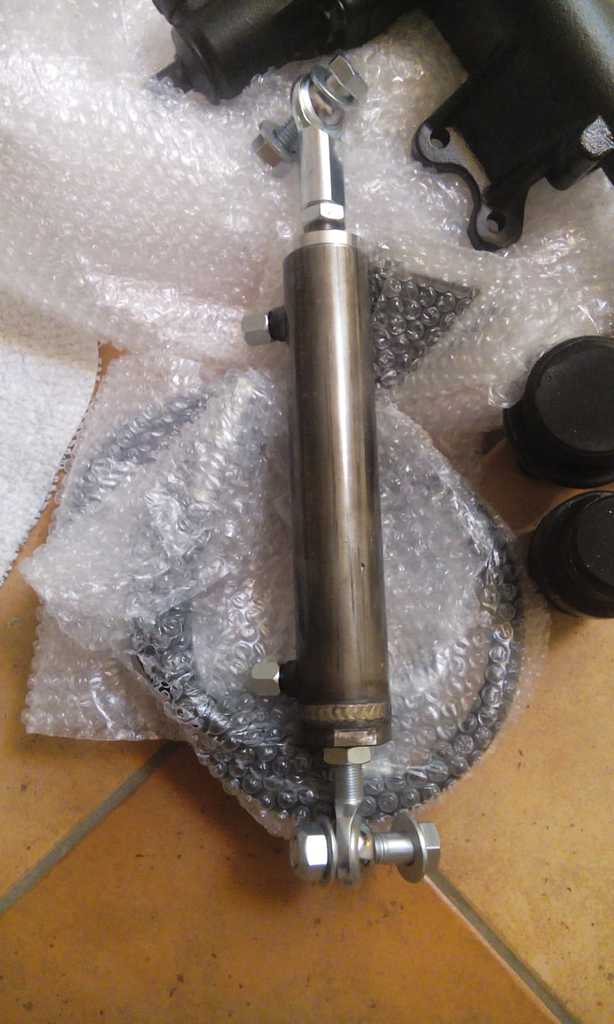
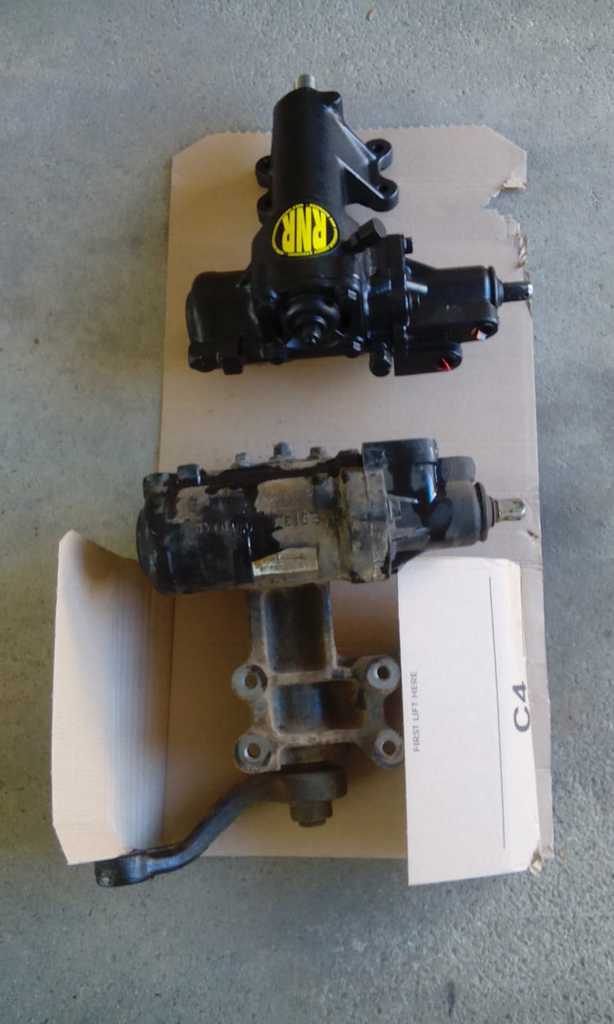
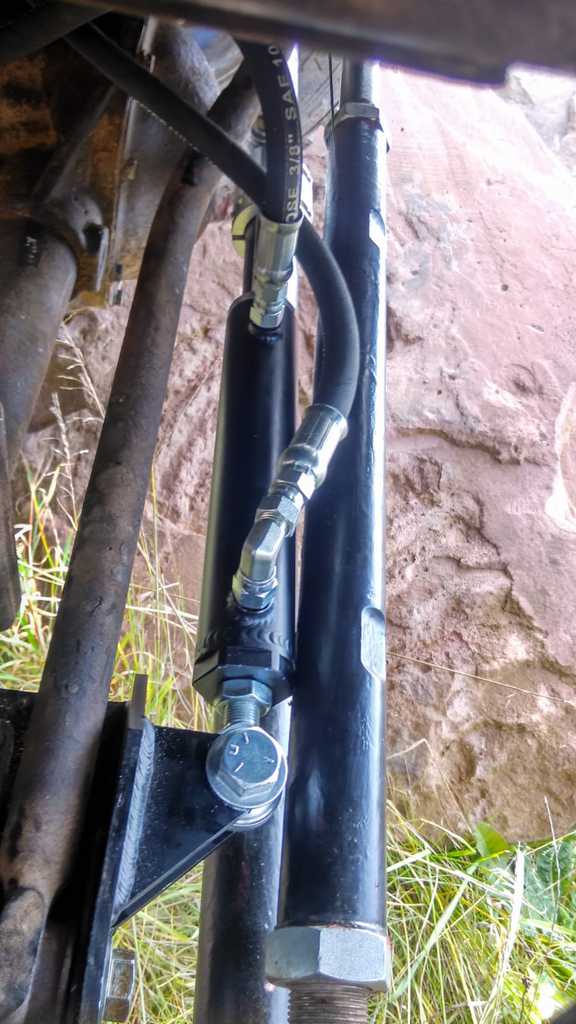
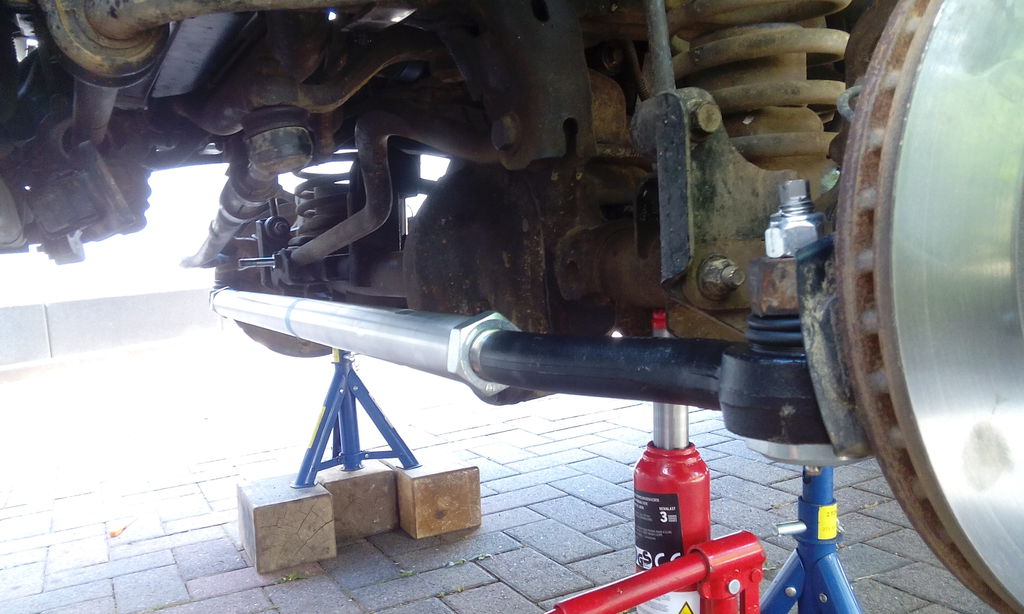
so back to the JK. Yesterday I installed my Fusion 4x4 tie rod. A hughe tanks to VeruGE*144 - very nice guys, helped me so much to find the right tie rod for me. The Fusion4x4 tie rod is better than the other stuff I can get in Germany, so I'm glad you gave me the tipp to buy it in the USA.
So check this out. The diameter is as big as my "heavy duty Jeep Cherokee XJ drive shaft". This was the moment I knew I'm a big Idiot because I havent ordered a Fusion Drag link with my tie rod. Now I ve the double shipping costs :naw:

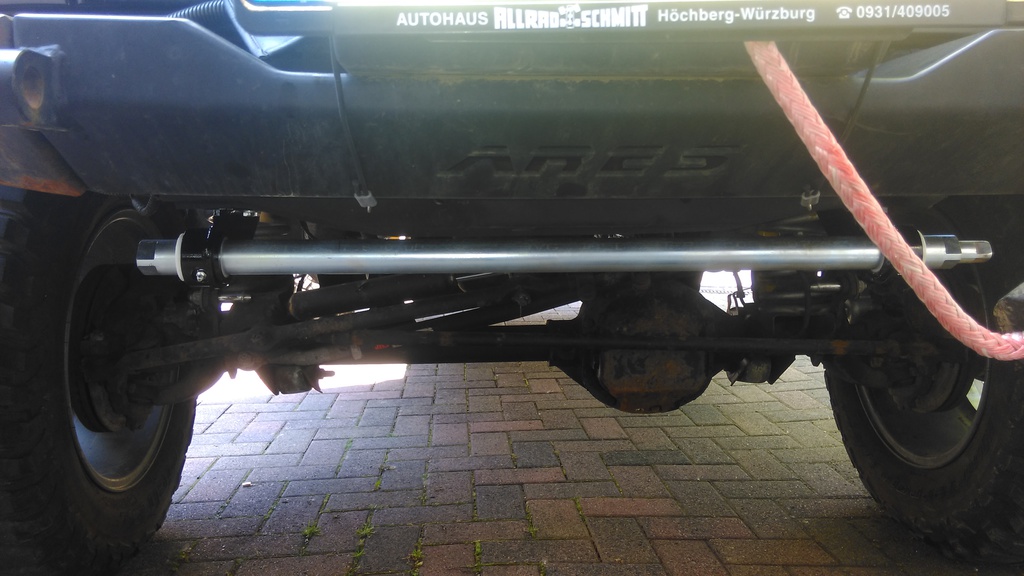
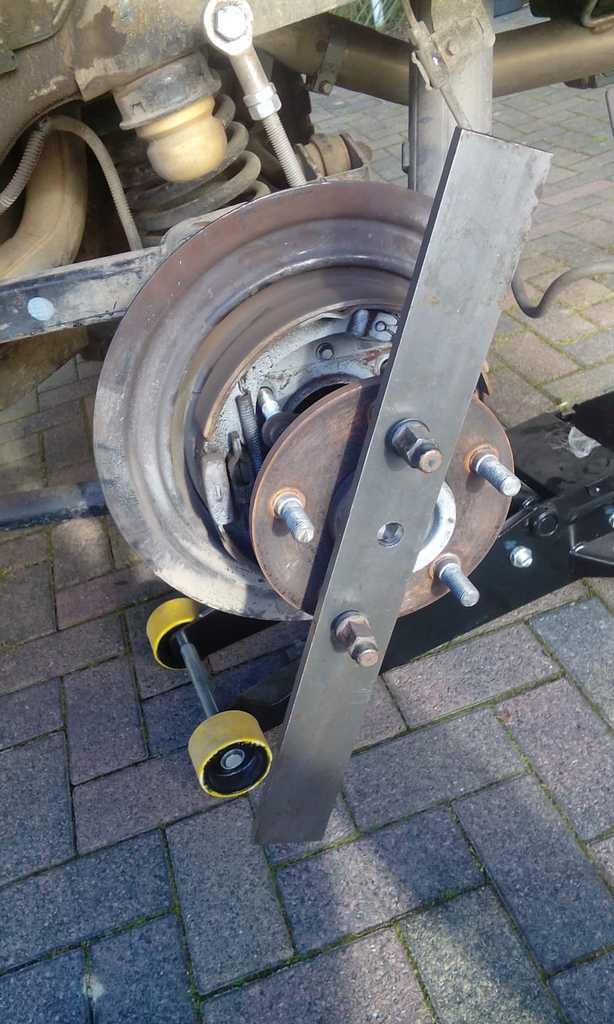
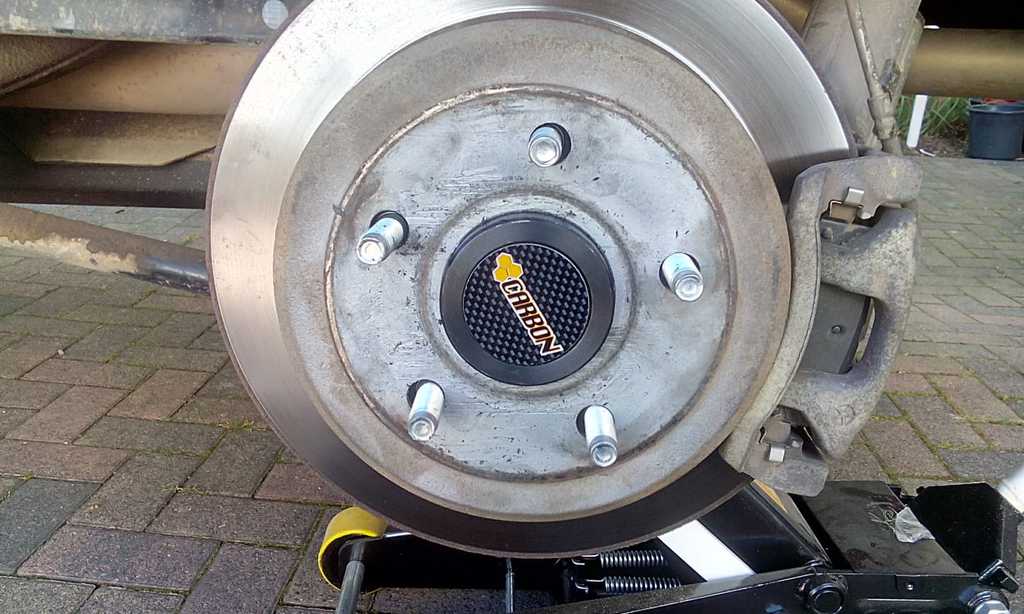
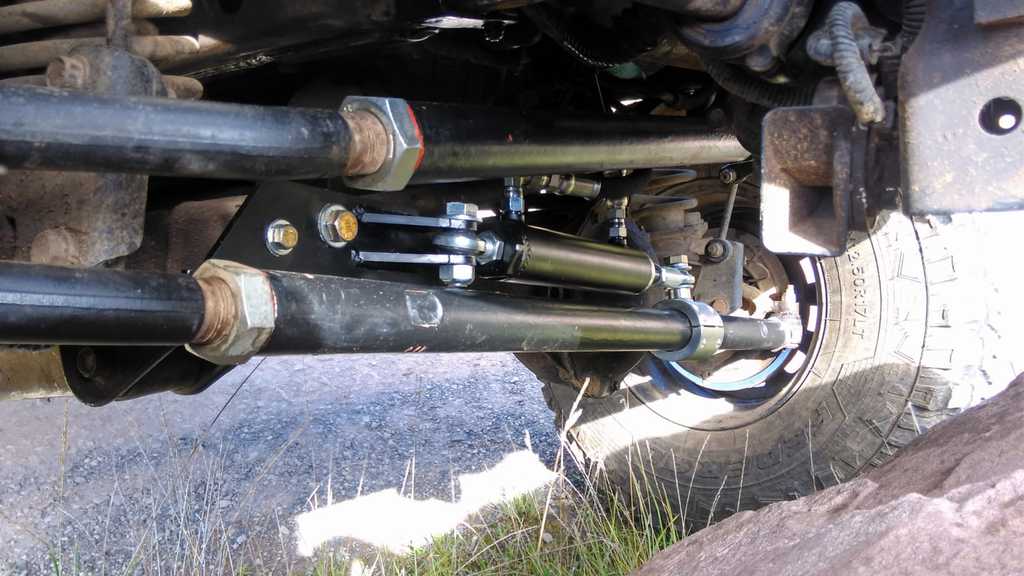
but the tie rod have enough clerance to fit my 2,5" suspensio plug and play. No drilling
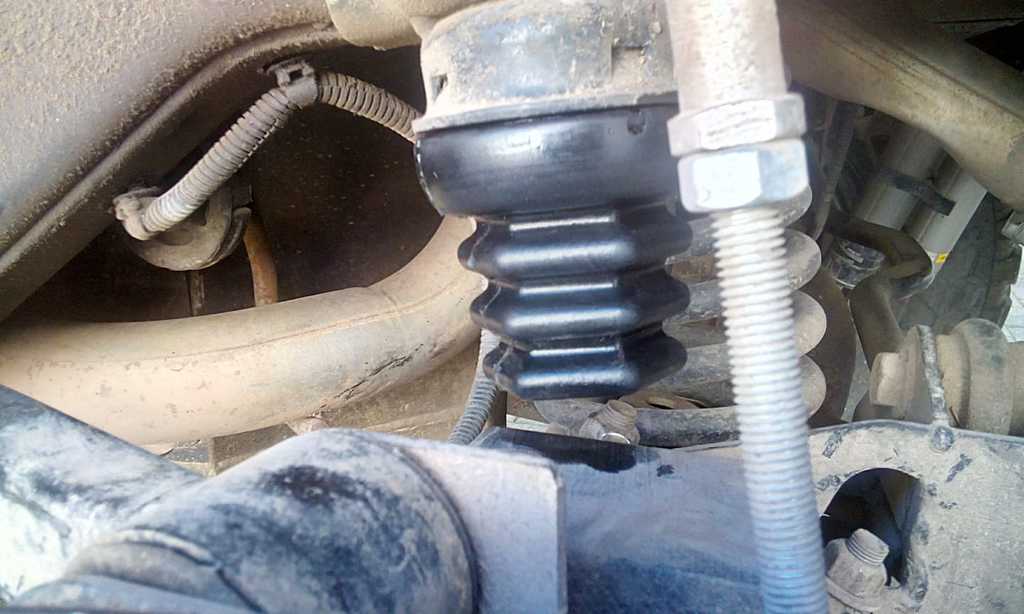
To prevent the bolt from loosening I splinted the thread, like I did back in time when I was an activ Moto Cross rider.

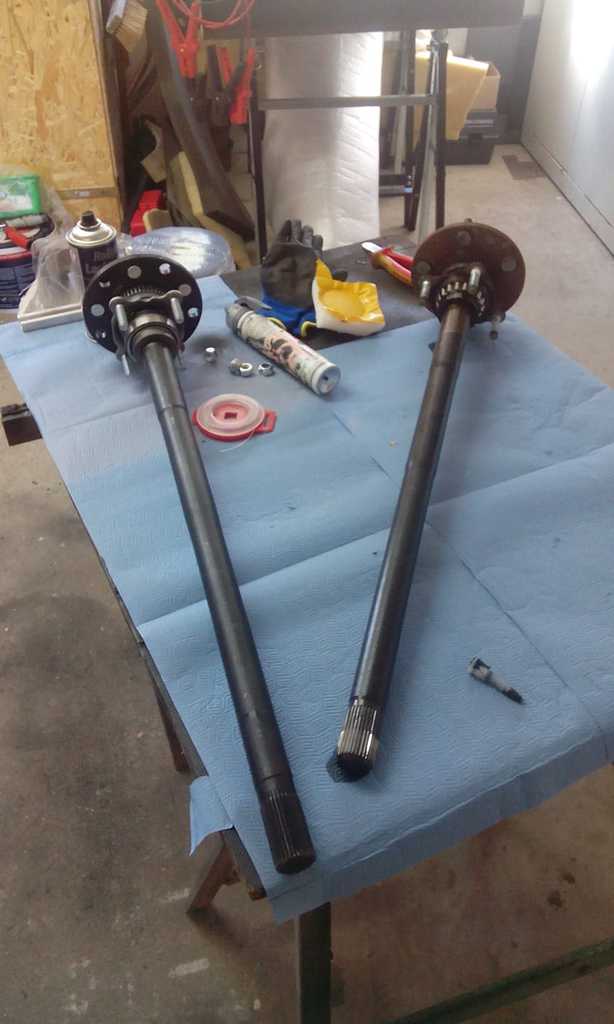
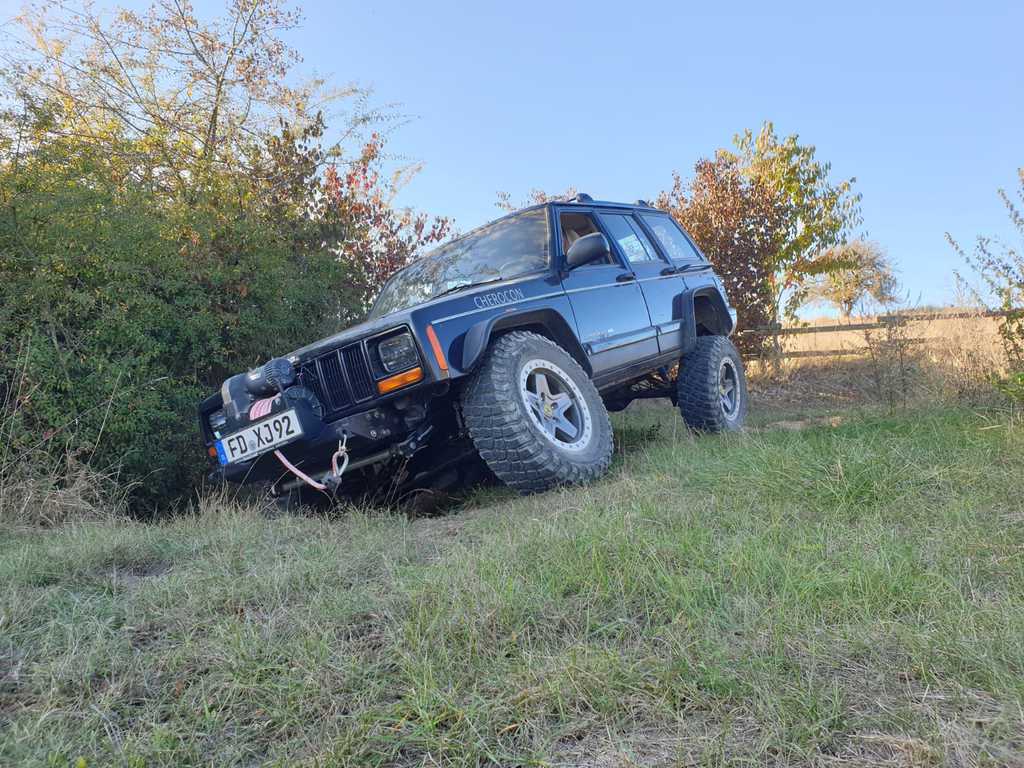
Now check for clearance while flexing - and some other JK fotos. I hope you like it.


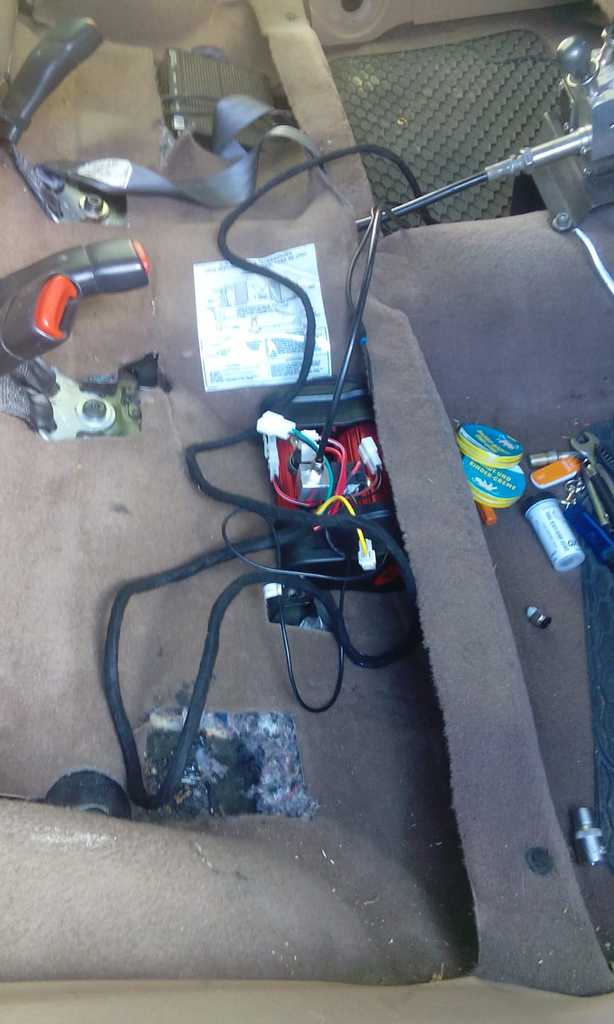
One thing is to do. I ve to drill my FOX steering damper clam up to 42mm to fit the tie rod. After driving 100km without a steering damper I can say that a JK normally dont need a steering damper - and defently dont need this expensive FOX ATS. If one day my ATS is worn out I buy a "cheap" bilstein for 80$ and be happy.
Lg
Nice jeep.
They let you put your license plate on the roof in Germany?