Stevengrill
New member
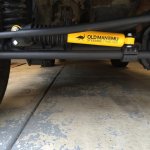
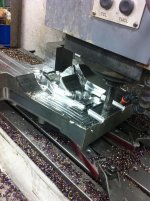
My buddy was putting a new steering stabilizer on his JK and needed the tie rod mounting bracket. $50 + $14 for S&H online was best we could find. I told him that was crazy! Below is a series of pictures showing you how I made his stabilizer tie rod mounting bracket.
(New to the forum, after a search of the forums I figured this was best place to put my post. Sorry if it's not.)
I first started with a raw piece of round stock with and O.D. Of 3" and length of just greater than 2"
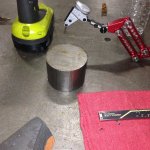
Grabbing it in my vise with a v block I then skimmed the top.
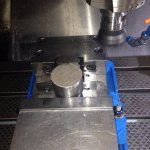
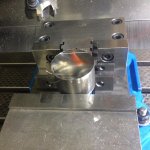
Flipped it over and skimmed the back side bringing the part into 2" in length. I also put a 3/8" hole down center (not shown) so I can then bolt it to my 1,2,3 block for a quick fixture hold.
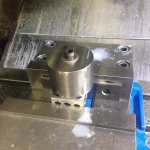
After that I brought the outside into a diameter of 2 1/4" with .050" step on either side. The flats are so the stabilizer has a flat spot to Bolt to, and also so when I skimmed and put holes in I would have flats to indicate the part.
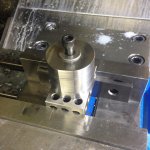
After finishing length and O.D. I vise back up into my part, and indicated it for my center. Drilled and circular interpolated my I.D to 1.375" (factory JK tie rod O.D.).
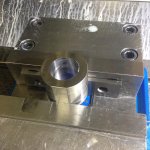
After finishing contours and getting the shape of the part, I laid it down (on my flats) so I could pop my holes in. Six 1/4-20 bolts and one M12x1.75 for the shock. I counter bored my 6 holes to a full clean up. Then drilled all the way through for my bolt threads. Then I drilled half way through for my bolt hole clearance. Then I put in the M12.
After that program was finished I hand tapped everything. Doing the 1/4-20 at this stage is nice because the clearance holes are a good guide for straight threads.
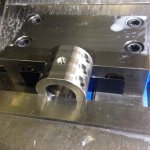
After that I scribed a line and proceeded to cut my part in half (this part always makes me nervous!)
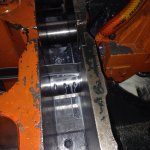
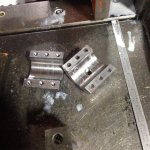
After that I needed to clean up my surfaces. Grabbed both halves in the vise on a set of parallels and skimmed for a full clean up.
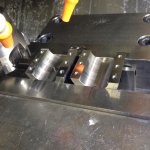
Next I media blasted my part
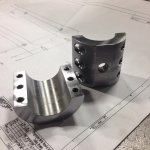
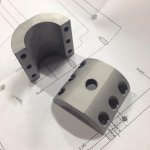
Turned out great, and looked awesome.
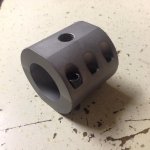
Next, my buddy decided to paint it black.
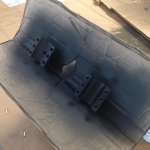
Several coats later it was ready for install.
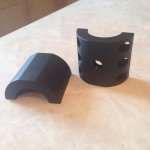
After some measuring and checking clearances it was good to go!!
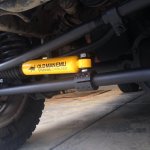
Hope you all found this to be a good write up! First one ever, ha.
(New to the forum, after a search of the forums I figured this was best place to put my post. Sorry if it's not.)
I first started with a raw piece of round stock with and O.D. Of 3" and length of just greater than 2"

Grabbing it in my vise with a v block I then skimmed the top.


Flipped it over and skimmed the back side bringing the part into 2" in length. I also put a 3/8" hole down center (not shown) so I can then bolt it to my 1,2,3 block for a quick fixture hold.

After that I brought the outside into a diameter of 2 1/4" with .050" step on either side. The flats are so the stabilizer has a flat spot to Bolt to, and also so when I skimmed and put holes in I would have flats to indicate the part.

After finishing length and O.D. I vise back up into my part, and indicated it for my center. Drilled and circular interpolated my I.D to 1.375" (factory JK tie rod O.D.).

After finishing contours and getting the shape of the part, I laid it down (on my flats) so I could pop my holes in. Six 1/4-20 bolts and one M12x1.75 for the shock. I counter bored my 6 holes to a full clean up. Then drilled all the way through for my bolt threads. Then I drilled half way through for my bolt hole clearance. Then I put in the M12.
After that program was finished I hand tapped everything. Doing the 1/4-20 at this stage is nice because the clearance holes are a good guide for straight threads.

After that I scribed a line and proceeded to cut my part in half (this part always makes me nervous!)


After that I needed to clean up my surfaces. Grabbed both halves in the vise on a set of parallels and skimmed for a full clean up.

Next I media blasted my part


Turned out great, and looked awesome.

Next, my buddy decided to paint it black.

Several coats later it was ready for install.

After some measuring and checking clearances it was good to go!!

Hope you all found this to be a good write up! First one ever, ha.

