jdofmemi
Active Member
I had a productive day.
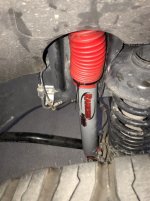
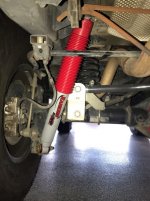
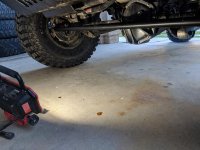
First, got the reamer going and reamed out the knuckles for the Exodus tie rod.
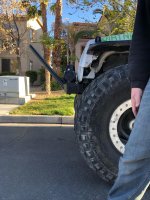
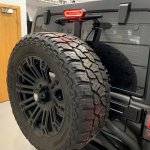
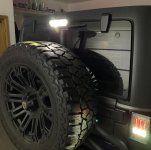
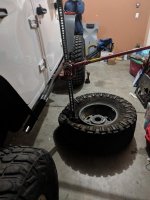
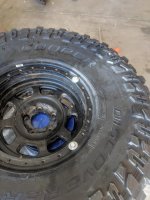
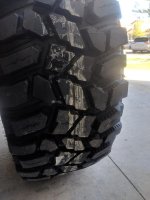
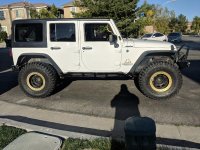
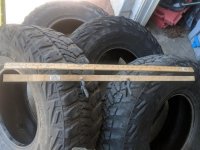
Then mounted the five new STT Pros on my Trail Ready beadlocks.
I used some fender washers with the old bolts to hold the bead from jumping out while getting the rest of it into position.
The 1/4" Milwaukee impact is great for getting the beadlock bolts down to where they are ready for the torque wrench. That is a real time saver
I still can't believe how much weight was used on the Goodyear MTRs! One wheel had five strips of the stick on weights, each strip about 8 to 10 inches long. I didn't count, and forgot to get a picture until it was too late.
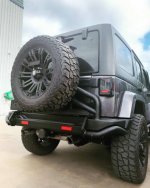
While doing all this, I touched up the paint on the sliders, fender wells, and front bumper.
Got all the tires on and did the alignment. I rolled each tire while it was jacked up and chalked an area all the way around, the used a Sharpie to make a fine line in the chalked area.
This way I am sure where I am measuring to each time.
I have two yard sticks and some spring clamps that work pretty well for doing it by yourself, but found that with two people it was easier to use a regular tape measure
Got interrupted by a shooting a half a block from the house

Once that drama was done, we test drove the Jeep. Sweet. No balance and no vibration until somewhere between 85 and 90, a very slight balance vibration. Nothing at all to worry about.
Death wobble that had developed due to the bad tie rod end on the Steer Smart was cured by the new tie rod and checking all relevant bolts. Next time a tie rod end wears out, it will be a simple fix.
I did notice that the sector shaft seems to deflect slightly while turning back and forth. It was very slight, but there. The new one is just in time.
Next project will be to install the XDIII big bore box I got from PATRIOTKJM
I wanted to get this wrapped up and tested before tackling the steering box, so I could isolated any problems.
First, got the reamer going and reamed out the knuckles for the Exodus tie rod.
Then mounted the five new STT Pros on my Trail Ready beadlocks.
I used some fender washers with the old bolts to hold the bead from jumping out while getting the rest of it into position.
The 1/4" Milwaukee impact is great for getting the beadlock bolts down to where they are ready for the torque wrench. That is a real time saver
I still can't believe how much weight was used on the Goodyear MTRs! One wheel had five strips of the stick on weights, each strip about 8 to 10 inches long. I didn't count, and forgot to get a picture until it was too late.
While doing all this, I touched up the paint on the sliders, fender wells, and front bumper.
Got all the tires on and did the alignment. I rolled each tire while it was jacked up and chalked an area all the way around, the used a Sharpie to make a fine line in the chalked area.
This way I am sure where I am measuring to each time.
I have two yard sticks and some spring clamps that work pretty well for doing it by yourself, but found that with two people it was easier to use a regular tape measure
Got interrupted by a shooting a half a block from the house
Once that drama was done, we test drove the Jeep. Sweet. No balance and no vibration until somewhere between 85 and 90, a very slight balance vibration. Nothing at all to worry about.
Death wobble that had developed due to the bad tie rod end on the Steer Smart was cured by the new tie rod and checking all relevant bolts. Next time a tie rod end wears out, it will be a simple fix.
I did notice that the sector shaft seems to deflect slightly while turning back and forth. It was very slight, but there. The new one is just in time.
Next project will be to install the XDIII big bore box I got from PATRIOTKJM
I wanted to get this wrapped up and tested before tackling the steering box, so I could isolated any problems.
Attachments
-
 IMG_20190315_205844-756x1008.jpg86.7 KB · Views: 174
 -
 MVIMG_20190317_105734-756x1008.jpg97 KB · Views: 180
 -
 IMG_20190317_161248-756x1008.jpg85.6 KB · Views: 180
 -
 IMG_20190317_171629-1008x756.jpg157.5 KB · Views: 187
 -
 MVIMG_20190317_171726-1008x756.jpg100.2 KB · Views: 199
 -
 IMG_20190317_161140-1008x756.jpg93.8 KB · Views: 205
 -
 IMG_20190317_175752-1008x756.jpg111.9 KB · Views: 183

