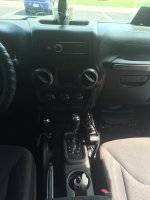
I've had the Pioneer AVIC-5200NEX head unit in my '07 JK for about a week now. So far I am very happy with it. The install wasn't exactly difficult but it was very time consuming mainly because I like a clean install. A good part of that time was installing and routing the power & video cables for the forward and rear looking cameras.
Here is what came with the kit I bought off of Crutchfield:
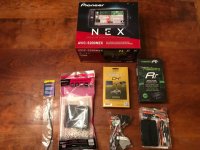
I opted for the more expensive/ capable install gear because I wanted the engine diagnostics/display that you get with the datalink Maestro compatibility kit (which you have to configure for your vehicle on their website via an USB cable - you need a computer for this).
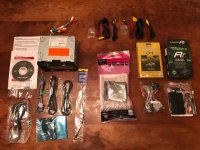
Here are all of the wiring harnesses that came with the kit (not all were used because I did not have the factory Uconnect module and wiring harnesses) and my front and rear cameras:
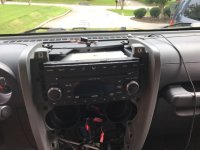
Removing the OEM head unit:
View of the back of the head unit and wiring harnesses. I did not have Uconnect or it's module:
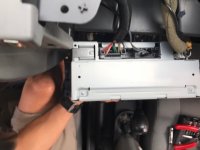
Head unit removed, notice the metal support bracket in the back of the cavity (ignore the wire hanger I'm using at this moment to route my back-up/rear camera video cable):
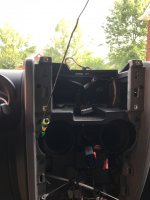
It took me a while to figure out what to do with the metal support that needs to be modified or removed to allow a double DIN head unit to be installed. The Crutchfield directions simply say to remove it. Several forums and YouTube videos say to cut the top cross member out with a an angle grinder or some type of circular saw. I finally decided to "simply" remove the bracket.
This was not simple and was much more time consuming then I expected, taking more than an hour. I thought it would take me about 15 minutes. I used a box cutter to remove the upper trim plastic that also needs to removed to install the head unit and also gain the required clearance (barely) to remove the bracket. I then removed the 8mm bolts the bracket to the firewall / structure of the Jeep. I then removed the 7mm bolts that supported the trim that I had already cut off. I removed the "Christmas tree" wire tie supports that are affixed to the bracket which held the main wiring harness that runs between the center ventilation vents. Now I had a ton of fun maneuvering the bracket to finally get it out of the head unit area without damaging any wiring harnesses or frankly anything else. I had to carefully force it out until it was in this position:
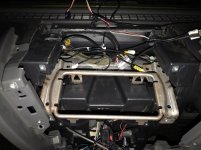
Here is why a double-DIN head unit won't fit into this OEM support bracket:
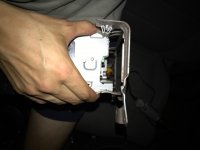
Now the rest of the install (of the head unit) went easily. I did have to open up a few of the mounting bracket holes so that the bracket would mount flush without straining the plastic. It took me a few test fits before I got it right. Here is a picture of me test fitting the head unit and brackets:
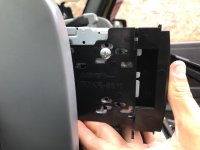
You can see in this posture that the support bracket on the left side is not lined up flush:
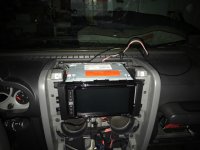
Here is the completed install:
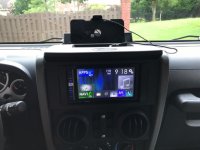
A few pictures of a couple menus:
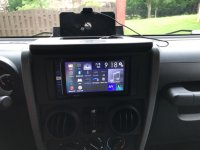
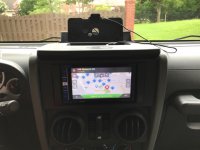
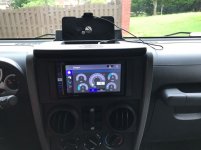
I don't have a picture of the Apple CarPlay menus because I used my iPhone to take these pictures.
My experience over the last week has been great. The Blue Tooth works very well as does Apple CarPlay and the hands free features. My wife can hear me while I'm driving on the highway through the microphone that came with the head unit. The camera displays are clear. I still have a lot of learning to do with this head unit because the menus and features are configurable.
One final note, I did have to update the firmware for the head unit after installing it. It was pretty easy to install as long as you have a spare empty USB thumb drive (2GB or larger). You do have to download the firmware from Pioneer's website so again you need a computer. The latest firmware came out in February 2017. You have to plug the USB drive into the USB1 port which just happens to be the same USB Input port that your Apple Lightning connector needs to be plugged into for Apple CarPlay. That was annoying because I had to open the dash back up and slide the head unit forward. Not a big deal but frustrating that you can't use either port...I have an USB extender cable installed in the USB input port 2 so that would have made the update easy.
'07 JKUR ... mod'ing never stops...


