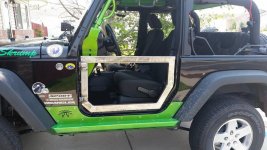
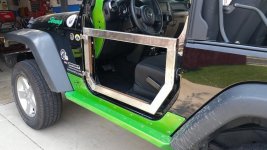
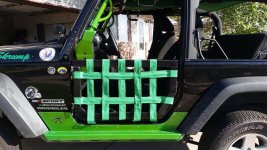
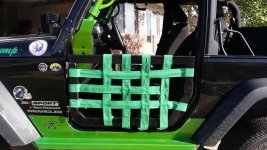
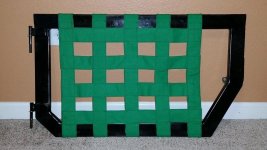
Well after seeing a few folks making their own tube doors, I thought I'd give it a go. Using rectangle tube as I had a bunch given to me. Its 1" x 2 1/2", pretty rusty but it cleans up. Sat down with my CAD software and figured out the angles and lengths. The hinge pins are 7/16" x 4" bolts welded to some flat stock. They will have stainless washers as shims so they swing without binding on anything.
The parts and pieces laid out after cutting.
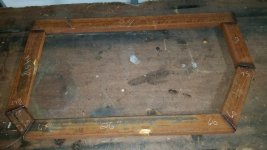
Here is the back side of the first one all welded up.
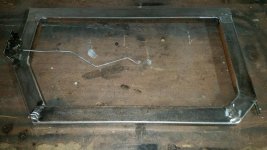
Welded a piece of plate for a latch to be mounted. Father picked up the latches from the salvage yard I think from a chevy truck. They were electric so I took off the electrical parts since those aren't needed. Right now the plan is to cut the linkage rod down and put a loop in it to operate the latch with a finger. Haven't decided whether to weld a tab and a grommet to hold the rod or just let it hang.
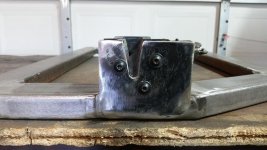
Shot of the hinge pin
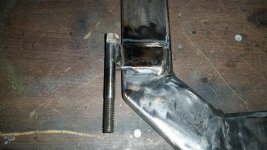
Outside of the door. I have to hit the welding supply store for more gas so the other pin can be welded on and more flap discs for the grinder.
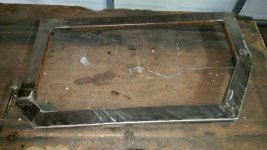
Test fit them and everything seems to be fitting good. Still have a few welds to touch up, not a pro welder, but getting better. Once done I plan to shoot with a etching primer and then paint them black and wrap with 1" webbing similar to a stock car window net. Still need to figure out how that will be installed. Also need to pick up a couple footman loops for the limit straps so they don't open all the way and dent something. Looks a little different from most since its not 1" square or round tube but I rekkon that is what will make it mine.
The parts and pieces laid out after cutting.

Here is the back side of the first one all welded up.

Welded a piece of plate for a latch to be mounted. Father picked up the latches from the salvage yard I think from a chevy truck. They were electric so I took off the electrical parts since those aren't needed. Right now the plan is to cut the linkage rod down and put a loop in it to operate the latch with a finger. Haven't decided whether to weld a tab and a grommet to hold the rod or just let it hang.

Shot of the hinge pin

Outside of the door. I have to hit the welding supply store for more gas so the other pin can be welded on and more flap discs for the grinder.

Test fit them and everything seems to be fitting good. Still have a few welds to touch up, not a pro welder, but getting better. Once done I plan to shoot with a etching primer and then paint them black and wrap with 1" webbing similar to a stock car window net. Still need to figure out how that will be installed. Also need to pick up a couple footman loops for the limit straps so they don't open all the way and dent something. Looks a little different from most since its not 1" square or round tube but I rekkon that is what will make it mine.

