Just like any Jeep right off the showroom floor, our Jeep Renegade Trailhawk had a stance that made it look like it was wearing a pair of skinny jeans. I mean, the Renegade itself looks great but the wheels and tires just looked way too narrow and tucked way too far inside the fenders. Needless to say, Cindy and I have been wanting to give our Renegade a slightly wider stance to help this out since day one but wasn't exactly sure how best to do that. Probably the best solution would be to get new wheels with an offset or back spacing that would push the wheels further out but, that would also be one of the most expensive options. Now, if there were a set of wheels in a bolt pattern that we need that we actually liked, we may have gone that route but unfortunately, there isn't or at least, not as of yet. Of course, as crazy as it may sound, we actually really like the factory Trailhawk wheels and so for now, we decided to just run them with a set of 25mm (about 1") wheel spacers. The best part is, going this route will only put you back about $125.
What you will need
• (4) 25mm (1") HUBCENTRIC 5x110 Wheel Spacers w/12x1.5 Studs (20) Lug Nuts
• 17mm, 19mm Socket
• Ratchet
• Ft. Lb. Torque Wrench
• Red Loctite
• Floor Jack
• Brake Cleaner
Instructions
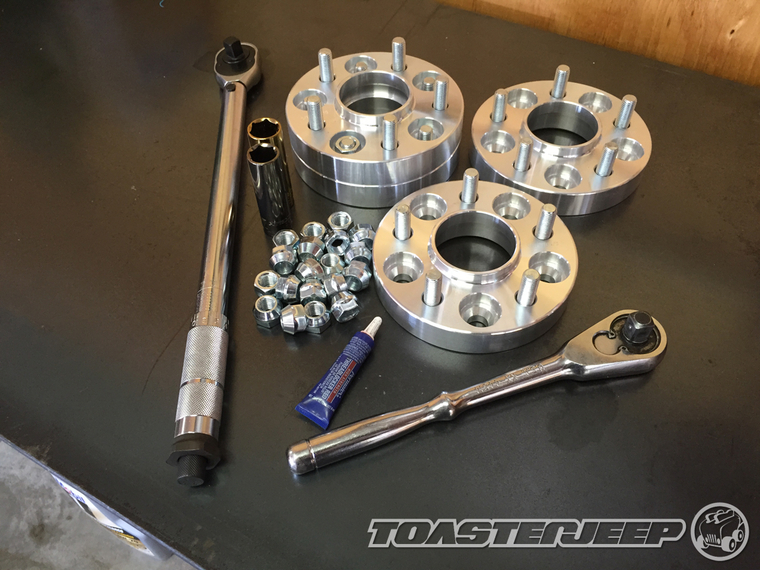
Here is a shot of everything you will get with your new wheel spacers. Make sure that you have all 20 lug nuts and red loc-tite before you start this installation.
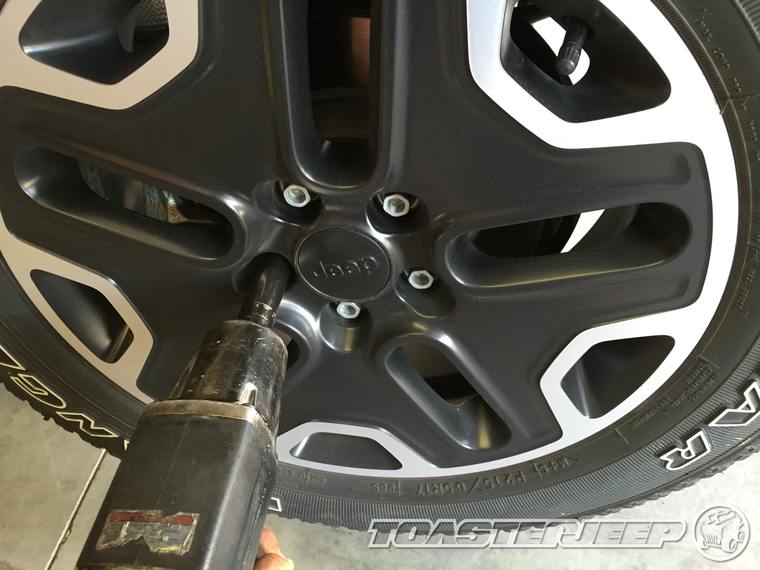
1. Starting from the driver side rear wheel, loosen but do not remove the lug bolts on your Jeep Renegade using a 17mm socket or lug wrench. Then, using a floor jack, raise the wheel you will be working on from the chassis rail close to the wheel until it is off the ground and then remove the bolts.
2. While the Renegade does use hubcentric wheels, the hub ring will not be enough to hold the wheel up with the all the bolts removed. Be sure to push or hold the wheel in place as you remove the last bolt or else it will just fall off. Set aside your wheel for now.
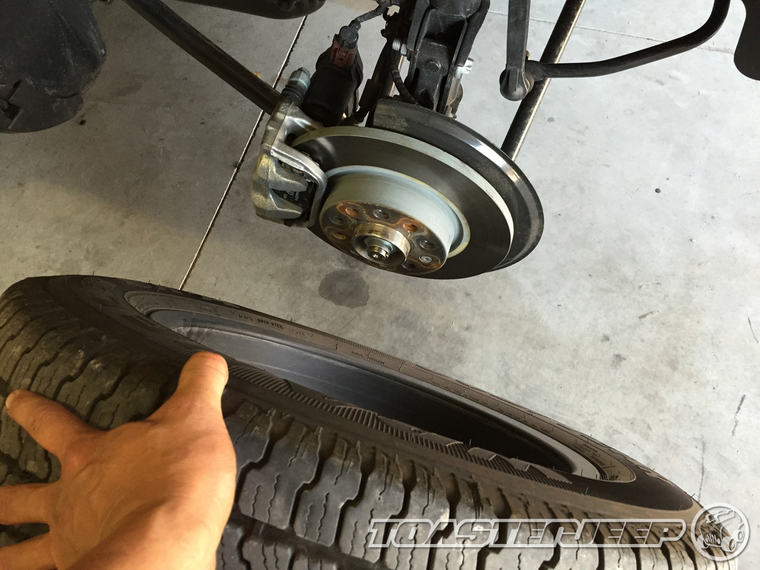
3. Take some time to inspect the surface of your rotor and clean the surface of any sand or dirt that might be on it with some brake cleaner.
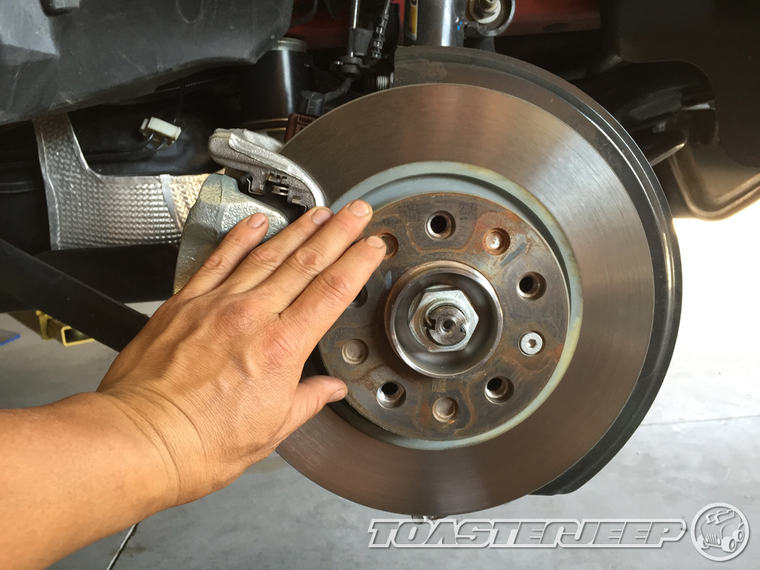
4. Install one of your new wheel spacers onto your Jeep Renegade's axle.
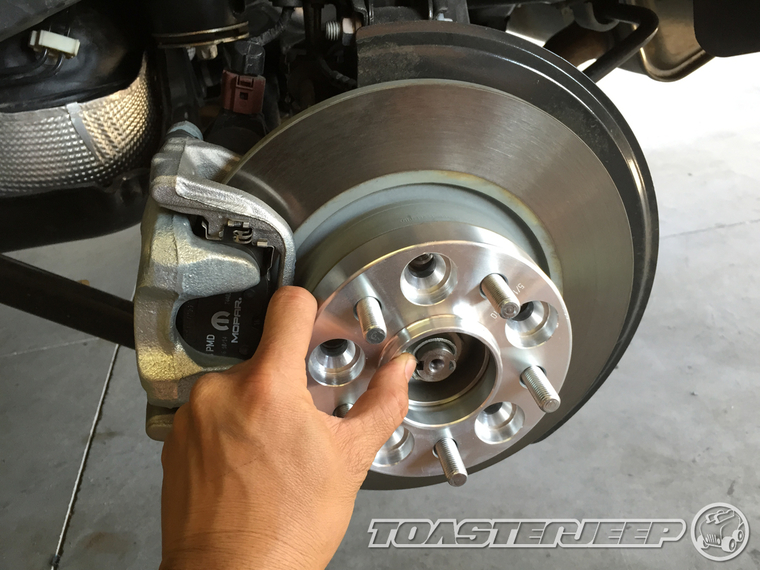
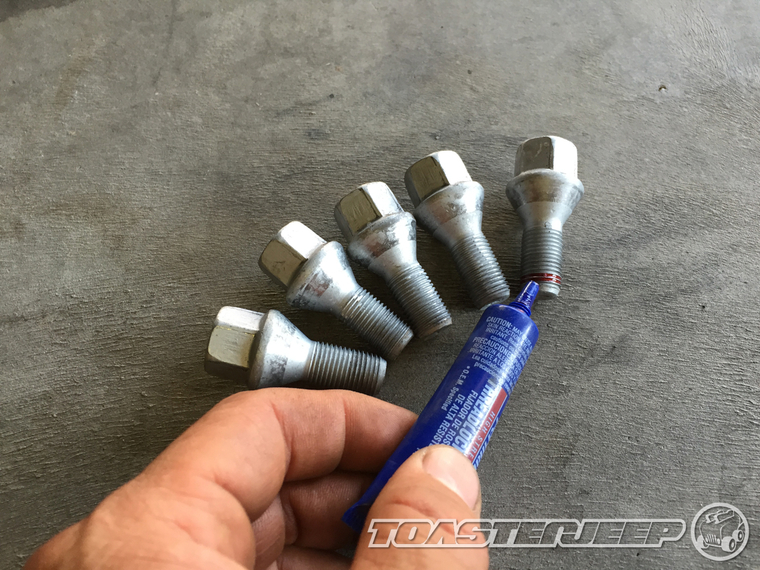
5. Apply a dab of red loc-tite to the threads of the 5 factory bolts you have removed.
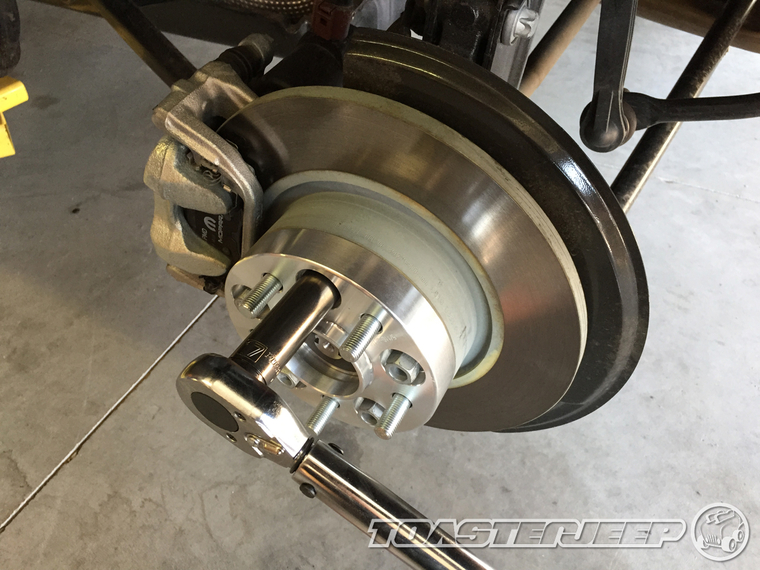
6. Engage your parking brake and then, using a 17mm socket, secure your wheel spacer in place making sure to slowly tighten the nuts in a 5 point star pattern. Tighten all the bolts to 95 ft. lbs. of torque. For your front wheels, you want to have a friend help out by stepping on the brake pedal while you do this.
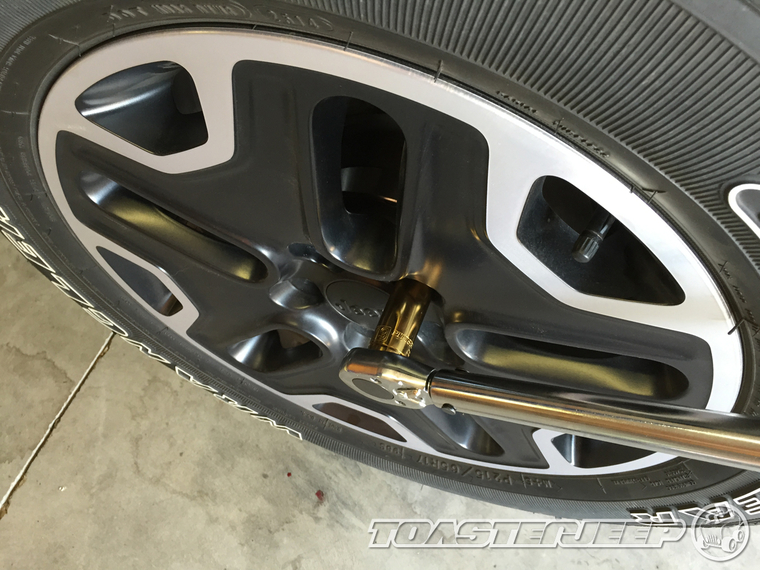
7. Reinstall your wheel onto your wheel spacer and secure it in place using the lug nuts provided. Using a 19mm socket, tighten these nuts in a 5 point star pattern and to 95 ft. lbs. of torque.
8. After 100 miles of use, it is important to check the torque on all your wheel spacer lug nuts to make sure that none of them have come loose. You do not want to over torque the nuts and break the loc-tite so just make sure they do not move when tightened to the SAME torque setting. Also, I would recommend that you at least do a visual inspection of them at every tire rotation which, if you are now running big off road tires, should be about once every 3,000 miles.
Before & After Photos
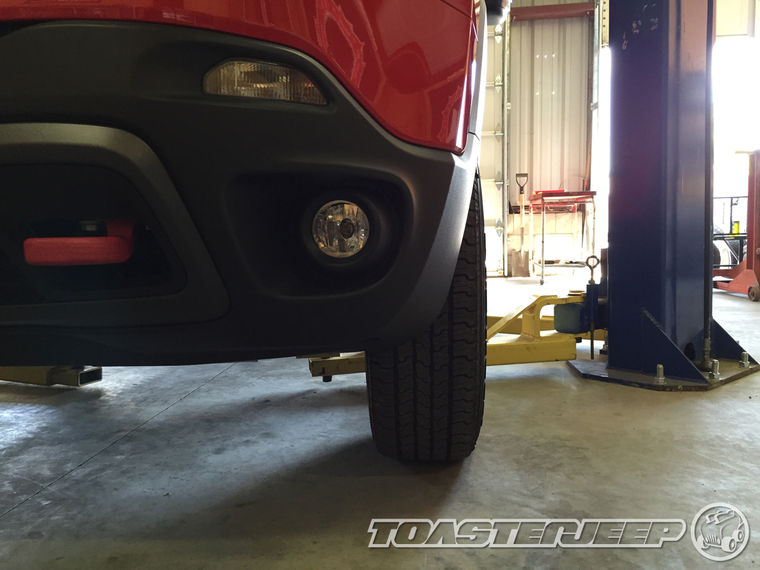
Below are a few before and after photos that I took that will illustrate the difference you will see with and without wheel spacers installed on a Jeep Renegade Trailhawk running factory wheels and tires. First, here's a view from the front before the spacers.
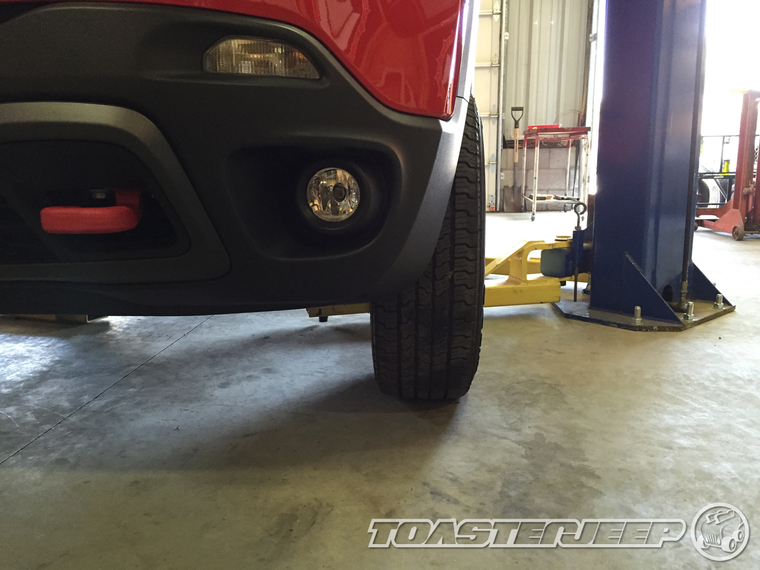
And here's the after shot with a 25mm wheel spacer installed.
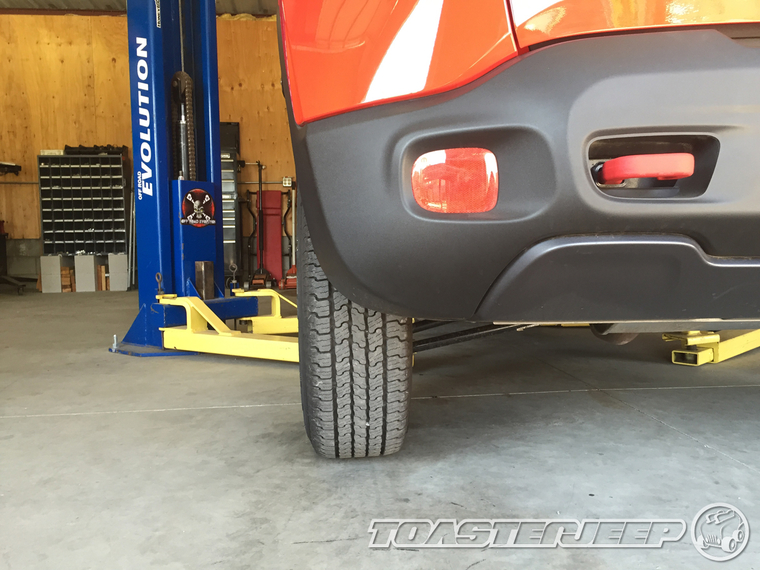
Here's a before view from the rear without spacers.
And, here's the same view of the rear after installing a 25mm wheel spacer.
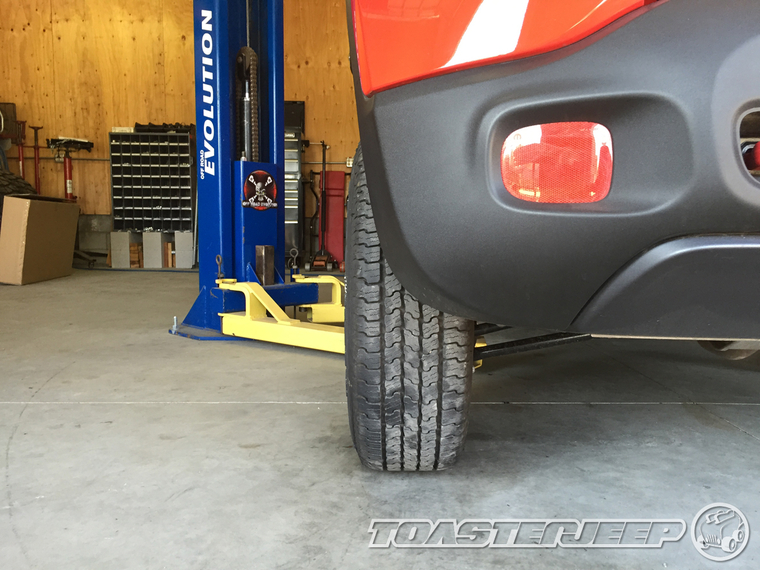
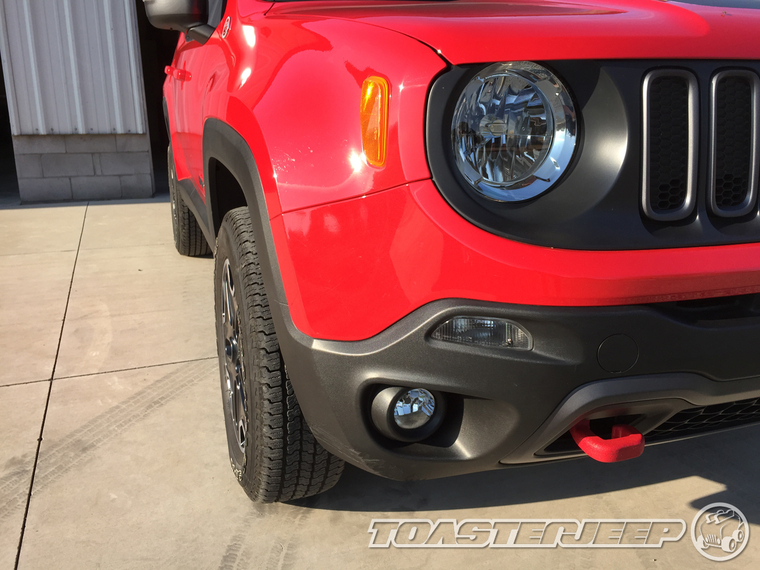
As you can see, the difference isn't huge. The wheel spacers simply bring the face of your factory wheels and tires a bit out and sitting more flush with the edge of the fender as opposed to being tucked far inside of it. Overall, I think it still gives our Renegade Trailhawk a factory look only with a nicer stance. Of course, with 25mm spacers, we could easily run a set of new 16" wheels and at that size, there are a myriad of all terrain and even a few mud terrain tires you can choose from.
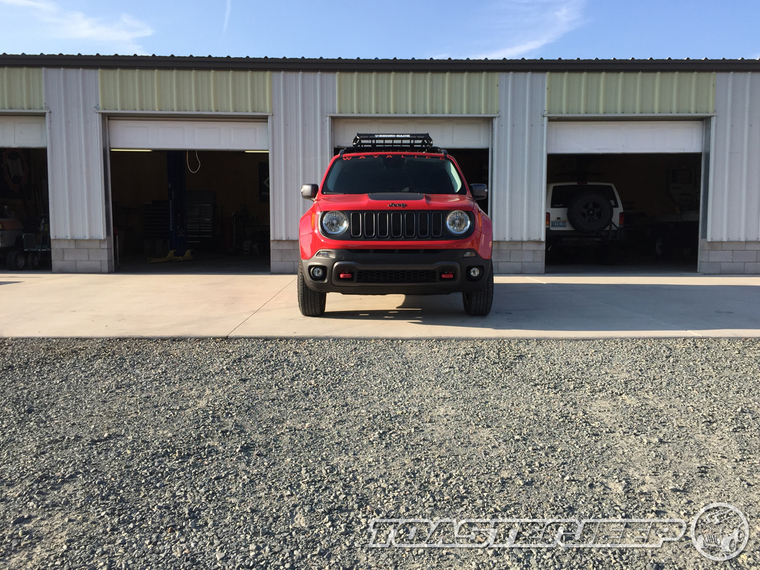
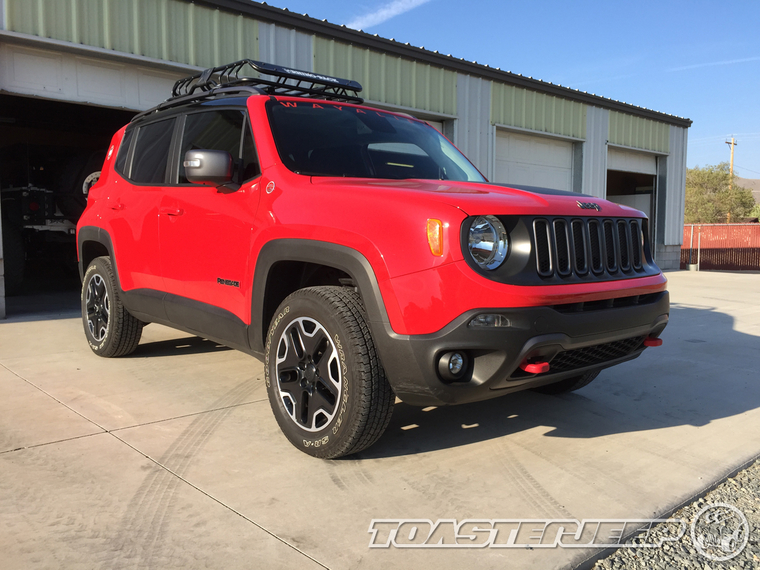
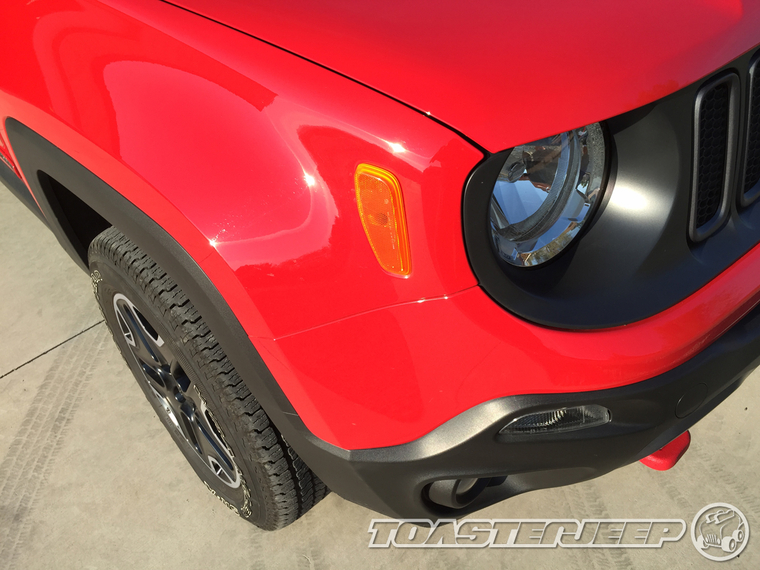
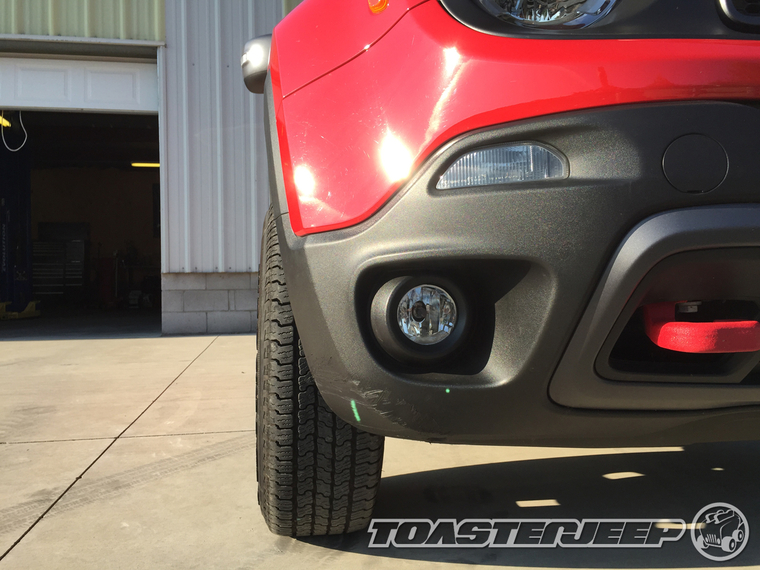
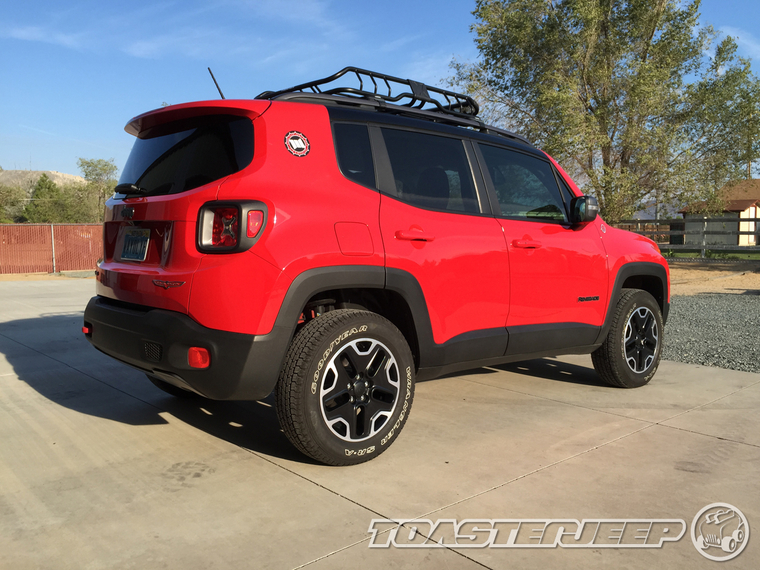
Here are a few more overall shots to show you what our Jeep Renegade Trailhawk now looks like with it's new wheel spacers installed.
Are wheel spacers safe to use?
Are wheel spacers dangerous to use or cause unusual stress to your axle? High quality wheel spacers like the kind that bolts up to your axle and then your wheels to them are no more dangerous or cause any more stress to your axles then would a wheel with less backspacing. Anyone who tries to tell you otherwise doesn’t know what they’re talking about and I have yet to hear a single good or specific explanation as to exactly how they are worse. Just to be clear, the thin cheap spacers (the kind that you can get at Pep Boys and are sandwiched between your wheel and axle using the existing wheel studs) are in fact EXTREMELY DANGEROUS and should not be used.
As is the case with any modification you make, it is your responsibility to inspect and maintain the components on your Jeep and on a regular basis.
What you will need
• (4) 25mm (1") HUBCENTRIC 5x110 Wheel Spacers w/12x1.5 Studs (20) Lug Nuts
• 17mm, 19mm Socket
• Ratchet
• Ft. Lb. Torque Wrench
• Red Loctite
• Floor Jack
• Brake Cleaner
Instructions
Here is a shot of everything you will get with your new wheel spacers. Make sure that you have all 20 lug nuts and red loc-tite before you start this installation.
1. Starting from the driver side rear wheel, loosen but do not remove the lug bolts on your Jeep Renegade using a 17mm socket or lug wrench. Then, using a floor jack, raise the wheel you will be working on from the chassis rail close to the wheel until it is off the ground and then remove the bolts.
2. While the Renegade does use hubcentric wheels, the hub ring will not be enough to hold the wheel up with the all the bolts removed. Be sure to push or hold the wheel in place as you remove the last bolt or else it will just fall off. Set aside your wheel for now.
3. Take some time to inspect the surface of your rotor and clean the surface of any sand or dirt that might be on it with some brake cleaner.
4. Install one of your new wheel spacers onto your Jeep Renegade's axle.
5. Apply a dab of red loc-tite to the threads of the 5 factory bolts you have removed.
6. Engage your parking brake and then, using a 17mm socket, secure your wheel spacer in place making sure to slowly tighten the nuts in a 5 point star pattern. Tighten all the bolts to 95 ft. lbs. of torque. For your front wheels, you want to have a friend help out by stepping on the brake pedal while you do this.
7. Reinstall your wheel onto your wheel spacer and secure it in place using the lug nuts provided. Using a 19mm socket, tighten these nuts in a 5 point star pattern and to 95 ft. lbs. of torque.
8. After 100 miles of use, it is important to check the torque on all your wheel spacer lug nuts to make sure that none of them have come loose. You do not want to over torque the nuts and break the loc-tite so just make sure they do not move when tightened to the SAME torque setting. Also, I would recommend that you at least do a visual inspection of them at every tire rotation which, if you are now running big off road tires, should be about once every 3,000 miles.
Before & After Photos
Below are a few before and after photos that I took that will illustrate the difference you will see with and without wheel spacers installed on a Jeep Renegade Trailhawk running factory wheels and tires. First, here's a view from the front before the spacers.
And here's the after shot with a 25mm wheel spacer installed.
Here's a before view from the rear without spacers.
And, here's the same view of the rear after installing a 25mm wheel spacer.
As you can see, the difference isn't huge. The wheel spacers simply bring the face of your factory wheels and tires a bit out and sitting more flush with the edge of the fender as opposed to being tucked far inside of it. Overall, I think it still gives our Renegade Trailhawk a factory look only with a nicer stance. Of course, with 25mm spacers, we could easily run a set of new 16" wheels and at that size, there are a myriad of all terrain and even a few mud terrain tires you can choose from.
Here are a few more overall shots to show you what our Jeep Renegade Trailhawk now looks like with it's new wheel spacers installed.
Are wheel spacers safe to use?
Are wheel spacers dangerous to use or cause unusual stress to your axle? High quality wheel spacers like the kind that bolts up to your axle and then your wheels to them are no more dangerous or cause any more stress to your axles then would a wheel with less backspacing. Anyone who tries to tell you otherwise doesn’t know what they’re talking about and I have yet to hear a single good or specific explanation as to exactly how they are worse. Just to be clear, the thin cheap spacers (the kind that you can get at Pep Boys and are sandwiched between your wheel and axle using the existing wheel studs) are in fact EXTREMELY DANGEROUS and should not be used.
As is the case with any modification you make, it is your responsibility to inspect and maintain the components on your Jeep and on a regular basis.

