Chris1015
Member
Hey guys,
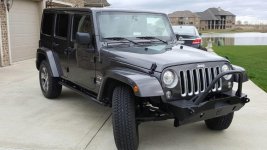
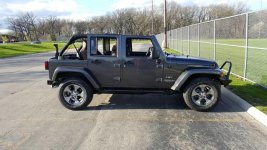
Been wanting to start a build thread, here it is. Working on a 2017 granite crystal metallic Sahara JK. Definitely on a budget and have been working like crazy to keep to it.
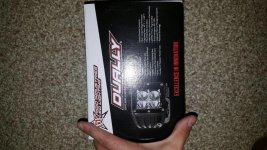
Finally got some armor sent in a few weeks ago and been trying to tackle pieces here and there. Got them powder coated black. Also got UPS brought me my Warn 10-S winch and Rigid Industries dually mount square LED lights.
I've never worked on a car/Jeep before. Plan is to do the armor myself and let Trail Jeeps in Golden do the regearing/welding.
I'd like to mention a lot of you gave me the spark to take on wrenching myself from former topics I've made and reading others here, so thanks for the inspiration and the frustration that comes along with wrenching. [emoji16]
Here's what has gone right so far:
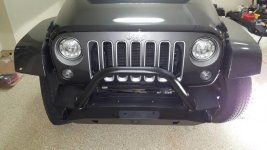
JCR Mauler stubby front bumper
At Bat:
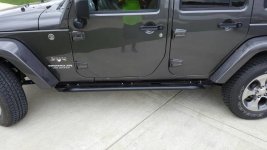
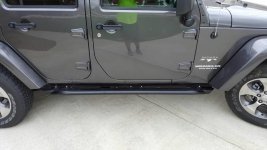
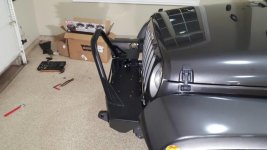
JCR Classic Rock Sliders (in progress)
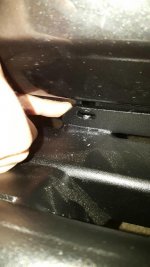
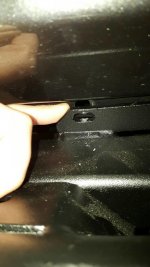
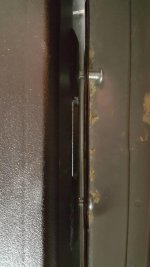
Currently in the garage stumped as to why the body seam does not meet flush with the rock bar. HELP/SUGGESTIONS would be greatly appreciated with this!
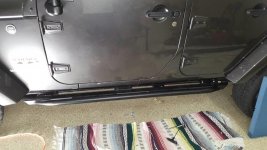
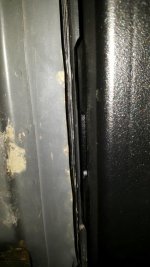 (if you look close the powdered black does not meet flush up against the seam. I am currently stumped)
On deck:
JCR front skid plate
JCR rear mid width bumper
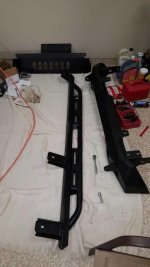
In the hole:
Warn 10-S winch
Rigid Industries dually square LED lights (they fit at the bumper)
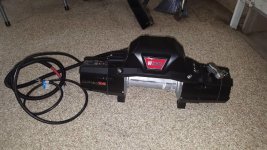
If anyone can help with the sliders that would be greatly appreciated.
I'll keep posting as I progress. Hopefully sooner rather than later.
Sent from my SAMSUNG-SM-G920A using WAYALIFE mobile app
Been wanting to start a build thread, here it is. Working on a 2017 granite crystal metallic Sahara JK. Definitely on a budget and have been working like crazy to keep to it.
Finally got some armor sent in a few weeks ago and been trying to tackle pieces here and there. Got them powder coated black. Also got UPS brought me my Warn 10-S winch and Rigid Industries dually mount square LED lights.
I've never worked on a car/Jeep before. Plan is to do the armor myself and let Trail Jeeps in Golden do the regearing/welding.
I'd like to mention a lot of you gave me the spark to take on wrenching myself from former topics I've made and reading others here, so thanks for the inspiration and the frustration that comes along with wrenching. [emoji16]
Here's what has gone right so far:
JCR Mauler stubby front bumper


At Bat:
JCR Classic Rock Sliders (in progress)
Currently in the garage stumped as to why the body seam does not meet flush with the rock bar. HELP/SUGGESTIONS would be greatly appreciated with this!

 (if you look close the powdered black does not meet flush up against the seam. I am currently stumped)
On deck:
JCR front skid plate
JCR rear mid width bumper

In the hole:
Warn 10-S winch
Rigid Industries dually square LED lights (they fit at the bumper)

If anyone can help with the sliders that would be greatly appreciated.
I'll keep posting as I progress. Hopefully sooner rather than later.
Sent from my SAMSUNG-SM-G920A using WAYALIFE mobile app

