WxNerd2015
New member
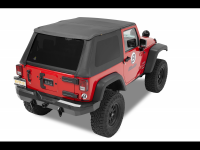
Jeep 2011 Wrangler Stone & Bug Deflector Part #: 50169 Install
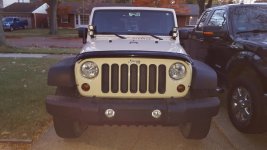
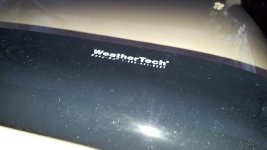
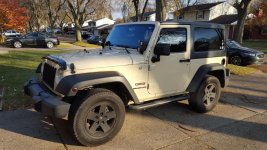
Well, ExtremeTerrain and UPS came through pretty fast yesterday! I got home from work and my WeatherTech Bug Guard/Rock Deflector was sitting on the porch!
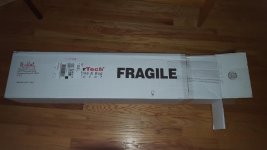
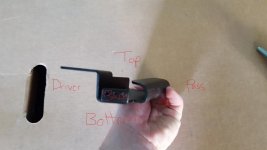
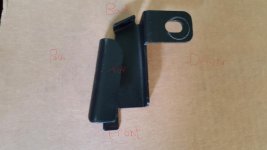
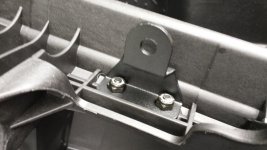
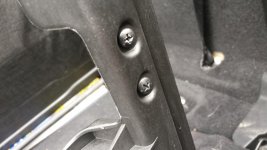
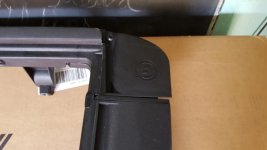
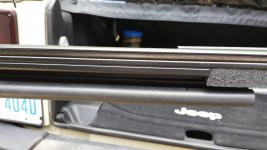
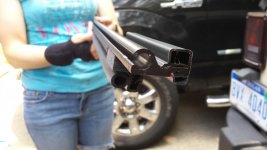
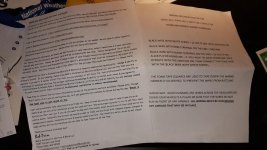
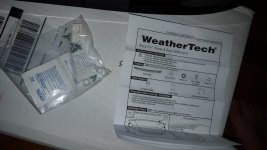
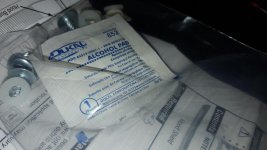
First off, I opened up the box to see what all I got, and found just a few simple things, which is exactly what I was looking for! I found the deflector itself (wrapped in shrink wrap and ends protected by a bit of bubble wrap), the directions (which this is a pretty straight forward install so…no exactly needed, but good!), and a small bag with 4 screws/nuts/washers, 2 alcohol pads, and 2 pairs of bumpers (the clear silicone bubbles which you stick on the vehicle in places the deflector may bump/rub the vehicle.
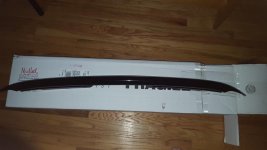
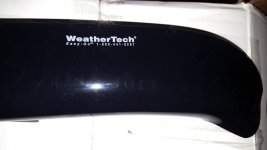
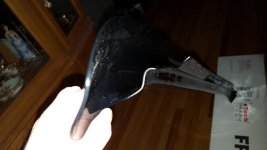
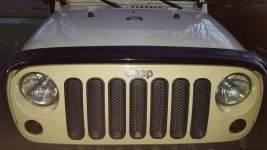
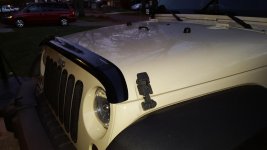
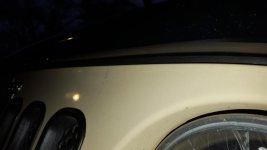
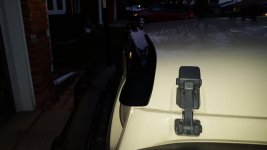
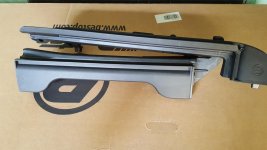
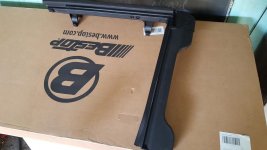
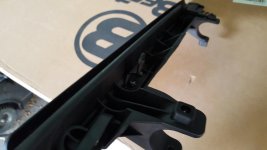
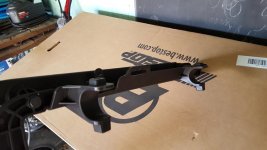
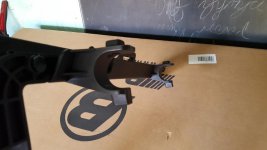
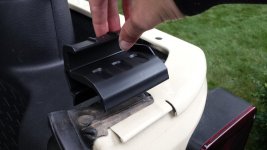
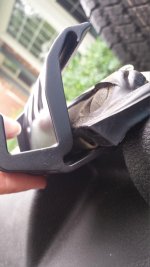
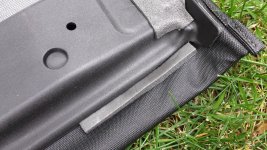
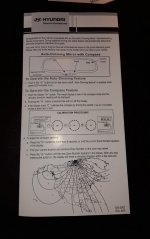
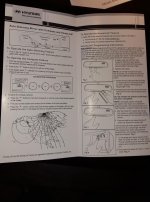
So first off, I went and tore open the shrink wrap and took the deflector out to test fit and make sure all was ok before I actually got into the installation. The fit is extremely straight forward and I would even say almost idiot proof! Which is extremely good, as their directions are a bit lacking, and the diagrams absolutely suck, and most don’t even apply for the Wranglers as they are generic directions! WeatherTech has this engineering, design, and built perfectly to fit like a glove to the front of the Jeep! There is a lip at the front edge of the hood just on the underside, and there is a corresponding groove the deflector itself, and these two fit seamlessly together, making the front to back placement of the deflector a breeze and no brainer as all you have to do is just push the deflector up into the groove and it will be secured there! The only adjust you have to worry about is the horizontal placement of the deflector, making sure that it is even left and right, which is not that hard of a task to do either.
So with the test fit confirmed and everything seeming straight forward and ready to go, I started the install!
1. I grabbed some paper towel and Windex (as I did not have time to wash the whole Jeep, I just needed a few spots cleaned) and wiped down the areas where things would be stuck to, such as the top edge of the grill where the deflector could make contact with and I wanted to put a bumper on either side there, and the front edge of the hood and the underside of the front of the hood where the deflector will be stuck to with the automotive 3M tape.
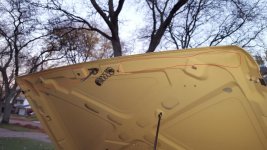
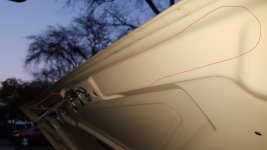
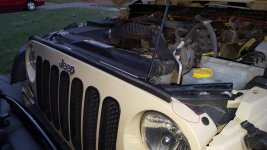
2. Once sprayed and wiped with Windex 3 or 4 times to ensure everything was completely clean, I took one of the include alcohol wipes and wiped down the areas that I just cleaned with Windex.
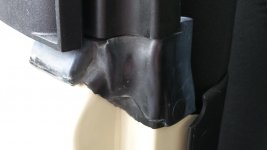
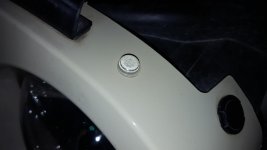
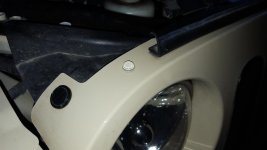
3. Completely sure now that those areas could not be any cleaner, I then grabbed one of the pairs the silicone “bubbles” and places one on either side of the weather stripping on the top edge of the grill, just to ensure that no rubbing will take place there.
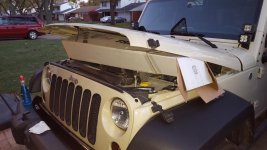
4. I then grabbed the shipping box and stuck it under the hood so that I could lower the hood some and be working at a more convenient height for me and to get better leverage to make sure the deflector secures to the hood well.
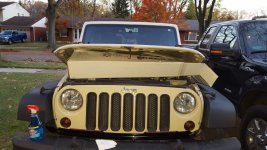
5. I then test fit again with the deflector ensuring that all was in good shape and ready to go on.
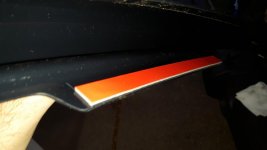
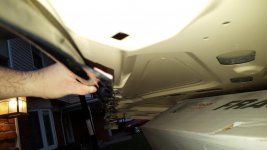
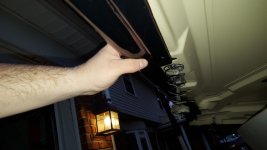
6. I then pulled the backing off the Automotive 3M tape that came attached to the Deflector and very carefully lines up where I wanted to put the deflector on, as when that automotive 3M tape makes contact, it sticks really good!
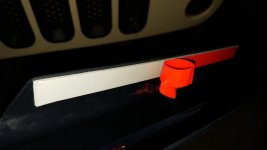
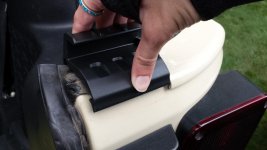
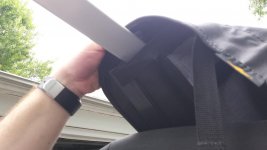
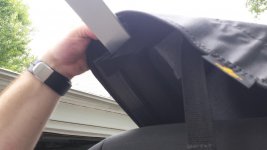
7. Once I was happy and confident that I had the proper location, I push the deflector up into the proper groove and applied pressure to the tabs which had the 3M tape on then to the hood. With a hand on the top of the hood pushing down and my other hand pushing back up.
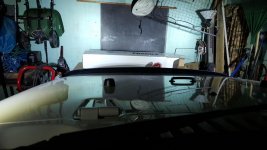
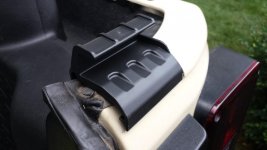
8. I applied pressure for around 30-60 second, and then gave a few pulls and wiggles on the deflector to see if it was secured to the hood, and it was solidly secured! It was not going anywhere!
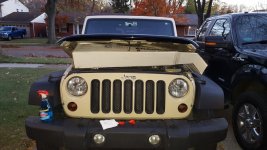
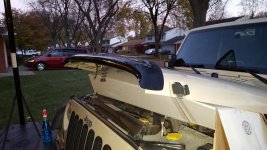
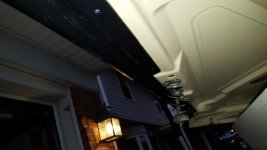
Well, ExtremeTerrain and UPS came through pretty fast yesterday! I got home from work and my WeatherTech Bug Guard/Rock Deflector was sitting on the porch!

First off, I opened up the box to see what all I got, and found just a few simple things, which is exactly what I was looking for! I found the deflector itself (wrapped in shrink wrap and ends protected by a bit of bubble wrap), the directions (which this is a pretty straight forward install so…no exactly needed, but good!), and a small bag with 4 screws/nuts/washers, 2 alcohol pads, and 2 pairs of bumpers (the clear silicone bubbles which you stick on the vehicle in places the deflector may bump/rub the vehicle.


So first off, I went and tore open the shrink wrap and took the deflector out to test fit and make sure all was ok before I actually got into the installation. The fit is extremely straight forward and I would even say almost idiot proof! Which is extremely good, as their directions are a bit lacking, and the diagrams absolutely suck, and most don’t even apply for the Wranglers as they are generic directions! WeatherTech has this engineering, design, and built perfectly to fit like a glove to the front of the Jeep! There is a lip at the front edge of the hood just on the underside, and there is a corresponding groove the deflector itself, and these two fit seamlessly together, making the front to back placement of the deflector a breeze and no brainer as all you have to do is just push the deflector up into the groove and it will be secured there! The only adjust you have to worry about is the horizontal placement of the deflector, making sure that it is even left and right, which is not that hard of a task to do either.
So with the test fit confirmed and everything seeming straight forward and ready to go, I started the install!
1. I grabbed some paper towel and Windex (as I did not have time to wash the whole Jeep, I just needed a few spots cleaned) and wiped down the areas where things would be stuck to, such as the top edge of the grill where the deflector could make contact with and I wanted to put a bumper on either side there, and the front edge of the hood and the underside of the front of the hood where the deflector will be stuck to with the automotive 3M tape.


2. Once sprayed and wiped with Windex 3 or 4 times to ensure everything was completely clean, I took one of the include alcohol wipes and wiped down the areas that I just cleaned with Windex.

3. Completely sure now that those areas could not be any cleaner, I then grabbed one of the pairs the silicone “bubbles” and places one on either side of the weather stripping on the top edge of the grill, just to ensure that no rubbing will take place there.


4. I then grabbed the shipping box and stuck it under the hood so that I could lower the hood some and be working at a more convenient height for me and to get better leverage to make sure the deflector secures to the hood well.


5. I then test fit again with the deflector ensuring that all was in good shape and ready to go on.


6. I then pulled the backing off the Automotive 3M tape that came attached to the Deflector and very carefully lines up where I wanted to put the deflector on, as when that automotive 3M tape makes contact, it sticks really good!

7. Once I was happy and confident that I had the proper location, I push the deflector up into the proper groove and applied pressure to the tabs which had the 3M tape on then to the hood. With a hand on the top of the hood pushing down and my other hand pushing back up.
8. I applied pressure for around 30-60 second, and then gave a few pulls and wiggles on the deflector to see if it was secured to the hood, and it was solidly secured! It was not going anywhere!


