ERAUGrad04
Caught the Bug
I had posted a few comments about my backup camera installation in another thread and a few members asked for a write up. Over the weekend, I had to relocate my camera from the spare to the bumper and thought it would be a great opportunity to snap a few pictures and create this little write up.
Mods, if I happen to have this thread in the wrong place, feel free to move it as appropriate. Thanks! :beer:
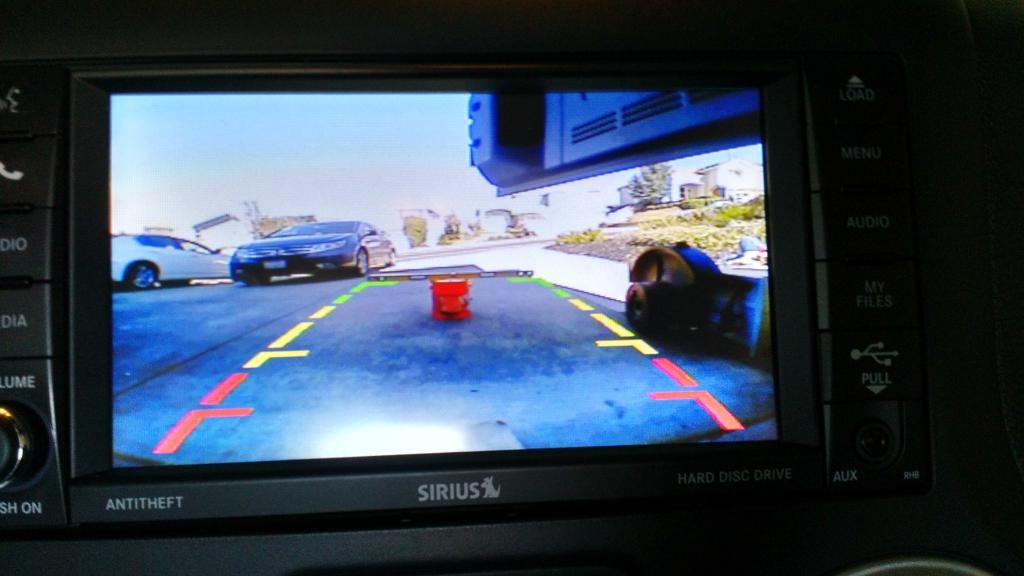
This write up is intended for all who have the 430/730 Nav systems and are looking for a backup camera option. For me, the AEV Fuel Caddy coupled with a 37" tire make hindsight") ) ) nearly non-existent. The camera adds a bit of confidence to backing up and helps ensure you don't accidentally monster truck over some kid's toy behind the Jeep!
) ) nearly non-existent. The camera adds a bit of confidence to backing up and helps ensure you don't accidentally monster truck over some kid's toy behind the Jeep!
Quick note: This install is tailored to folks with an automatic transmission. I'm guessing the same could be accomplished with a manual with some tweaking, however, that is only a guess.
Parts you'll need:
In addition the $36.42 in parts above, you will also need a trip to the dealership to have them activate the rear camera option. This cost can vary greatly depending on dealer and region, but I paid $110 for the computer flash.
Unfortunately, I don't have too many pictures of the interior/dash panel removal, however, there are a few threads here on WAL and a few YouTube videos that helped me get the dash apart.

At this point, re-install all of your interior panels and enjoy a cold beverage of your choice! :beer::beer:
Hope this helps and hope to see you guys on the trail!
-Morgan
Mods, if I happen to have this thread in the wrong place, feel free to move it as appropriate. Thanks! :beer:
This write up is intended for all who have the 430/730 Nav systems and are looking for a backup camera option. For me, the AEV Fuel Caddy coupled with a 37" tire make hindsight
) ) nearly non-existent. The camera adds a bit of confidence to backing up and helps ensure you don't accidentally monster truck over some kid's toy behind the Jeep! Quick note: This install is tailored to folks with an automatic transmission. I'm guessing the same could be accomplished with a manual with some tweaking, however, that is only a guess.
Parts you'll need:
- 1/4" CCD Flush Mount Waterproof Truck Car Reverse Backup Rear View Camera $12.88
- PAC CHYRVD Rear Video Retention Cable For Select Chrysler/Dodge/Jeep Vehicles 2008-2012 $21.55
- Single RCA Type Composite Video Cable $1.99
In addition the $36.42 in parts above, you will also need a trip to the dealership to have them activate the rear camera option. This cost can vary greatly depending on dealer and region, but I paid $110 for the computer flash.
Unfortunately, I don't have too many pictures of the interior/dash panel removal, however, there are a few threads here on WAL and a few YouTube videos that helped me get the dash apart.
- For starters, I would personally recommend a trip to the dealer before connecting your camera. This will allow you to ensure everything works before you put all of your dash and interior panels back together. Ask for the "XAC" code to be flashed to the computer which will enable the backup camera input on the nav unit to become active in reverse. While you have no camera installed, the nav unit will go to a black screen with "CHECK YOUR SURROUNDINGS CAREFULLY" along the top of the screen when the vehicle is placed in reverse if they did the flash correctly.
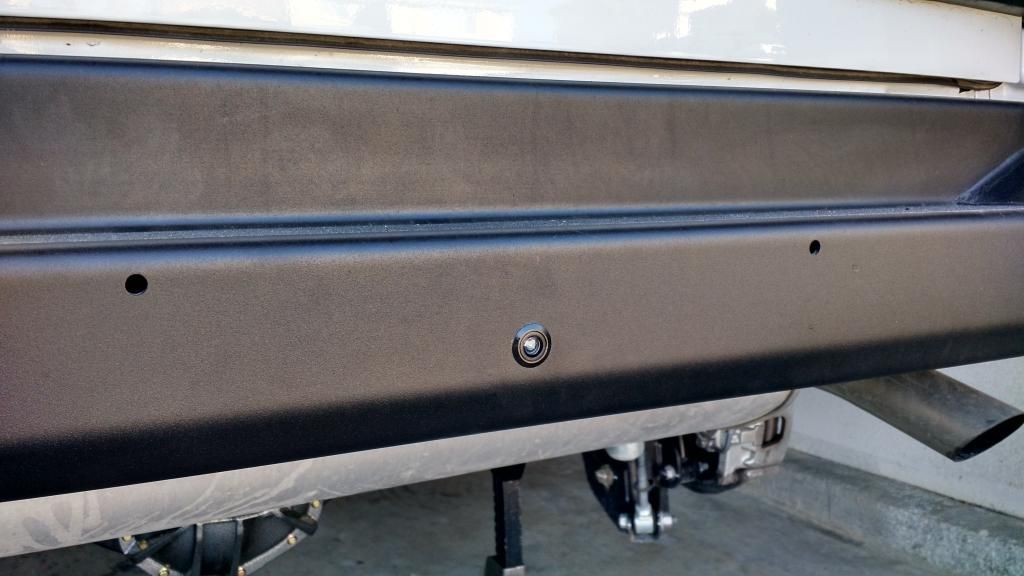
- Next, figure out where you want to mount your camera. After having mine on the spare tire pointed down slightly and finally on the rear bumper looking straight back, I have determined that I personally prefer the bumper location.
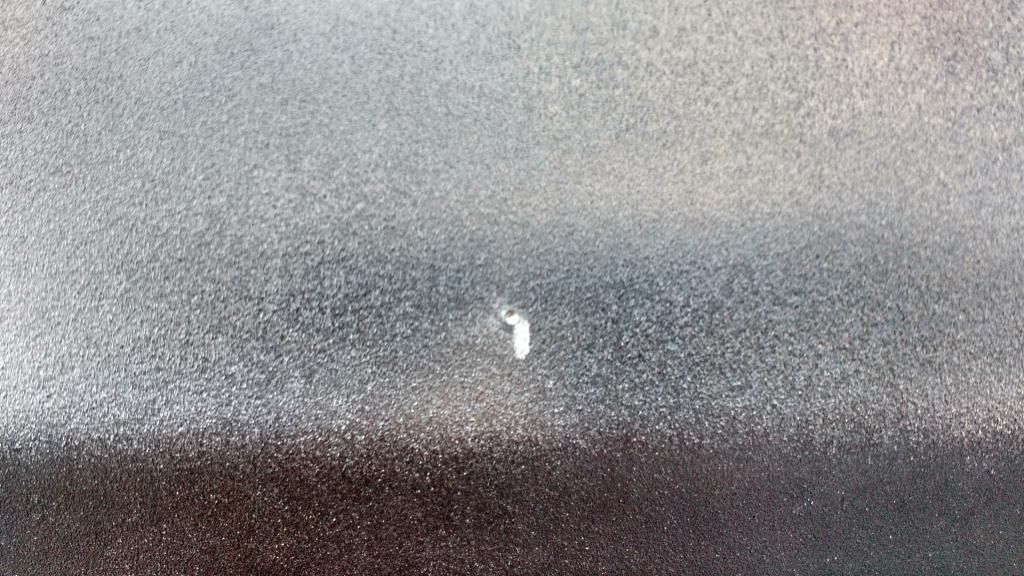
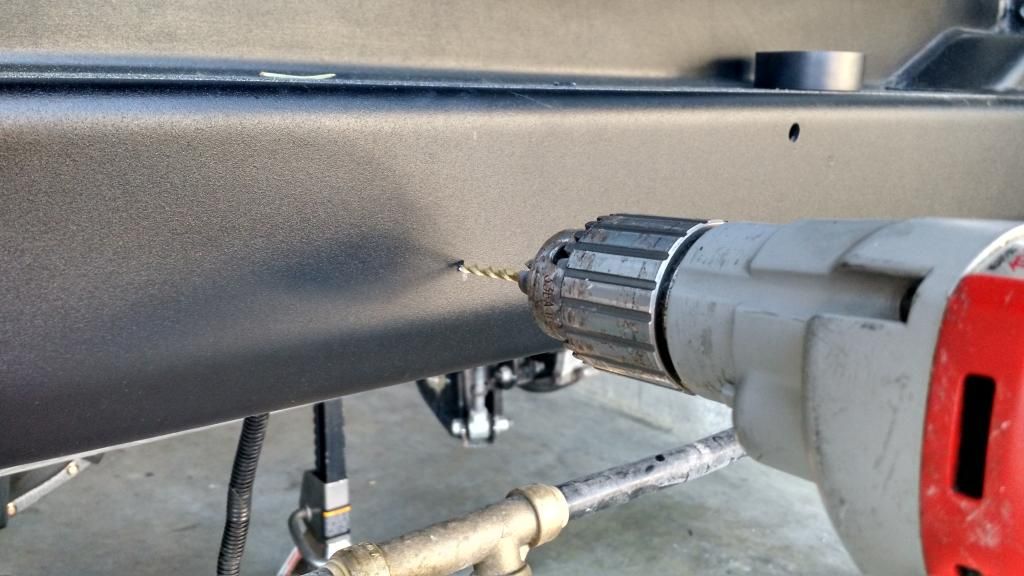
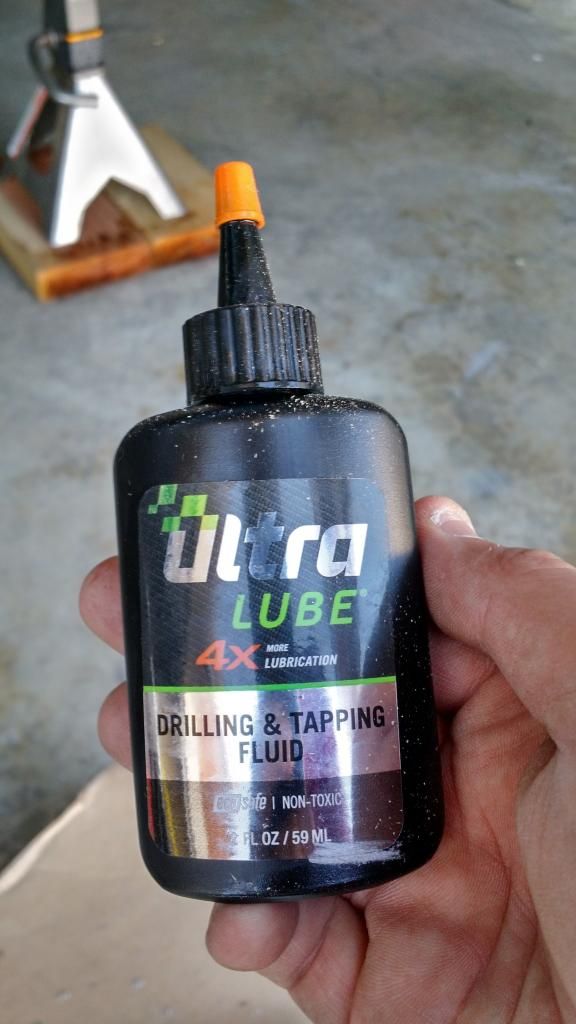
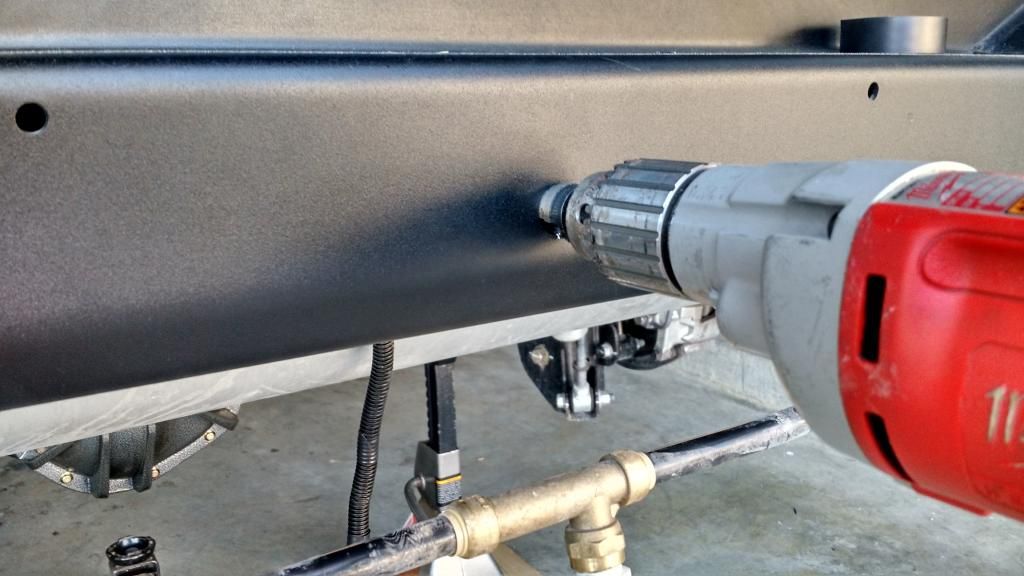
- Once you have settled on a location, you will need to drill a hole. The camera comes with a hole saw, but it is absolute garbage and should only be used on plastic. For grins, I tried to use it to drill through my first bracket for the spare tire mount and the teeth were gone before it even scratched the steel. I find drilling a 1/8" pilot hole first followed up with a step bit is the way to go. The correct diameter hole is .73", however, a 3/4 hole will work well. Be sure to use cutting/drilling oil if drilling into anything thicker than sheet metal. Make sure to touch up the hole to prevent any future corrosion.


- You can now route the wires of the camera through the hole you just drilled, just don't press the camera into the hole yet. Once it's in, it can be very difficult to turn.
- Determine your wire routing strategy. For me, I routed all of the wires through the drain plug in the back of the Jeep under the mat. I just cut a small slit in the rubber grommet, routed the wires and then added a little silicone for weatherproofing.
- Next, you will need to gain access to a power source for your camera. I personally tapped in to the backup light wiring. To do this, remove the interior panels (and subwoofer if applicable) on the right hand side of the Jeep.
- In the far back corner, locate the gray wire with white trace. This will be your backup light wire. Tap into this wire and connect it to the pigtail provided with the camera. Additional wire may be necessary depending on camera mounting location. I would recommend double checking the wire with a multi-meter to ensure you receive power in reverse just in case Jeep changed wire colors along the way.
- The camera will require a ground. Locate a location on the tub to drill in a grounding screw and place an eyelet on the ground wire of the camera.
- I wish I had pictures for the dash removal, but I can't find any from my original installation. You will need to take off the dash panel surrounding the nav unit which also goes around the instrument cluster. To access all of the screws holding this panel on, you will need to remove the power window switch cluster and the panel below the steering wheel. Once you have removed the dash panel, there are 4 bolts holding in the nav unit. Remove these screws and carefully pull the nav unit out of the tray. The factory harnesses are short, however, they are long enough to get the nav unit out of the tray and to access the plug receptacle on the backside.
- On the right hand side of the back of the nav unit, there will be an open receptacle. This is where you will plug in the harness listed above. A quick note about the harness: There are a lot of connections on this harness that are not used. You can either trim and cap all of the unused connectors/wiring or just tie them up neatly and store it behind the nav unit, which is what I chose to do.
- With the harness connected to the nav, connect the video cable to the rear camera plug of the harness and route that cable behind the dash, down the passenger kick panel and to the back of the Jeep under the rocker panels. This cable will connect to the yellow pigtail on the camera.
- At this point, your camera should be operational. Turn the ignition to Run (don't start the vehicle!) and place the vehicle in Reverse. You should see an image on the screen.
- Now it's time to align the camera. I'm a bit OCD so I ensured the Jeep was level (not hard as it was on jackstands for another project) and then placed a 4' level on bucket behind the Jeep. Rotate the camera until the picture displayed is level and then push the camera into the hole. It should be a snug fit. If it is a bit loose due to the size of hole you drilled, a little black RTV should hold it in place.


At this point, re-install all of your interior panels and enjoy a cold beverage of your choice! :beer::beer:
Hope this helps and hope to see you guys on the trail!
-Morgan

