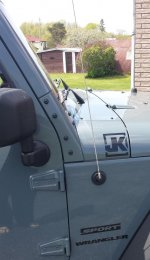
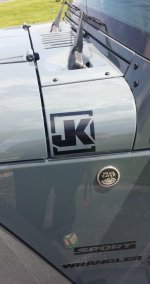
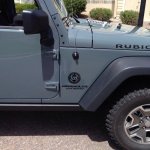
Show off your WAYALIFE Decals!

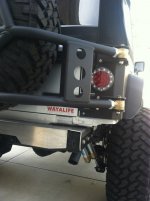
Have always liked this decal, and thought red would be cool. Didnt want it on the cowl though. This might just work.

ImageUploadedByWAYALIFE1399766314.595600.jpg


- Jason
 
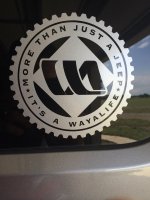
Traded my original window banner (which will be on the sides of the hood once it gets here) for a white WAL banner :D
Just chilling at the lake


Sent from my SCH-R760 using WAYALIFE mobile app
 

Attachments

  • 1399981545553.jpg
    1399981545553.jpg
    70.3 KB · Views: 255
I ordered my decal late Wednesday and received a email saying 5-10 business days to process and a few for shipping. Being in Texas I figured it would take a little while, but to my surprise I just got it in. Definitely just started my weekend off right... But does anyone have any pointers on putting it on? I got the long windshield decal and want a clean application.
 
I ordered my decal late Wednesday and received a email saying 5-10 business days to process and a few for shipping. Being in Texas I figured it would take a little while, but to my surprise I just got it in. Definitely just started my weekend off right... But does anyone have any pointers on putting it on? I got the long windshield decal and want a clean application.

Originally Posted by TNuggs13

Anyone have any tricks or tips on how to get the windshield decal on centered and straight? Got mine in the mail today.


1. Make sure the windshield surface area is clean and dry.


2. Before removing the vinyl decal and top paper layer from it's stiff paper backing, fold the whole thing in half and place a piece of masking tape along the folded crease in the center.


3. Find the center of your windshield and tape the entire intact decal to it using the previously adhered masking tape. Make sure the folded crease on the decal's center is placed along the exact center point of your windshield.


4. Tear half of the decal's stiff paper backing off at the center crease. You should now have one half with a sticky backing and one half without.


5. Carefully adhere the half with the sticky backing to the windshield starting from the center and slowly moving outward.


6. Remove all the remaining stiff paper backing and masking tape from the decal and adhere the other half to the windshield, again starting from the center and slowly moving outward.


7. Reinforce the actual vinyl decals by pressing firmly on the adhered lettering, starting from the center of each letter and moving outward. Apply as much even pressure as you can to each letter, focusing on corners and areas where the letters come to a point.


8. Remove the top paper layer from the actual vinyl decals, starting from an upper corner and pulling downward. Avoid pulling too fast or away from windshield, as this increases the chances of unintentionally removing a vinyl letter. Rather, pull down slowly and along the face of windshield.


9. Open beer. Drink beer. Admire your new WAYALIFE windshield decal!


10. Repeat step 9 as many times as necessary to achieve maximum satisfaction.
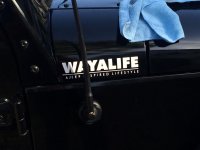
Well I failed these simple steps lol one of the letters ended up touching before I was ready and messed it all up. Thanks for the help though! I'll be ordering another one now. Lol
 
Well I failed these simple steps lol one of the letters ended up touching before I was ready and messed it all up. Thanks for the help though! I'll be ordering another one now. Lol

I also mess mine up the first time. What I did the 2nd time was use masking tape and taped the entire top edge of the decal to where I wanted it to go on my windshield. Then proceeded to cut the decal with a straight edge into sections while it is taped to the windshield. It makes it easier and more manageable to place then one giant piece. Then continue to step 4 above.
 
Last edited:
I also mess mine up the first time. What I did the 2nd time was use masking tape and taped the entire top edge of the decal to where I wanted it to go on my windshield. Then proceeded to cut the decal with a straight edge into sections while it is taped to the windshield. It makes it easier and more manageable to place then one giant piece. Then continue to step 4 above.

Doing it in sections makes it a bit easier. I did mine in three sections.


- Jason
 
Top Bottom