Chain Reaction
Active Member
I'm about to install the Renegade graphics on my 75 CJ5 and was wanting to know if anyone has any tips on the prep or installation. It looks very straight forward but could be a potential screw up.
Thanks for the great ideas!I use a solution of murphys oil soap & water in a spray bottle. Don't use too much soap - only use a small amount & mix it up well. Spray onto the surface and apply decal. That lets you move it around & reposition if necessary. Starting at the center, use a squeegee to get rid of the water and bubbles. Don't scrape too hard with the squeegee or you'll scratch the decal up. You can also put a big piece of parchment paper over the part you're squeegeeing to protect the decal. Might be a good idea on something as large as you're gonna be working on.
The part that looks like a plain is where it goes over the "hump" in the hood and trying to keep it centered and even.From experience, I can tell you that the hood decals are a bitch! They will NOT follow the curve of the hood well and to get them on right, you will need to massage them in. I totally jacked one on up trying to do this and it's an expensive mistake. However, a lot of guys just put them on straight and it doesn't look too bad.
That isn't too bad. I used the solution that Phoenix sells and spread it across the top. It'll give you plenty of time to get it on right. For me, it was definitely getting the side of the hood decals to follow the base of the hood being that they are straight and the hood is curved.The part that looks like a plain is where it goes over the "hump" in the hood and trying to keep it centered and even.
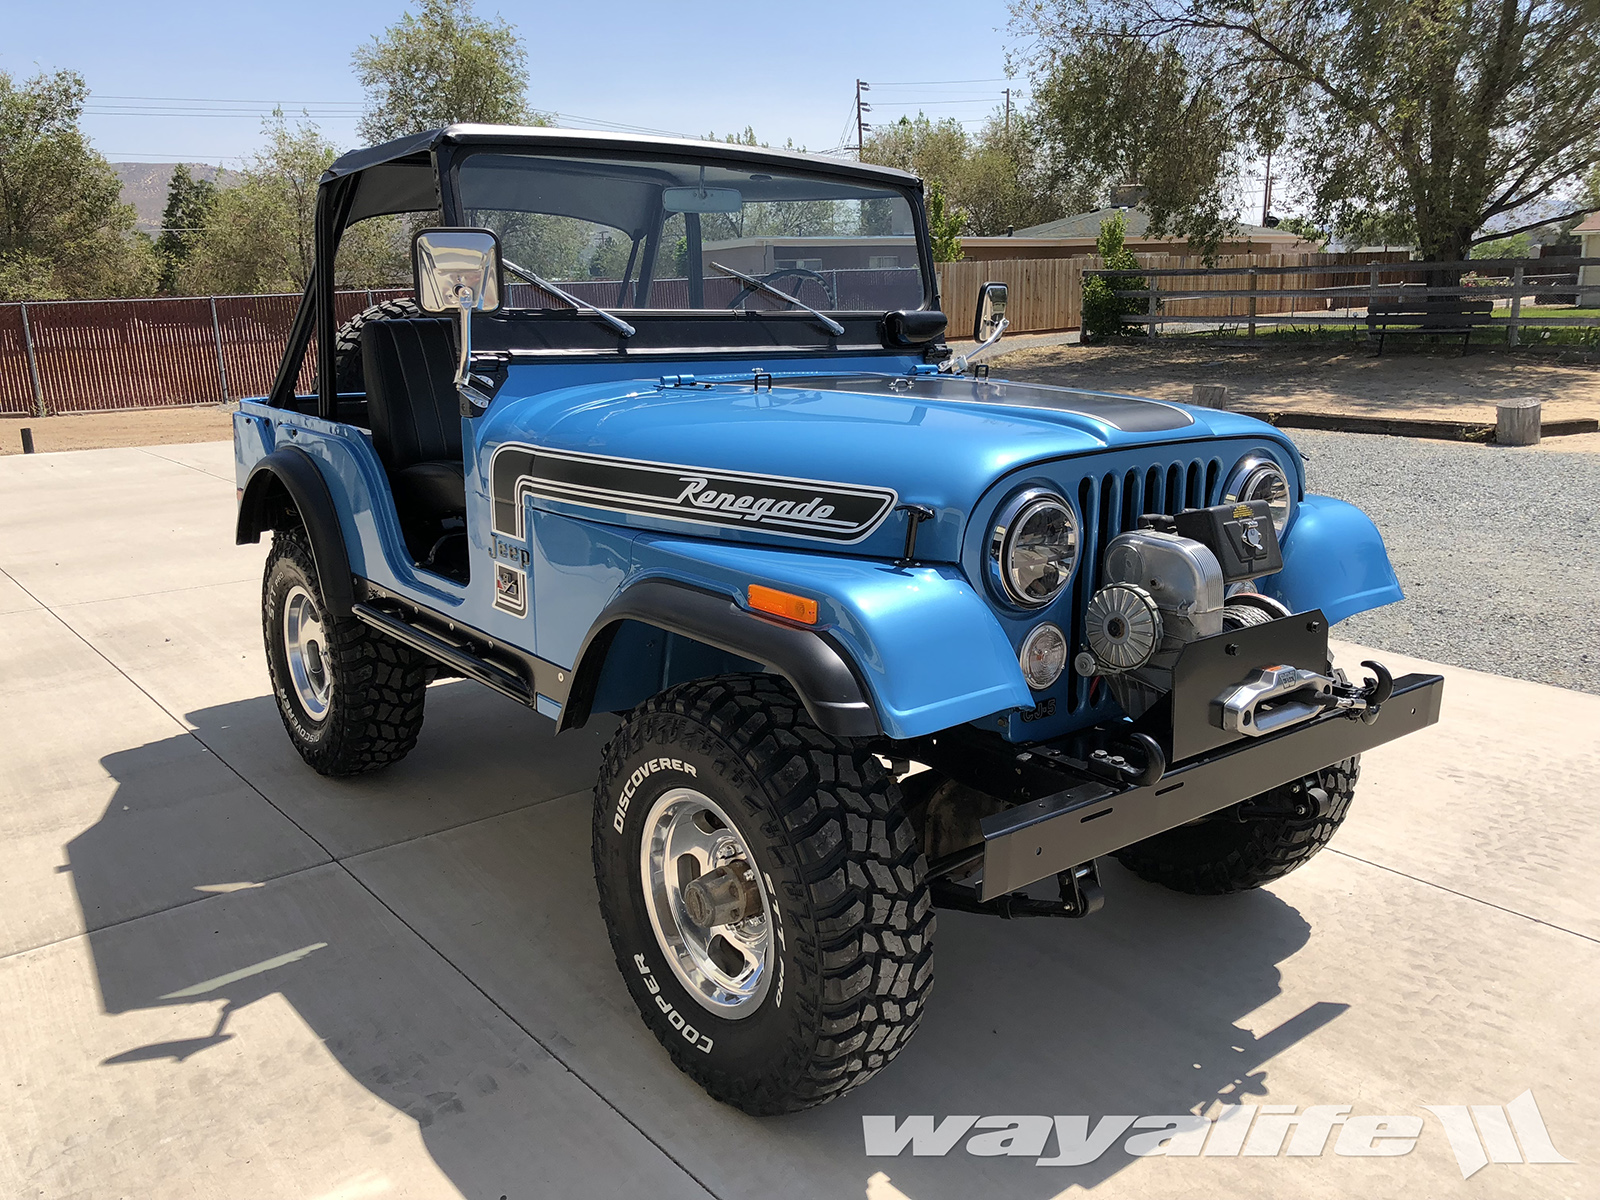
Here is a better photo of the area of concern. Hopefully all goes well and I can post photos of theThat isn't too bad. I used the solution that Phoenix sells and spread it across the top. It'll give you plenty of time to get it on right. For me, it was definitely getting the side of the hood decals to follow the base of the hood being that they are straight and the hood is curved.
