You are using an out of date browser. It may not display this or other websites correctly.
You should upgrade or use an alternative browser.
You should upgrade or use an alternative browser.
Upgrading to the next level RDE2ROK
- Thread starter RDE2ROK
- Start date
RDE2ROK
New member
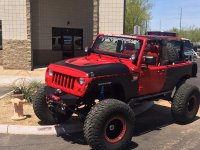
Great rig and very well built 2 door!! I dig it!
Quick side question, through some pics I saw you had a top rack setup, how is it mounted in the back? I am planning to modify my lower mounts, I believe I have the same rack as yours (mine is a 4 door though). Thanks!
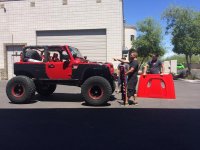
If you mean a roof rack? It was a Kargo Master. I cut the rear mounts that go to the bumper and made new ones that welded on my side body skins. The rack bolted on there so the whole Roof Rack was mounted on the body, not body & frame.
BadApple
New member
Thanks! Do you happen to have any pics showing the mounting locations and how you did it? Thanks again! Gui
I can get you a pic of it in a few!
RDE2ROK
New member
Thanks! Do you happen to have any pics showing the mounting locations and how you did it? Thanks again! Gui
So I cut the rack (tube) found a thick washer bigger than the tube, weld a nut (for the bolt your going to use) to the washer, insert the nut side inside the tube and weld the washer to the tube. Do the same for both sides evenly and set the rack where you want it and weld a tab off your side armor where it will fit. Be sure to leave enough room for a top and on the sides. The rack sits on the tab and the bolt goes thru the tab threading into the rack tube. Hopefully these pics will help you, it's all I can find.
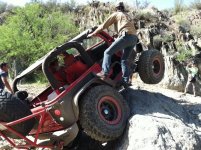
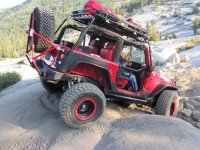
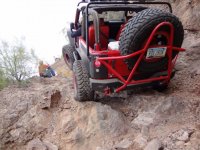
CarolinaJK
New member
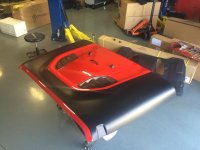
New hood in the works. We decided to add a little bit more style to it before the install. I will post a pic of the finished product next week.:thumb:
View attachment 198928
Hell yeah! That's gonna look awesome! I've been wanting that hood on mine for some time now.
RDE2ROK
New member
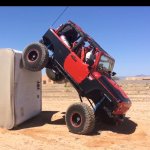
I felt the need to climb something today! Go to the link and check out my one wheel climb!
http://youtu.be/VMn3QsWw2lI
http://youtu.be/VMn3QsWw2lI
Last edited:
303DAILY
New member
I felt the need to climb something today! Go to the link and check out my one wheel climb!
http://youtu.be/klGrdMSUmrk
That's insane lol nice build
AllAmericanInfidel
Caught the Bug
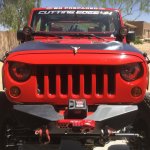
What front bumper is that again? Your rig is looking great! [emoji106]
RDE2ROK
New member
What front bumper is that again? Your rig is looking great! [emoji106]
Thanks, it's the OR-FAB "Rock Comp" bumper. You have to buy it direct from them.
CarolinaJK
New member
I felt the need to climb something today! Go to the link and check out my one wheel climb!
http://youtu.be/klGrdMSUmrk
That's just plain awesome!

