H8ROADS
Caught the Bug
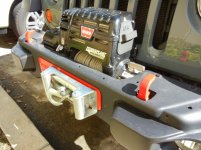
I wanted to take advantage of the money invested into the "stock" bumpers on my Hard Rock edition, so I decided to go with the Maximus-3 winch plate which is a bit cheaper than the Mopar variety alongside the Zeon 10S winch. I also added a Maximus-3 license plate holder that mounts to the
hawse fairlead.
Pre-install
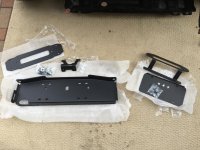
The winch plate kit and license plate kit.
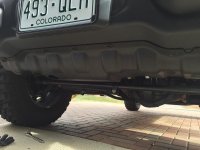
Remove the 7 15mm bolts that keep the skid plate attached.
Remove all the bolts that hold the winch filler plate, as well as the plastic filler plate.
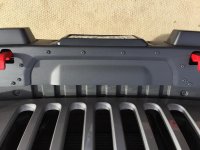
Unplug the fog lights
View attachment 113812
Remove the 8 18mm bolts that hold the bumper onto the frame on both sides.
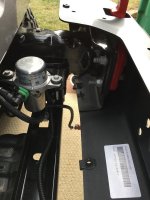
View attachment 113810
The bumper removed
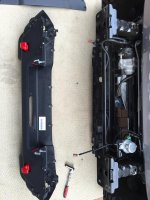
Install the pump relocation bracket to the winch plate with the supplied bolts.
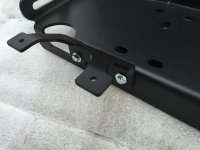
Cut the existing pump bracket off with a 3" cutoff wheel. Then paint the grind to prevent rust. Slide the winch plate in and use any bolts as a temporary support in the front - do not tighten.
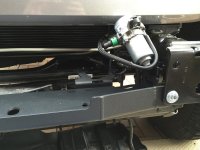
Secure the pump to the relocation bracket. Secure the rear bolts of the winch plate.
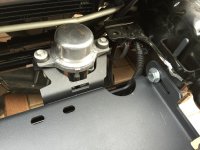
Test fit the winch into the plate.
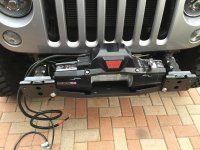
Run the wiring
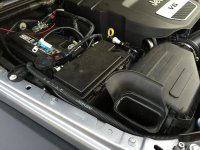
After confirming the winch is centered and the wiring is good and working, tighten the rear winch plate bolts. Bolt the winch to the winch plate. You can go ahead and spool the winch line on at this point.
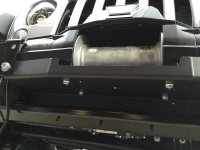
Now, back to the bumper! Remove the plastic cover in the middle of the bumper and toss it.
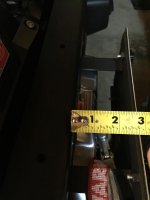
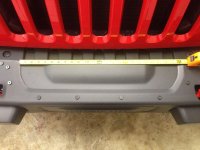
Measured about 2" from the middle of the left holes, and created a pilot hole
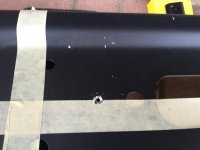
Using a 1-7/8" bi-metal hole bit, I created the hole to match the winch fairlead opening. You'll then use a 3" cutoff wheel to chop off the metal in between the hole and the fairlead hole.
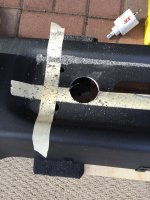
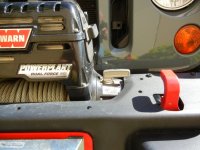
The new fairlead hole after cut out, filed down, and painted.
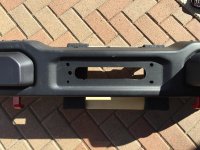
After everything is dried, you mount the center winch plate, hawse fairlead, and license plate bracket all to the front of the bumper with the supplied bolts. You then bolt up the bumper with the 8 18mm bolts again, and that's about it!
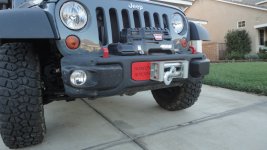
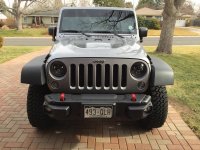
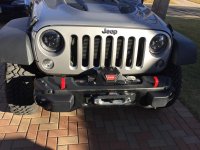
The final product!
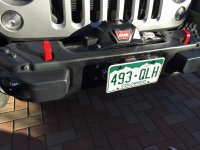
With the optional license plate mount.
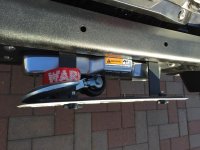
A few notes: When you cut off the pump bracket, do it better than I did - it becomes a bit of pain in the ass to tighten the frame bolts for the bumper if you have it sticking out even a little like I did. I finally got the job done but not without a lot of tinkering. Also, good luck getting the synthetic rope pulled through with the supplied zip tie. I went through many before finally getting it through.
Overall, not too bad - it took me 2 afternoons by myself to complete, but that was with several interruptions. I like the results! Any questions, lemme know!
hawse fairlead.
Pre-install

The winch plate kit and license plate kit.

Remove the 7 15mm bolts that keep the skid plate attached.

Remove all the bolts that hold the winch filler plate, as well as the plastic filler plate.

Unplug the fog lights
View attachment 113812
Remove the 8 18mm bolts that hold the bumper onto the frame on both sides.

View attachment 113810
The bumper removed

Install the pump relocation bracket to the winch plate with the supplied bolts.

Cut the existing pump bracket off with a 3" cutoff wheel. Then paint the grind to prevent rust. Slide the winch plate in and use any bolts as a temporary support in the front - do not tighten.

Secure the pump to the relocation bracket. Secure the rear bolts of the winch plate.

Test fit the winch into the plate.

Run the wiring

After confirming the winch is centered and the wiring is good and working, tighten the rear winch plate bolts. Bolt the winch to the winch plate. You can go ahead and spool the winch line on at this point.

Now, back to the bumper! Remove the plastic cover in the middle of the bumper and toss it.
Measured about 2" from the middle of the left holes, and created a pilot hole

Using a 1-7/8" bi-metal hole bit, I created the hole to match the winch fairlead opening. You'll then use a 3" cutoff wheel to chop off the metal in between the hole and the fairlead hole.

The new fairlead hole after cut out, filed down, and painted.

After everything is dried, you mount the center winch plate, hawse fairlead, and license plate bracket all to the front of the bumper with the supplied bolts. You then bolt up the bumper with the 8 18mm bolts again, and that's about it!
The final product!

With the optional license plate mount.


A few notes: When you cut off the pump bracket, do it better than I did - it becomes a bit of pain in the ass to tighten the frame bolts for the bumper if you have it sticking out even a little like I did. I finally got the job done but not without a lot of tinkering. Also, good luck getting the synthetic rope pulled through with the supplied zip tie. I went through many before finally getting it through.
Overall, not too bad - it took me 2 afternoons by myself to complete, but that was with several interruptions. I like the results! Any questions, lemme know!

