And many thanks to you, I appreciate.
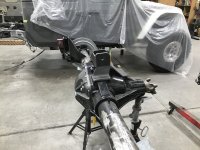
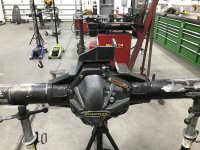
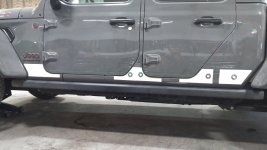
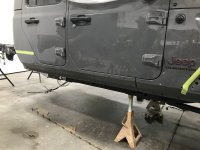
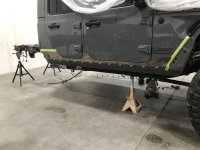
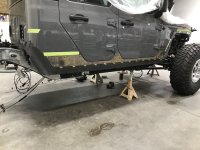
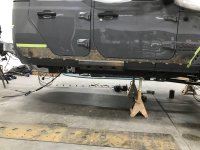
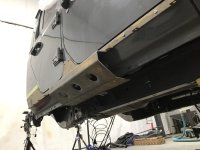
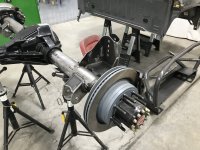
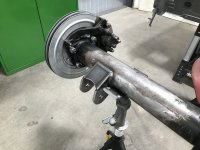
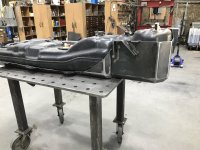
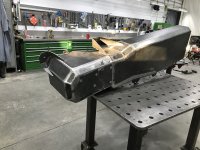
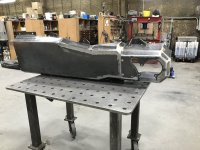
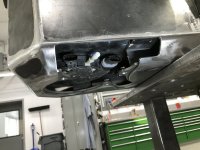
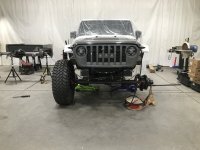
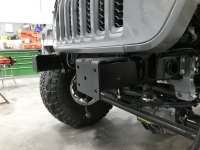
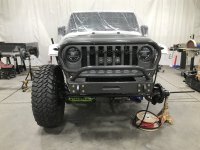
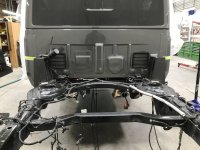
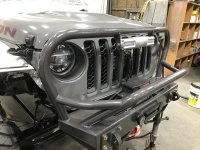
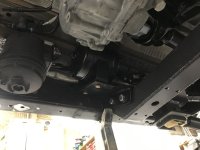
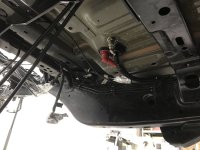
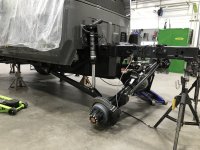
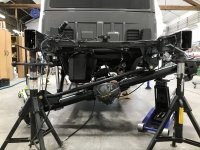
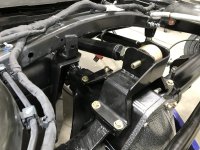
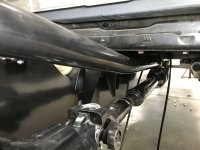
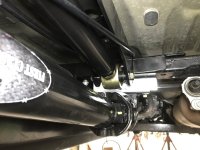
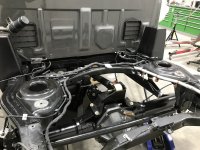
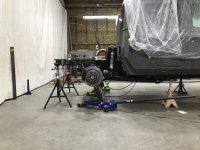
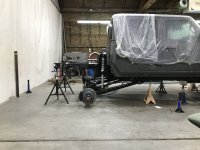
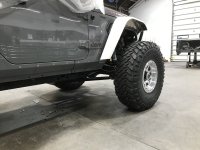
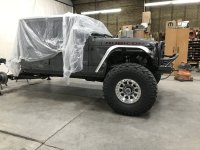
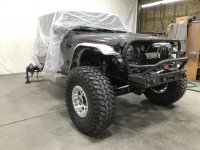
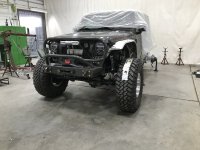
Today wasn’t much of a farming day so I was able to put several hours of focus into the project. The biggest thing that we noticed today was the Jeep stood on its own front for the first time in months. That was more enjoyable than I thought it would be. The hiccup to the day was when we were bleeding the PCS, it seems to be dead on the right side of center. Talked with the techs about it and they are shipping me out a box, red label, no cost. I’ve only dealt with them twice now. The first being the cylinder was too short for my application, and now this. I’m more than happy with the way they’ve handled things. Another positive thing about today was the after hours communication I had with Russell @Jensen Brothers to get the pressures dialed in. Good people. These pictures are what I thought I wanted to be ride height, about 5 3/4 of up travel. I’m thinking about lowering it some. Thoughts?