Over the years, I have tested out a wide array of sway bar disconnects on my CJ, TJ, XJ and JK and more times than not, I either ended up going back to running the factory sway bar links or, picking up a set of JKS Quicker Disconnects. Of all the sway bar quick disconnect links, they are by far the easiest to use, are adjustable and are relatively quite. While the instructions that come with the kit are surprisingly good, this write-up should still help out.
What you will need
• JKS Quicker Disconnects #2000
•17mm Socket & Wrench
• 3/4, 15/16" Socket & Wrench
• Torque Wrench
?• Tie-Rod End Remover
• 6mm Allen Wrench & Socket
• 1/4" Allen Wrench
• #1 Phillips Screwdriver or Small Punch
• F Drill Bit
• 5/16"x18TPI Tap
• Angle Finder or Phone with Angle Finder App
• Grease Gun
• Hammer
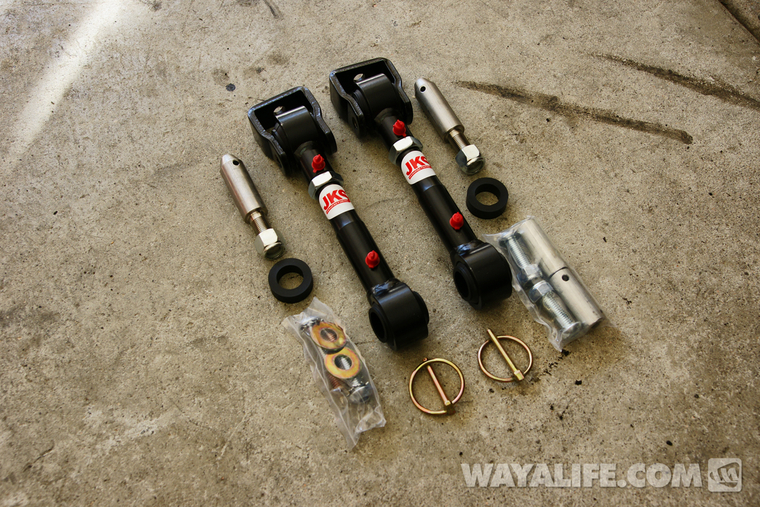
Here's a shot of what you will get with your JKS Quicker Disconnects.
Instructions
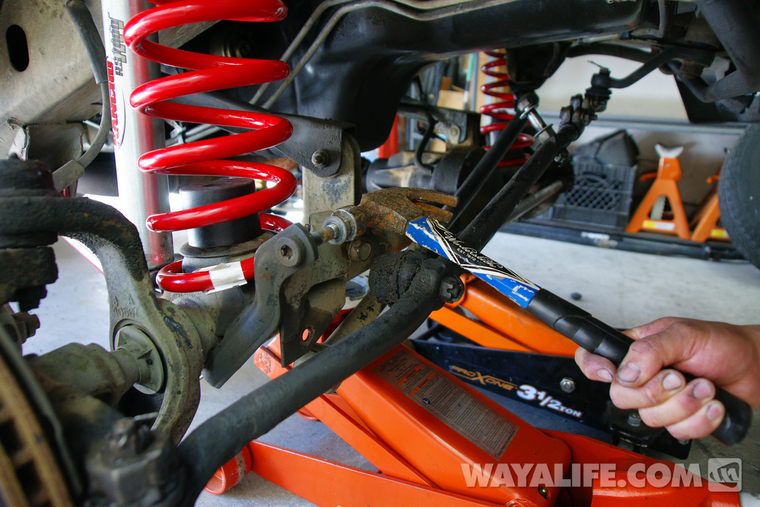
1. To being the installation of your JKS Quicker Disconnects, you will first need to remove the factory sway bar link studs attached to the axle mount. To do this, thread on the nut just enough to give you a flat surface to hit and then pound it out with a hammer as shown.
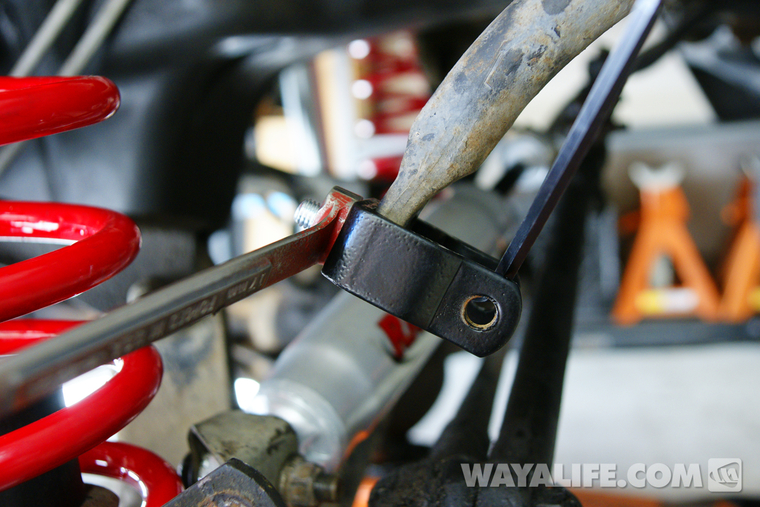
2. Place the U-Strap provided with the JKS kit on top of your Jeep's sway bar arm and secure them in place using the provided button head bolt, washer and nylock nut. You will need a 17mm wrench and 6mm allen wrench to tighten them to 40 ft. lbs. of torque.
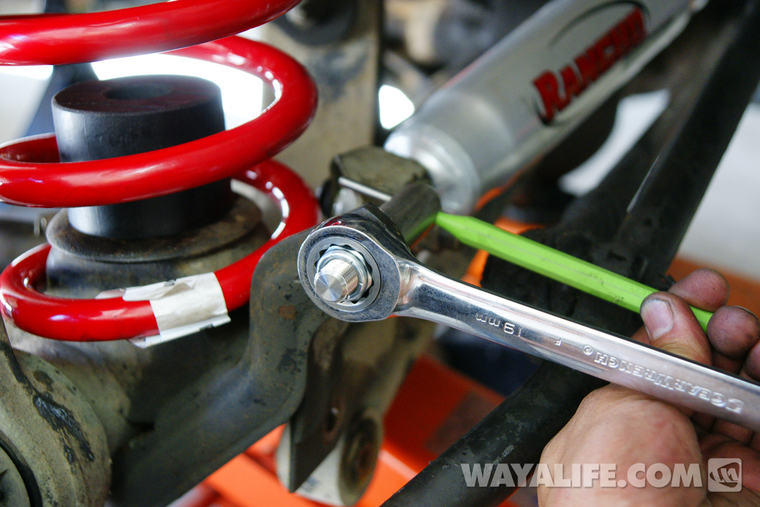
3. Install the lower tapered posts onto the axle mounts making sure the tapered end is pointing inward and that the pin hole on it is positioned horizontally to the ground. Then, use a small phillps screwdriver or punch to hold it in place as you secure it to the axle using the provided nylock nut. Using a 19mm wrench, tighten the nut to 65 ft. lbs. of torque.
4. Install the provided bushing onto the tapered pin.
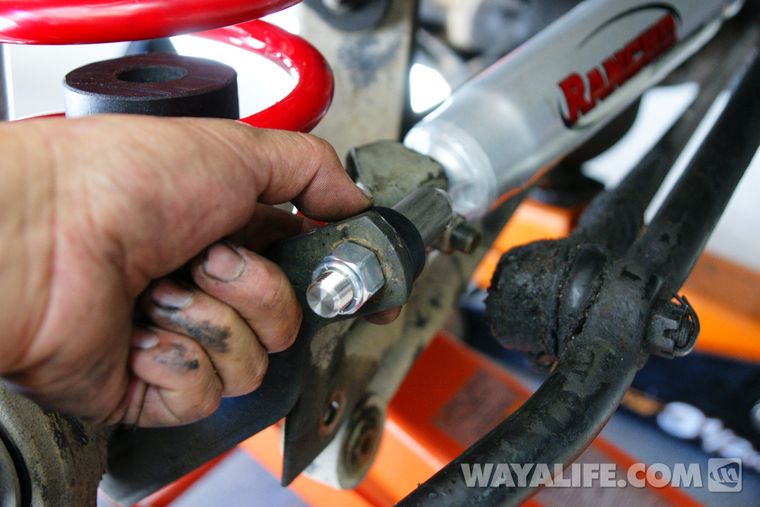
5. Install the JKS links onto the U-strap and secure it in place using the provided button head bolt. Use a 6mm allen wrench to tighten the bolt to 40 ft. lbs. of torque.
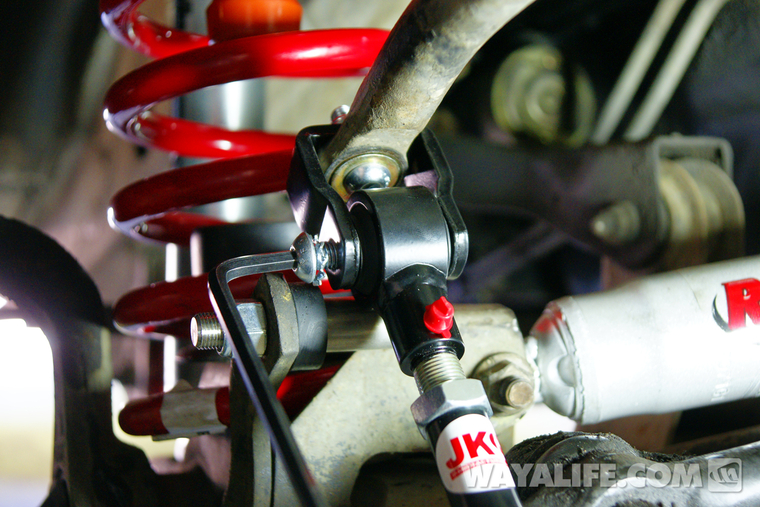
6. Rotate the JKS links to lengthen or shorten it as needed to get your sway bar arms sitting at about 10° up above horizontal once installed.
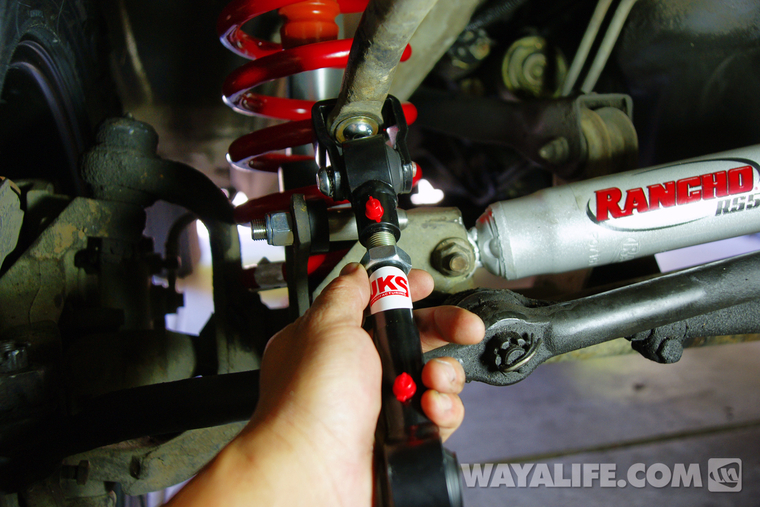
7. Attach the JKS link to the tapered post on the axle and secure it in place with the lock ring provided.
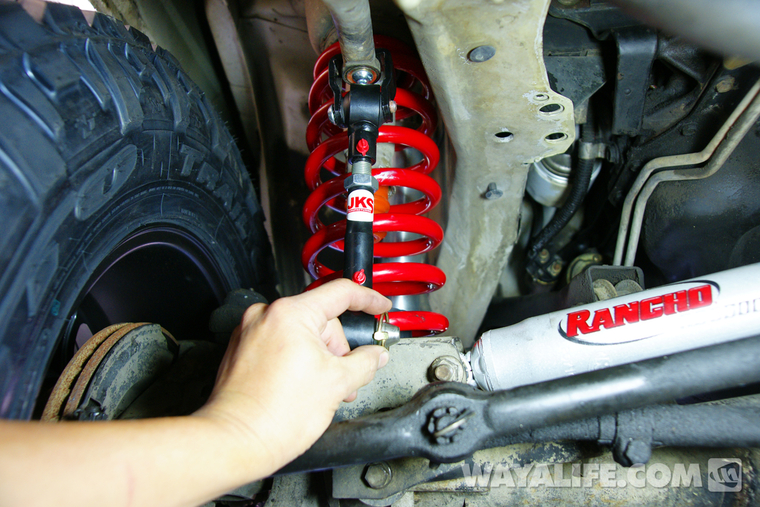
8. Use a wrench to tighten then jam nut as shown.
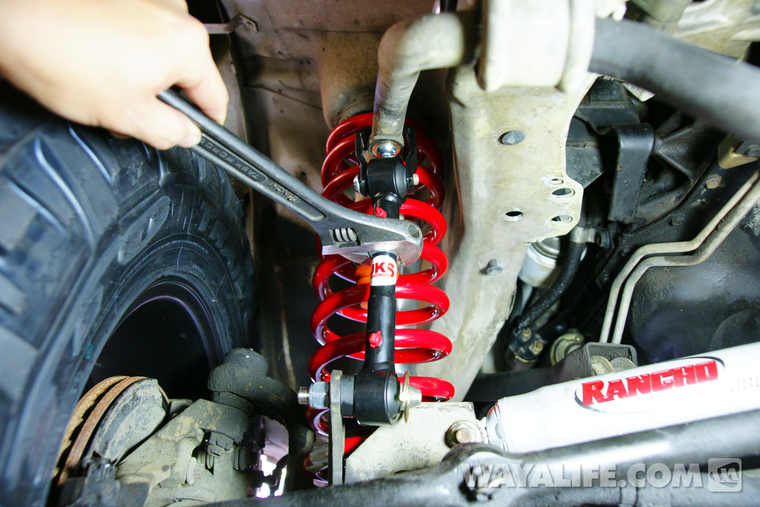
9. Add grease to the zerk nipples and you should be good to go.
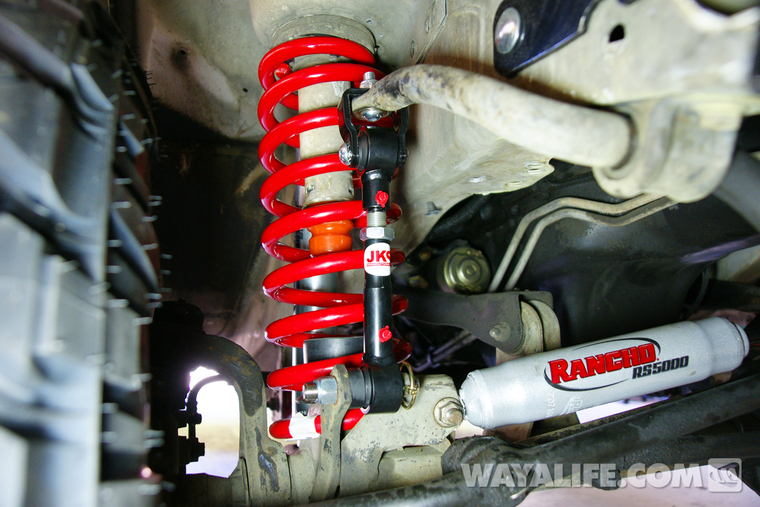
I should note that the JKS kit comes with storage pins that you can install and use when disconnected. We have aftermarket tow hooks up front with mounting brackets that make it difficult to install and so, I just left them out. When I disconnect, I just tie up the links up and out of the way. The JKS kit does come with instruction on how to install the storage pins.
What you will need
• JKS Quicker Disconnects #2000
•17mm Socket & Wrench
• 3/4, 15/16" Socket & Wrench
• Torque Wrench
?• Tie-Rod End Remover
• 6mm Allen Wrench & Socket
• 1/4" Allen Wrench
• #1 Phillips Screwdriver or Small Punch
• F Drill Bit
• 5/16"x18TPI Tap
• Angle Finder or Phone with Angle Finder App
• Grease Gun
• Hammer
Here's a shot of what you will get with your JKS Quicker Disconnects.
Instructions
1. To being the installation of your JKS Quicker Disconnects, you will first need to remove the factory sway bar link studs attached to the axle mount. To do this, thread on the nut just enough to give you a flat surface to hit and then pound it out with a hammer as shown.
2. Place the U-Strap provided with the JKS kit on top of your Jeep's sway bar arm and secure them in place using the provided button head bolt, washer and nylock nut. You will need a 17mm wrench and 6mm allen wrench to tighten them to 40 ft. lbs. of torque.
3. Install the lower tapered posts onto the axle mounts making sure the tapered end is pointing inward and that the pin hole on it is positioned horizontally to the ground. Then, use a small phillps screwdriver or punch to hold it in place as you secure it to the axle using the provided nylock nut. Using a 19mm wrench, tighten the nut to 65 ft. lbs. of torque.
4. Install the provided bushing onto the tapered pin.
5. Install the JKS links onto the U-strap and secure it in place using the provided button head bolt. Use a 6mm allen wrench to tighten the bolt to 40 ft. lbs. of torque.
6. Rotate the JKS links to lengthen or shorten it as needed to get your sway bar arms sitting at about 10° up above horizontal once installed.
7. Attach the JKS link to the tapered post on the axle and secure it in place with the lock ring provided.
8. Use a wrench to tighten then jam nut as shown.
9. Add grease to the zerk nipples and you should be good to go.
I should note that the JKS kit comes with storage pins that you can install and use when disconnected. We have aftermarket tow hooks up front with mounting brackets that make it difficult to install and so, I just left them out. When I disconnect, I just tie up the links up and out of the way. The JKS kit does come with instruction on how to install the storage pins.
