Simple beginnings...

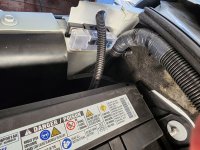
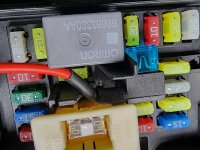
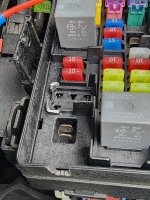
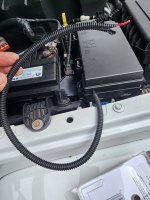
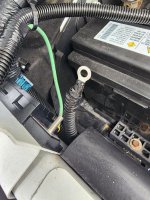
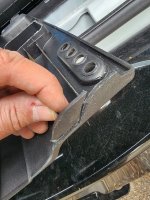
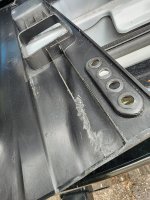
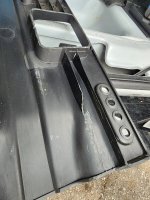
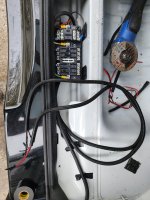
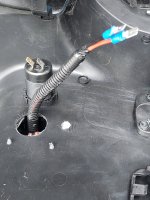
Drilled and tapped a couple holes into the inner fender to mount the keyed power fuse block. 1000002665.jpg
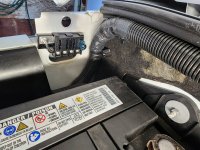
1000002666.jpg

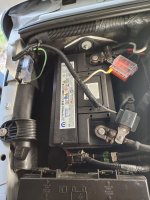
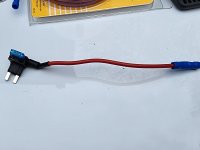
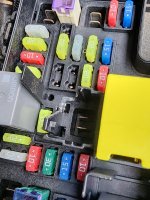
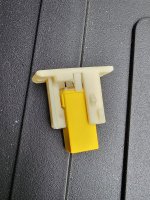
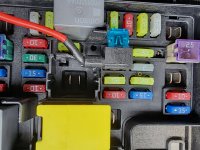
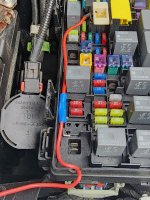
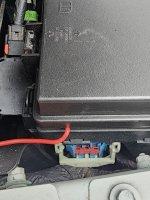
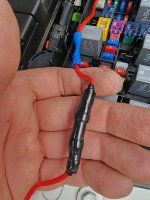
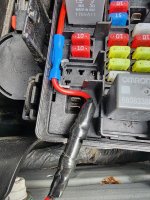
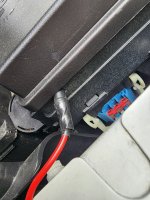
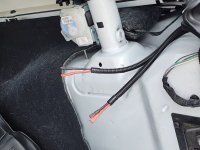
I ran the power and ground wires to the blocks. I left the fuses out of the power circuits so the fuse block in the cargo area isn't powered yet. I still need to get a fuse tap so I can run a keyed power wire to the keyed fuse block. I'm going to tap it into the rear seat heater fuse location.
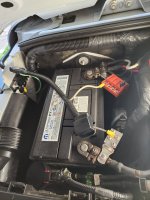
1000002667.jpg

1000002668.jpg

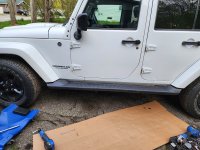
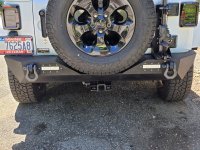
A new steel rear bumper just arrived today. I'll get that and the new running boards mounted tomorrow, weather permitting.
 
Last edited:
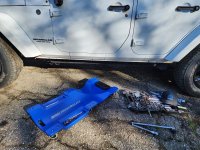
Today I started by removing the factory rock slider from the passenger side. Two out of the three larger bolts snapped off, so I. postponed installing that side until I get some center punches so I can drill out the broken bolts.

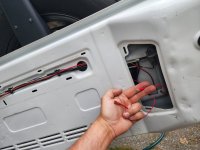
After that, I went back to the wiring for the cargo area plugs. Im pretty beat right now, so I'll just post pics of the process in order so you can follow along. Ask away if anyone needs clarification of what i did.1000002686.jpg1000002687.jpg1000002688.jpg1000002689.jpg1000002690.jpg1000002691.jpg1000002692.jpg1000002693.jpg1000002694.jpg1000002695.jpg
 
Ran keyed power to the rear camera.
1000002709.jpg

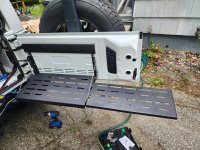
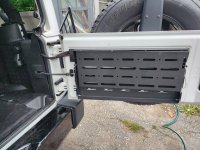
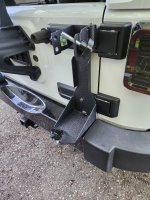
Then installed the swing gate table.
1000002710.jpg1000002713.jpg


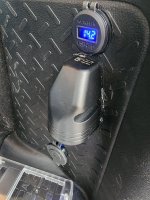
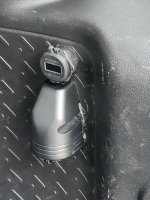
While the rear panel was out, I swapped the power wires around so the USB port was on battery power and the 12v power port was on keyedpower. I did that because the power port has an internal led light that stays on while powered up and the USB port has an on/off switch on it. I also saw that the USB port connector wires contacted the sheet metal body when installed, so I used the spacer I had previously made for the 12v power port. I shortened it about 1/2" for less stick-out though.


1000002711.jpg

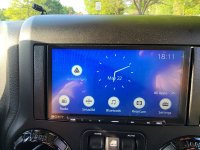
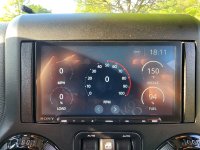
I also got a new stereo installed, a Sony XAV-AX6000. The Maestro RR2 control adapter let's the steering wheel buttons work, as well as adding gauge functionality to the new radio.1000002718.jpg1000002719.jpg
 

Attachments

  • 1000002711.jpg
    1000002711.jpg
    190.6 KB · Views: 1
Got rid of the Bridgestone Dueler A/T's today. Picked up some Falken Wilderness AT4w tires in the stock 255/70-18 size.

Pics aren't loading today for some reason. I'll try to upload them later.
 
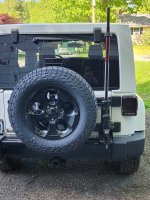
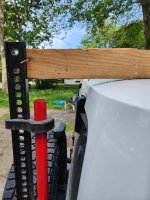
None that I can see. I checked clearance there when I placed the jack there and it seems fine. I'm more concerned about the jack hitting the back glass if the wind were to try to blow the gate shut while the glass is up.
 
None that I can see. I checked clearance there when I placed the jack there and it seems fine. I'm more concerned about the jack hitting the back glass if the wind were to try to blow the gate shut while the glass is up.
Yikes! The other concern is that the jack sticks up and may be too high for many garages. It could also be a problem off-road if going under low branches.
 
All good points to keep in mind. I'm going to add a roof rack at some point, so the height will probably end up being a moot point. Until then, I'll be keeping an eye on it. I won't be using the garage as I already only had about an inch of clearance between the roof and the garage door. As far as hitting stuff on the trail, I don't really go on any serious trails, so I don't see that being an issues.
 
I put the new rear bumper on, but it started pouring out before I could get pics. I'll take some tomorrow.

Progress has been slow on the Jeep lately. Getting my house fixed up to put it on the market has been taking most of my free time lately.
 
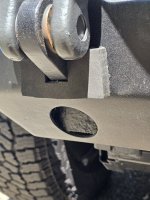
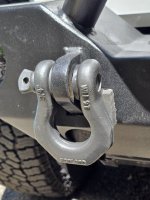
I made some D-ring bumper pads from some dense closed cell foam I had laying around. I then used contact cement to stick the foam pads to the bumpers.
1000002063.jpg1000002061.jpg1000002062.jpg

While working around the rear bumper, I treated some rust on the rear frame horns and then coated it with spray on bed liner.
 
They'll be stored inside the Jeep with some other basic recovery gear. They'll stay stored while daily driving. They're just there for the pics right now. The spray on bedliner on the bumper covers well, but it's pretty thin. Therefore I wanted to protect the bumper finish with the foam for when I use the D-rings for their intended purpose.
 
Top Bottom