Just to make sure, you do have your screw eyes driven in AT LEAST 2", correct? If not, they need to be just as I mention in the video. More if you need.First off, this is an awesome idea and a great write-up.
Has anyone else had a problem with the front doors bending the eyelets a bit? My fronts are sagging and I'm a little concerned about failure. I'd hate to come home and find my doors on the garage floor.
You are using an out of date browser. It may not display this or other websites correctly.
You should upgrade or use an alternative browser.
You should upgrade or use an alternative browser.
VIDEO : DIY DOOR HANGER - Easy to make and all for about $16
- Thread starter wayoflife
- Start date
TheDragonTJH
New member
They are, but I will run them in further to be sure.Just to make sure, you do have your screw eyes driven in AT LEAST 2", correct? If not, they need to be just as I mention in the video. More if you need.
I mean really, you can pretty much drive them in all the way to the eyes themselves. Then there would be nothing to bend.They are, but I will run them in further to be sure.
Thanks for the idea! Awesome!Thanks to the awesome engineers over at Jeep, removing the doors on a Jeep JL Wrangler or JT Gladiator pickup truck is easier than ever before. And because of it, there really is no reason why you shouldn't be taking yours off, especially now that summer is here! Well, except for the fact that they do take up a lot of space, get in the way and leaving them on the ground or resting up against a wall, can lead to them getting damage. So, what do you do with your doors once they are off?
For me, the answer was to hang them. Specifically, up on a wall so that I could get them off the ground and out of the way. And, while there are a myriad of door hangers out there that you can buy, most cost upwards of $100 or more. Needless to say, I decided to make my own and in this short video, I'll so you just how easy it is to make, in less than half an hour and with just a basic set of tools. Of course, the best part about my DIY solution, is that you can find everything that you need at your local Lowe's Hardware Store or the like and it can all be had for about $16 and change! And that, is what the PIPPI Project is all about.
RECOMMENDED BUYS
Milwaukee M18 Drill: https://amzn.to/3gyMeBE
Milwaukee Drill Bit Set: https://amzn.to/3wo3oIZ
Tekton Socket Set: https://amzn.to/3pPUMZp
Tekton Screwdriver Set: https://amzn.to/3wpnPWa
Milwaukee Tape Measure: https://amzn.to/3wrsmHG
Stud Finder: https://amzn.to/35iw6is
WHAT YOU WILL NEED
(3) 24" - 2x4 Project Lumber
(4) 5/16” X 2-1/2” Lag Bolts
(3) 5/16” X 3” Lag Bolts
(4) 1/4” X 3-3/4” SCREW EYES
(7) 5/16" Washers
• 1/2" Socket
• Socket Extension
• Ratchet
• Screwdriver
• Hand Drill
• 3/16" Drill Bit
• 7/32" Drill Bit
• Tape Measure
• Stud Finder
• Level
• Pencil
• Safety Glasses
INSTRUCTIONS
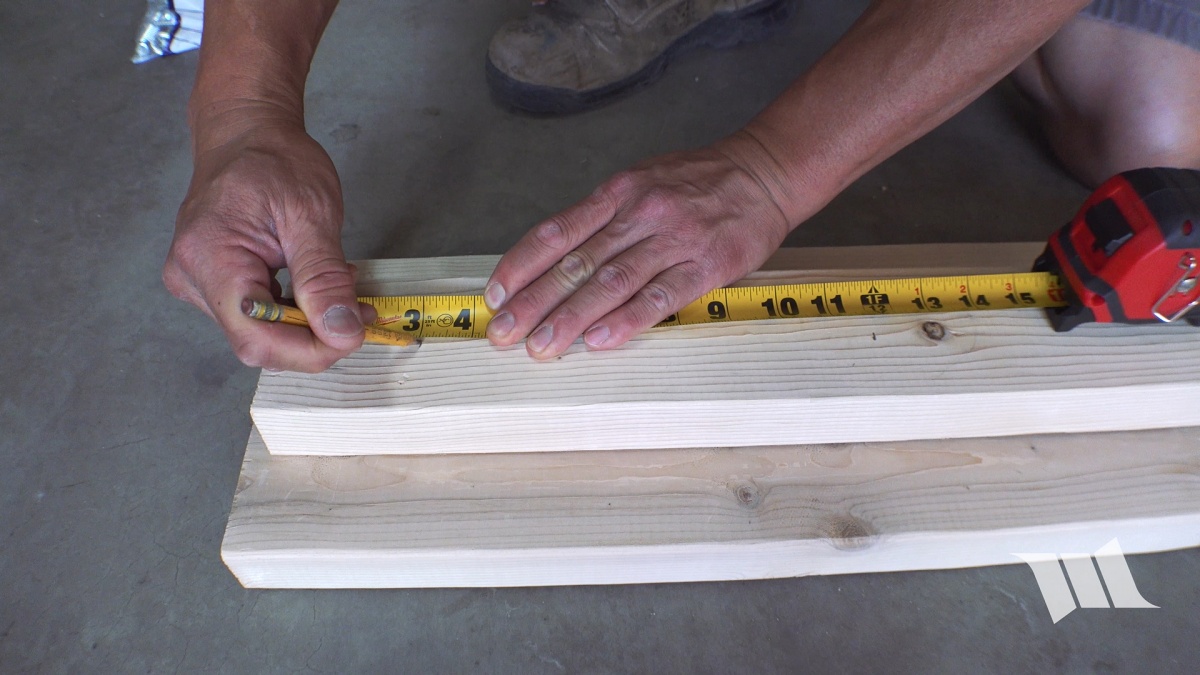
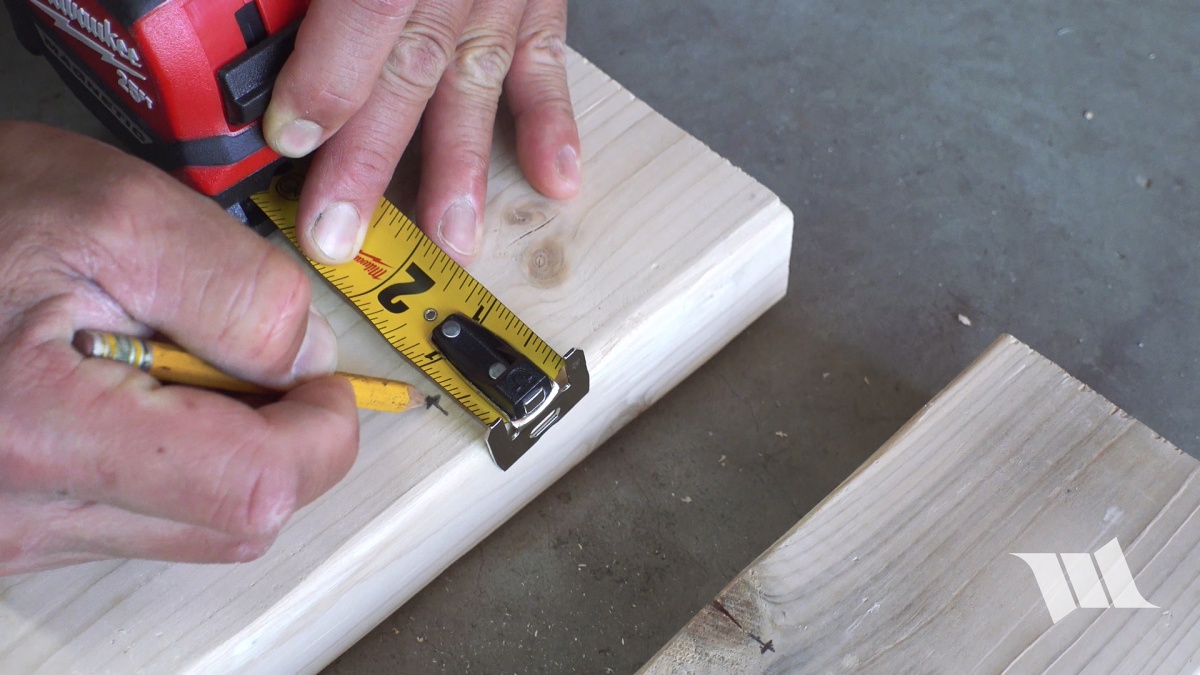
1. Take one of the 2x4’s, lay it flat and then make a mark 3" down its length and centered to its width.
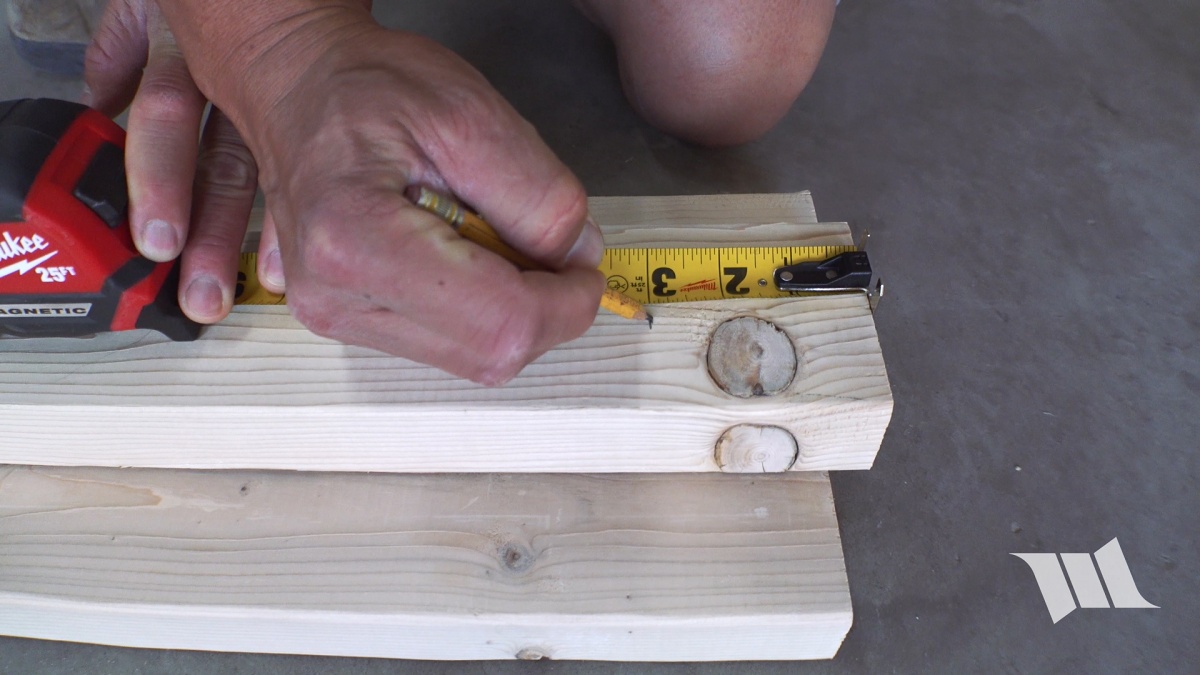
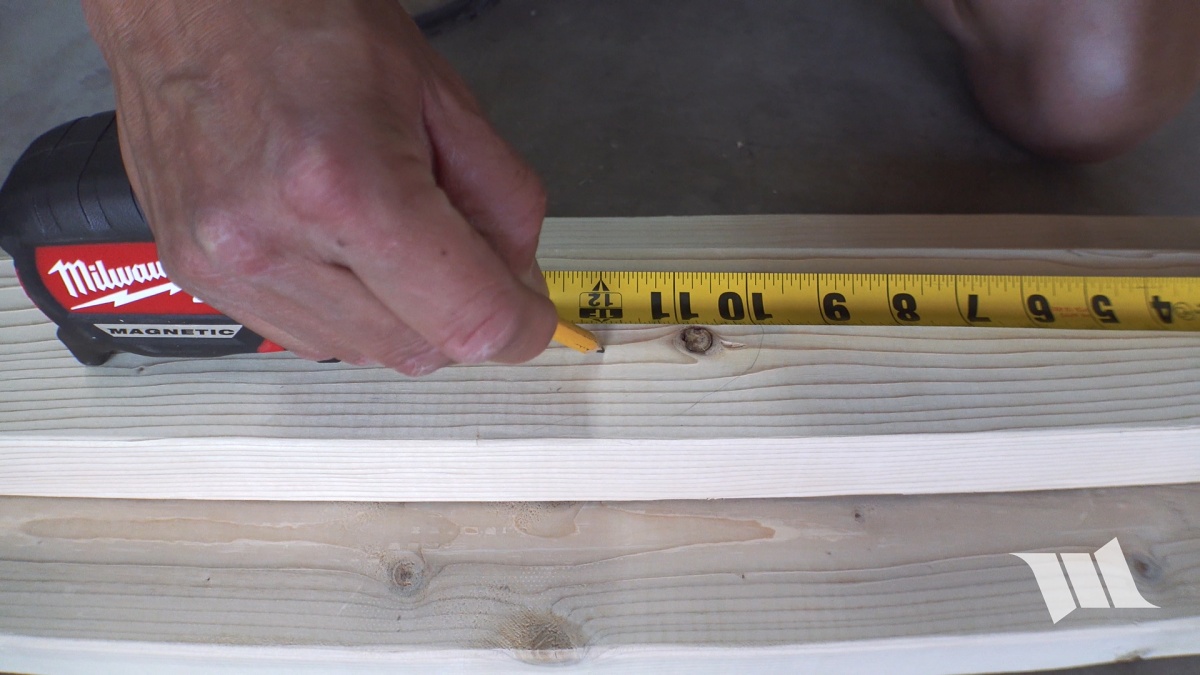
2. Next, make a mark in the center of its length which will be 12" down from either end and again, centered to it's width.
3. Measuring from the opposite end, make one final 3" down its length and centered to its width.
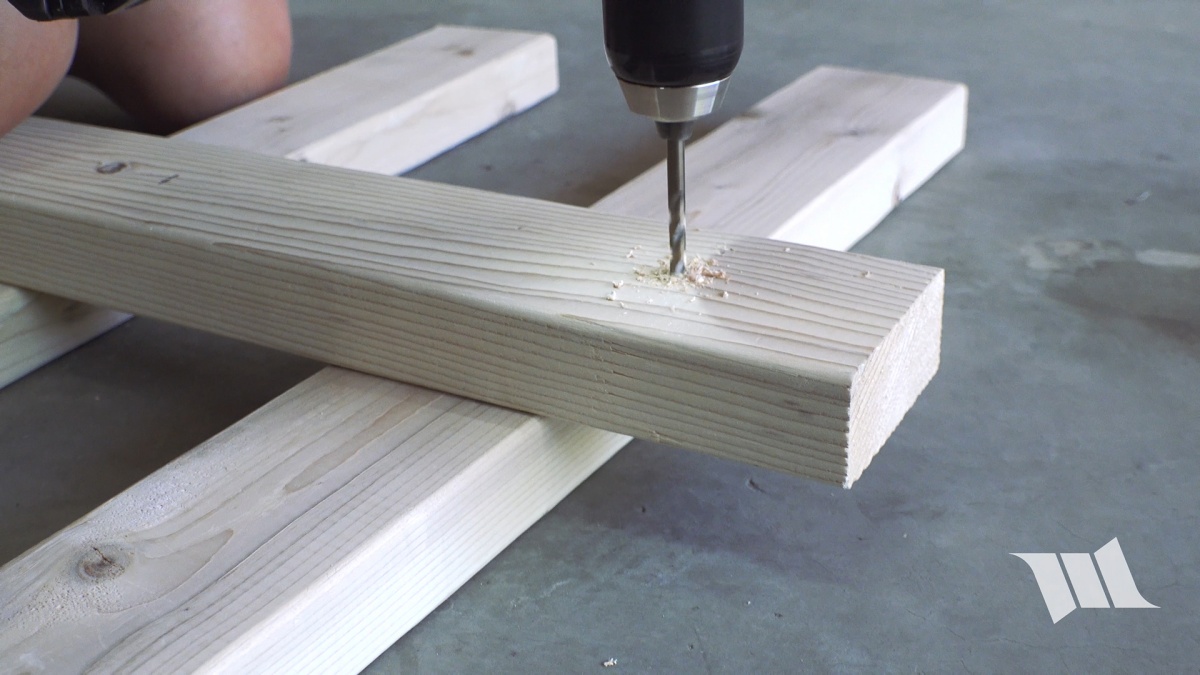
4. Using the other 2 pieces of 2x4 as a stand, drill a hole all the way through the 3 marks you made using a 7/32” drill bit.
5. Take one of the other 2x4s, lay it flat. Then measure and make a mark 4" down its length and make a cross mark 3/4" in from the edge.

6. The same will need to be done on the opposite end, mark 4" down the length and cross mark it 3/4" in from edge.
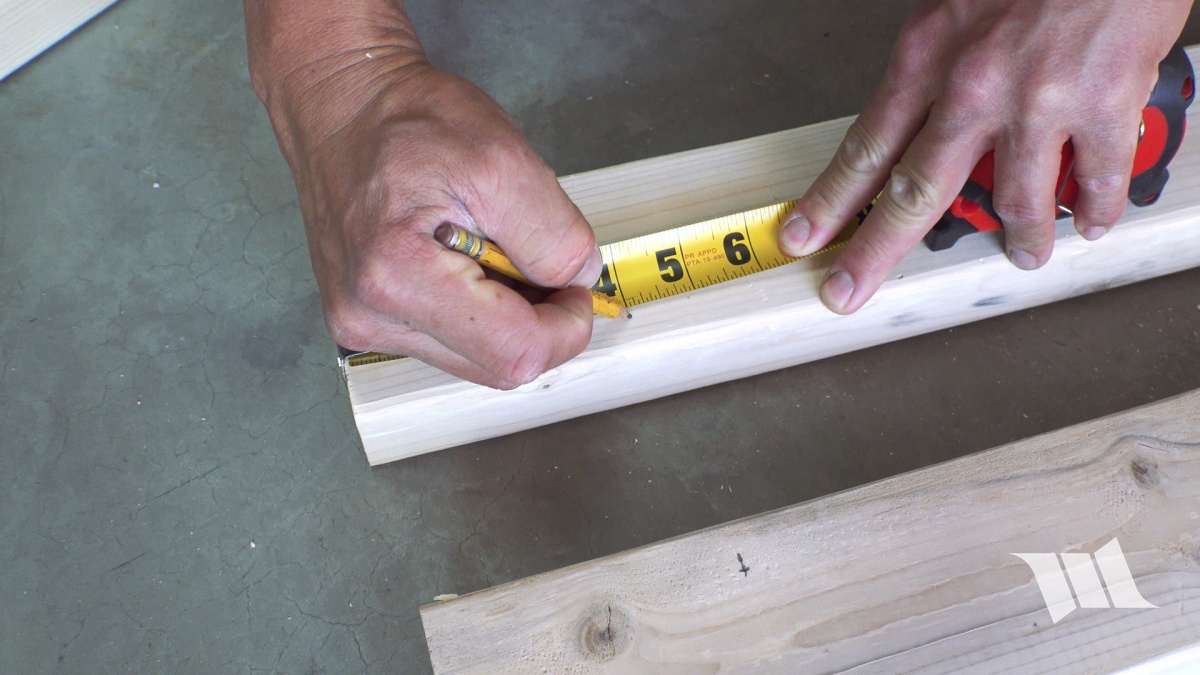
7. Repeat steps 5 and 6 on the remaining piece of 2x4.
8. As before, use 2 of the 2x4s as a stand and drill holes all the way through the marks you just made using a 7/32" drill bit.

9. Take the first 2x4 you worked on, the one with the 3 holes in it and stand it up on its narrow side. Then, take one of the other 2x4’s and place it on top of the first so that the two pieces together, create an upside down "L" shape. You'll want to make sure that the pieces are sitting flush and that the top piece has its 2 holes lined up with the piece below.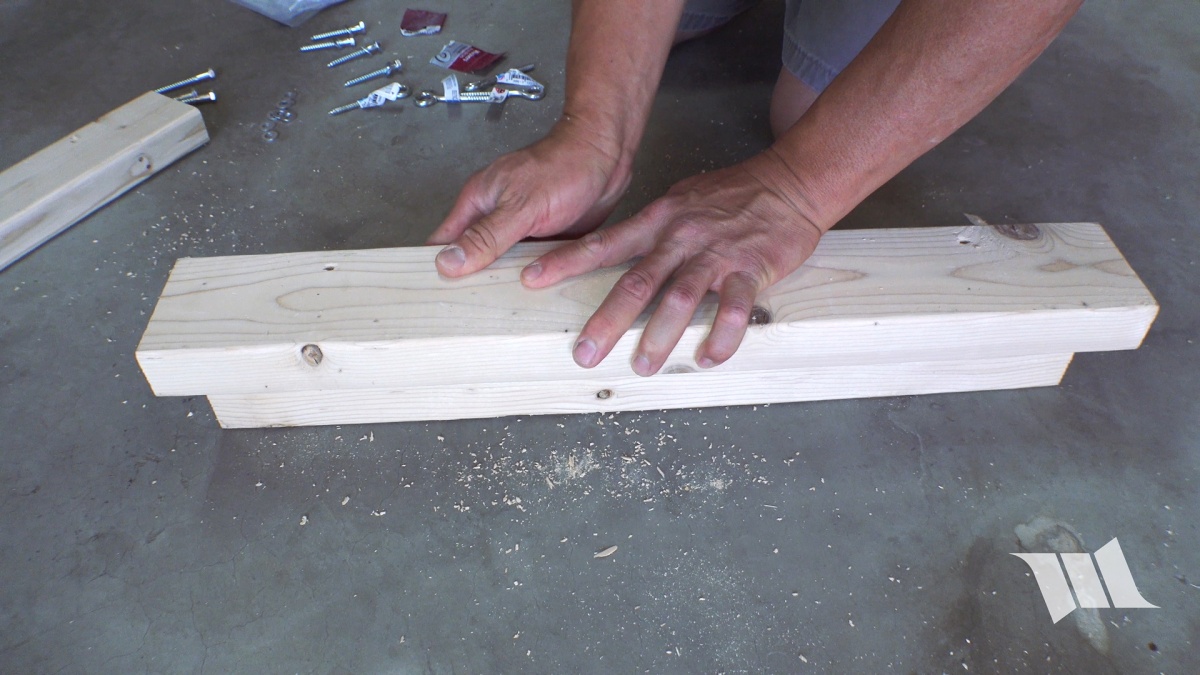
10. Using the 2 holes as a guide, drill pilot holes into the 2x4 below with a 7/32" bit.
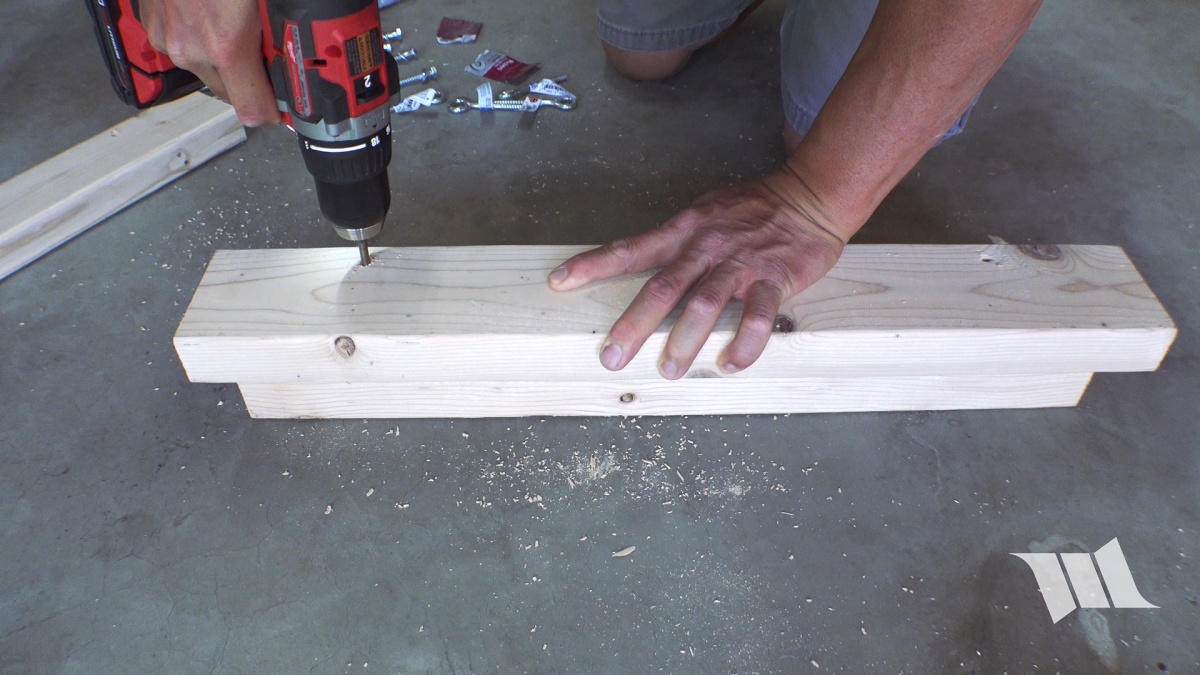
11. Remove the top piece, flip the lower one over so that it's standing up on the opposite edge. Repeat steps 9 and 10.
12. Using 2-1/2" lag bolts and washers, secure the 3 pieces of 2x4 together. You will need a 1/2" socket for this job.
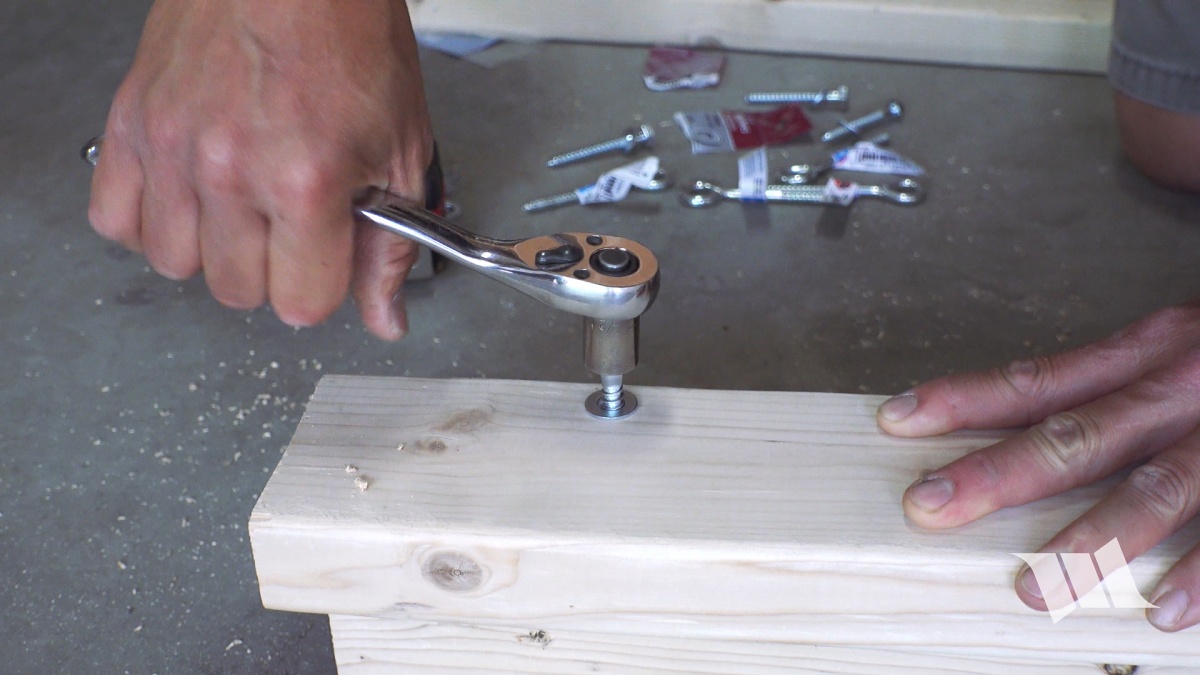
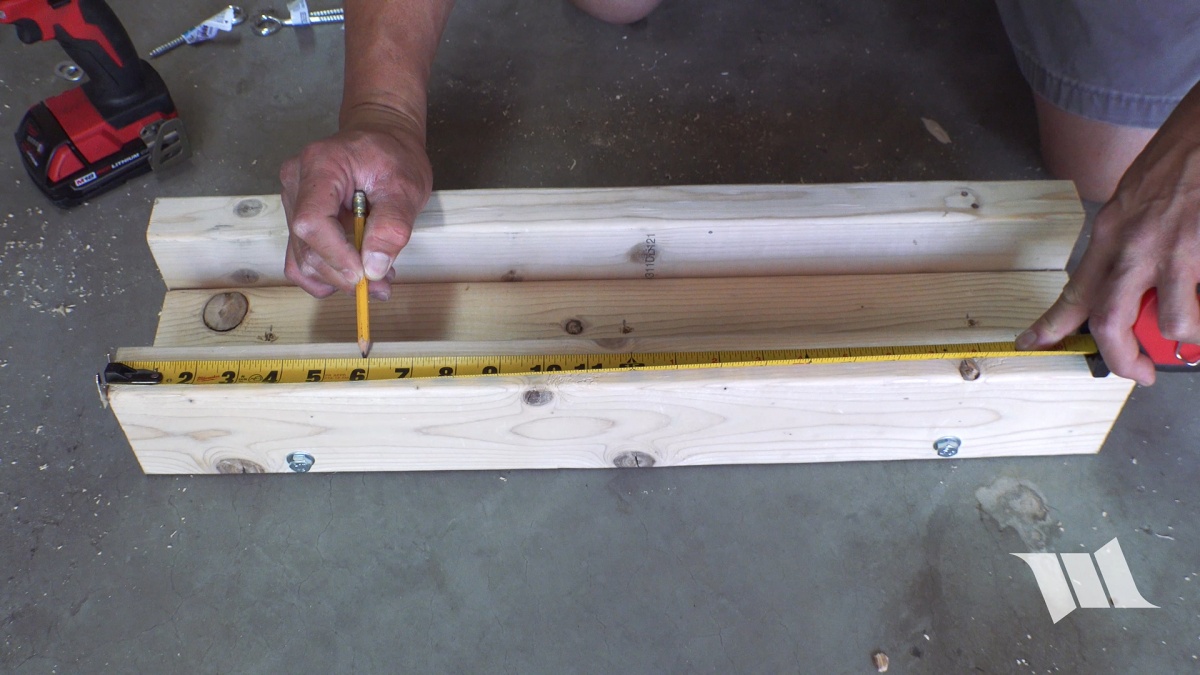
13. Place the assembled pieces on its flat side and then make a mark 12" down the edge of both wings to locate the center of them.

14. From the center point, measure 6-1/8” up, make a mark and then 6-1/8” down and make another mark. Measure 3/4" in from the side and made a cross mark on both points. Ultimately, you'll want the two marks to be 12-1/4" apart. Repeat steps on the other wing.
15. Using a 3/16" bit, drill pilot hole through the marks you just made.
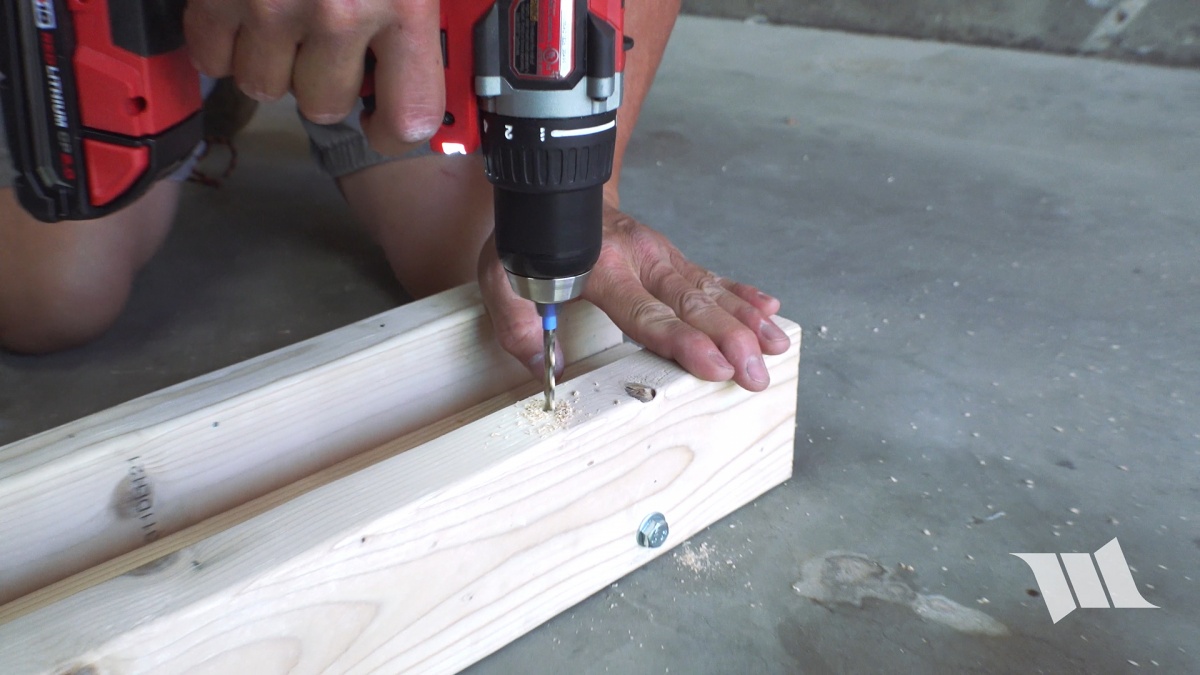
16. Install screw eyes on each of the 4 holes so that AT LEAST 2" of its length is driven in to the 2x4. Placing a screwdriver through the screw eye will help give you the leverage needed to drive it in. When finished, the eye should be sitting perpendicular to the length of the 2x4.
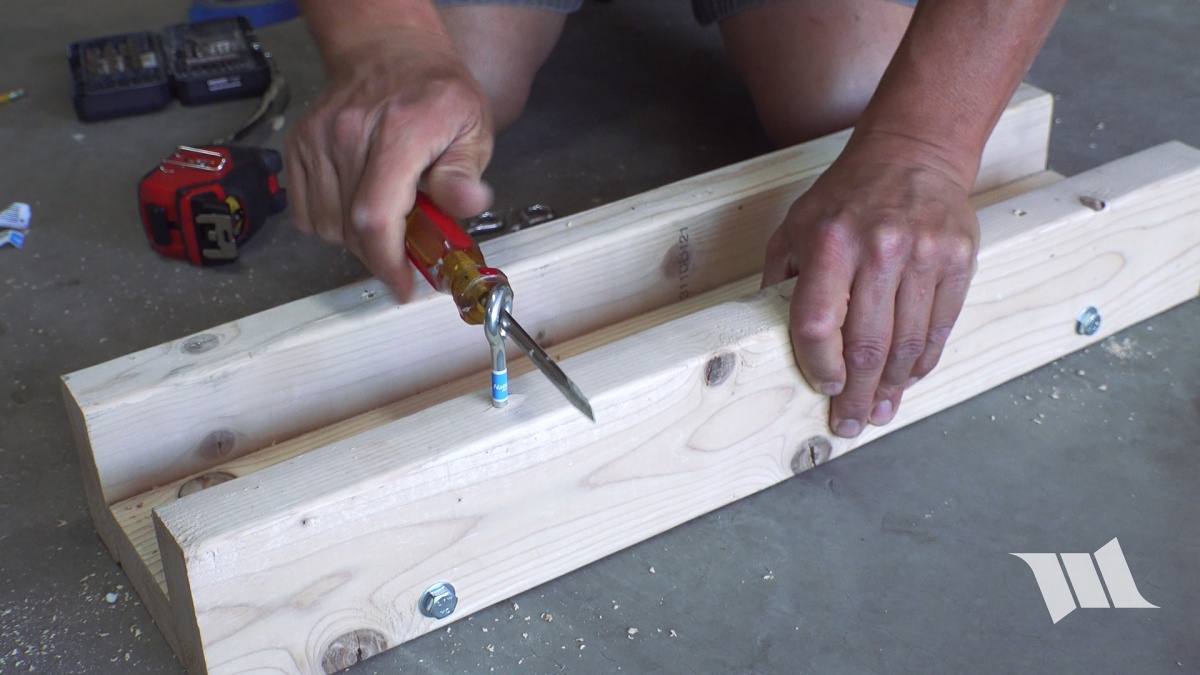
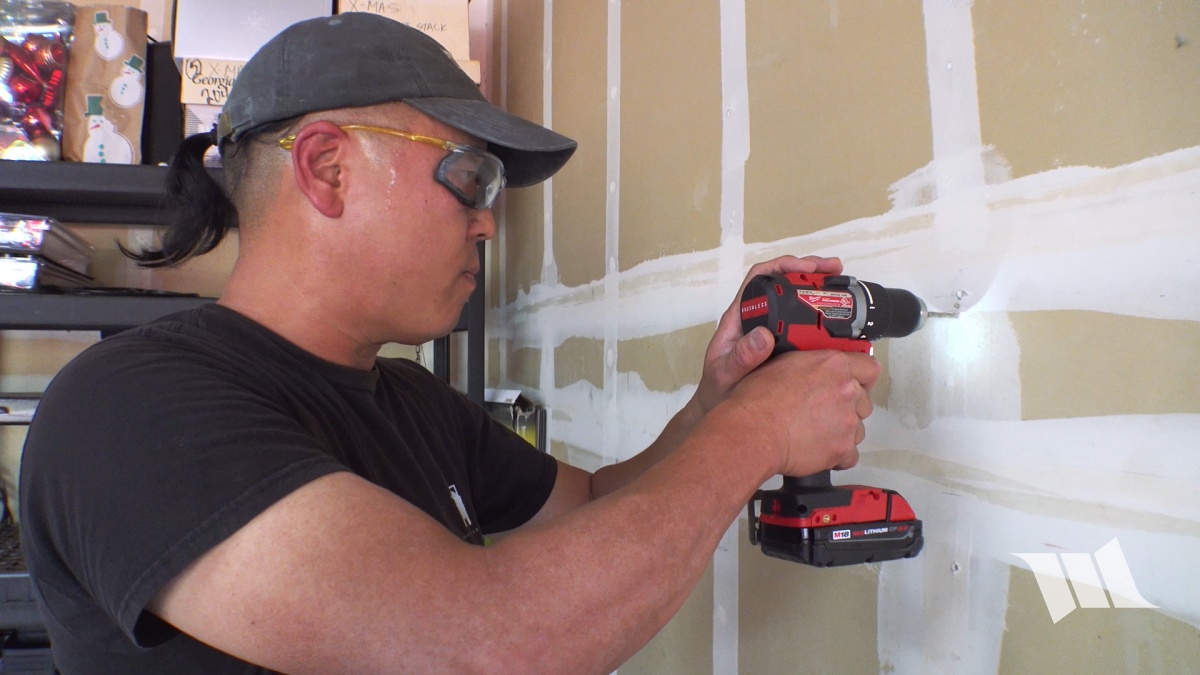
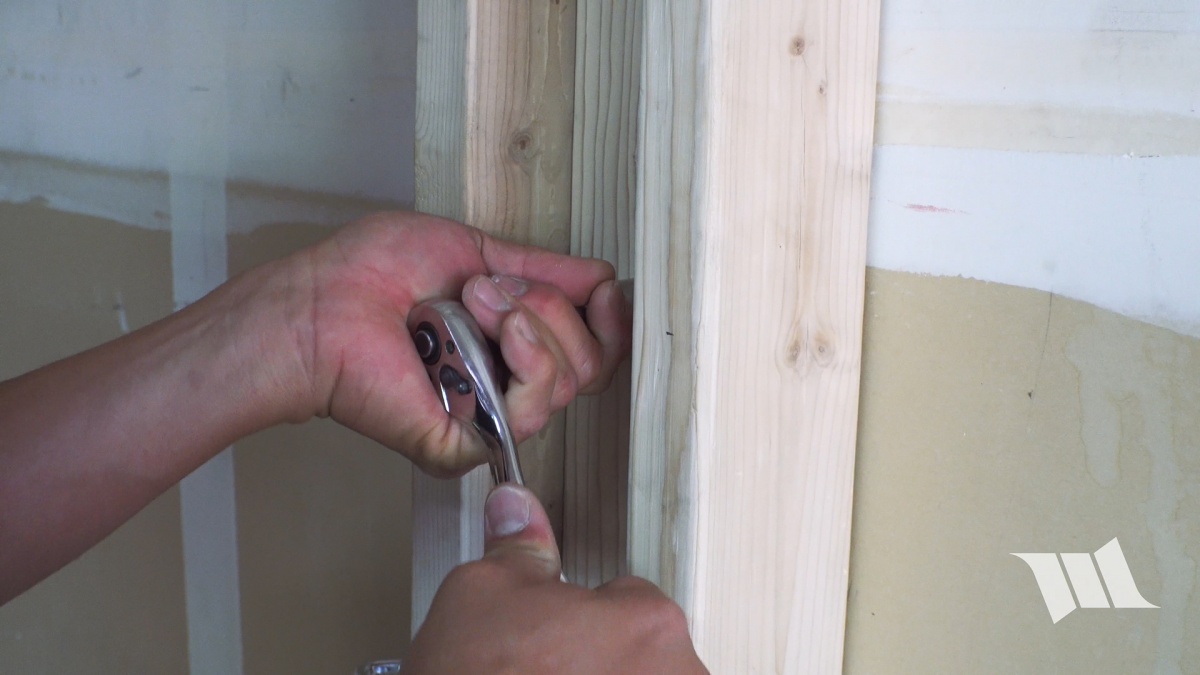
17. Use a stud finder to help locate a stud on your garage wall where you want to mount your door hanger. Once you’ve decided the approximate height of where you want your doors to be hung, make a mark to locate the top mounting hole.

14. Use a 7/32” bit to drill a pilot hole through the drywall and into the stud.
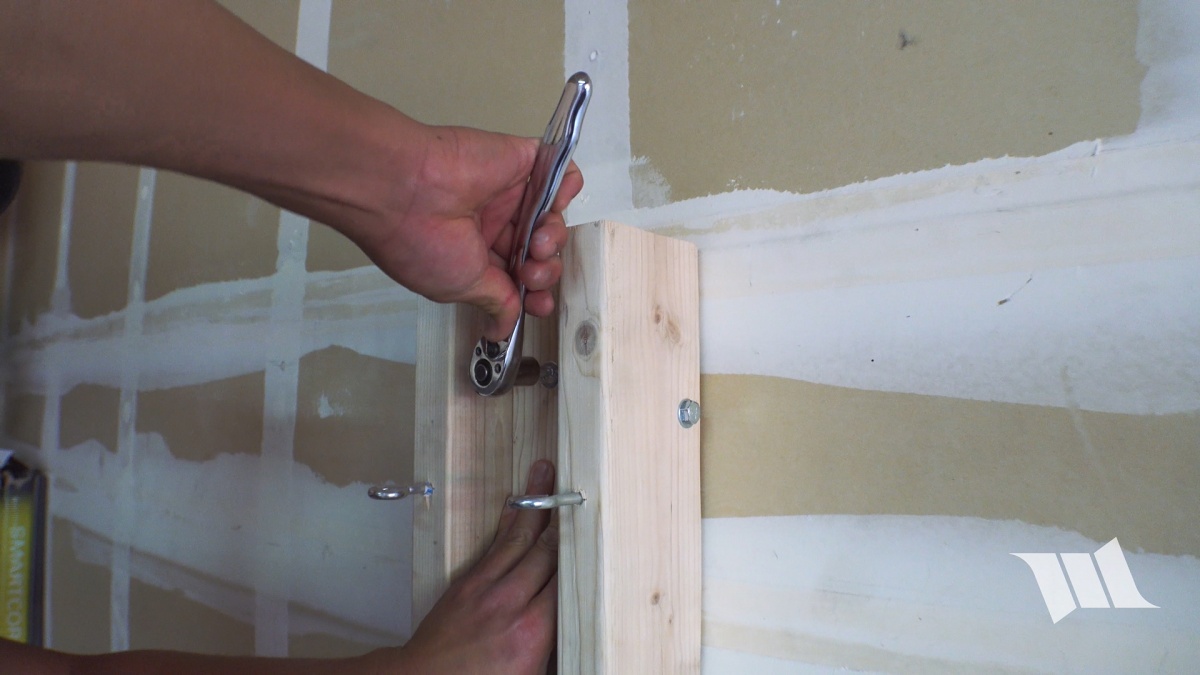
15. Install a 3” lag bolts and washer in the top hole of your mount and so that it's just poking through the other side. A ½” socket will be needed for this.

16. Position the mount on the wall and so that the lag bolt is lined up with the pilot hole you made. Then, secure it in place using a 1/2" socket.
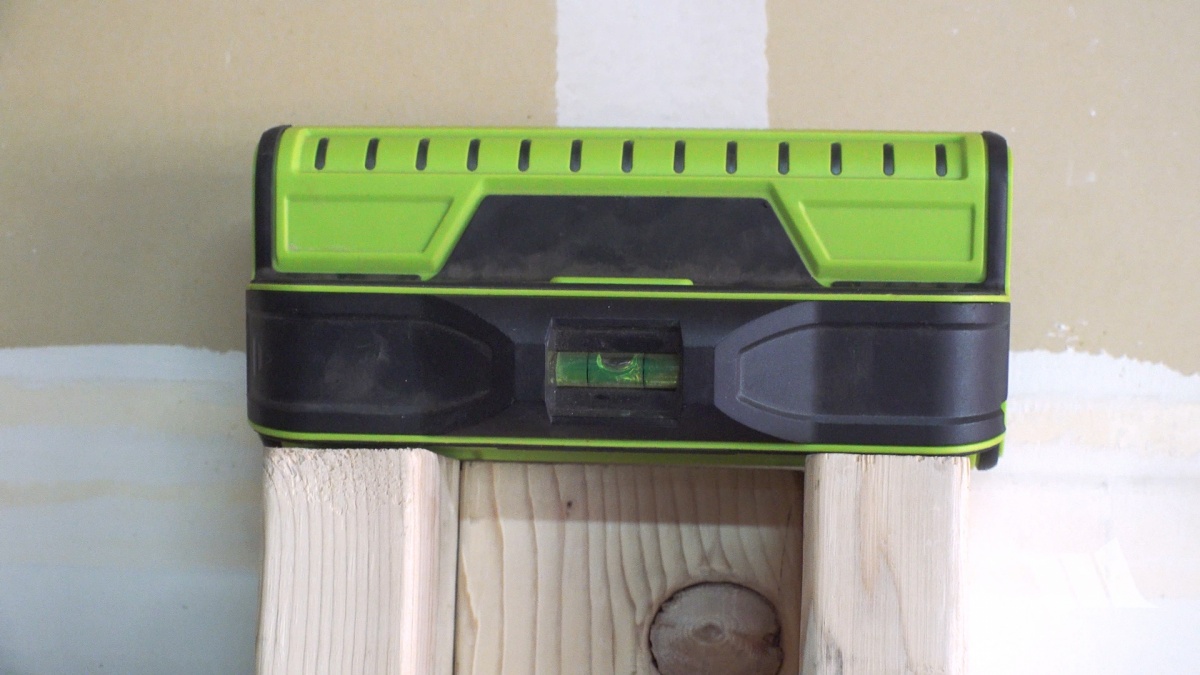
17. Use a level to make sure the mount is sitting straight on the wall.
18. Using the mount as a guide, drill pilot holes into the stud for the remaining 2 holes.
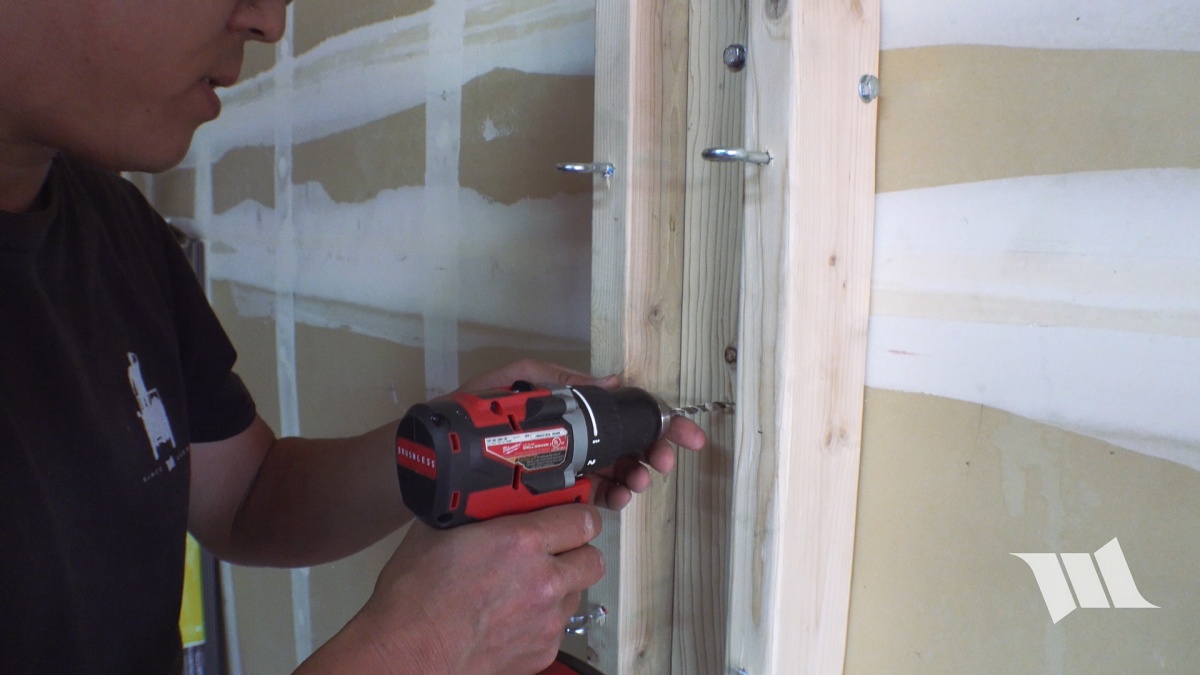
19. Finally, secure the mount in place using the remaining 3" lag bolts and washers.
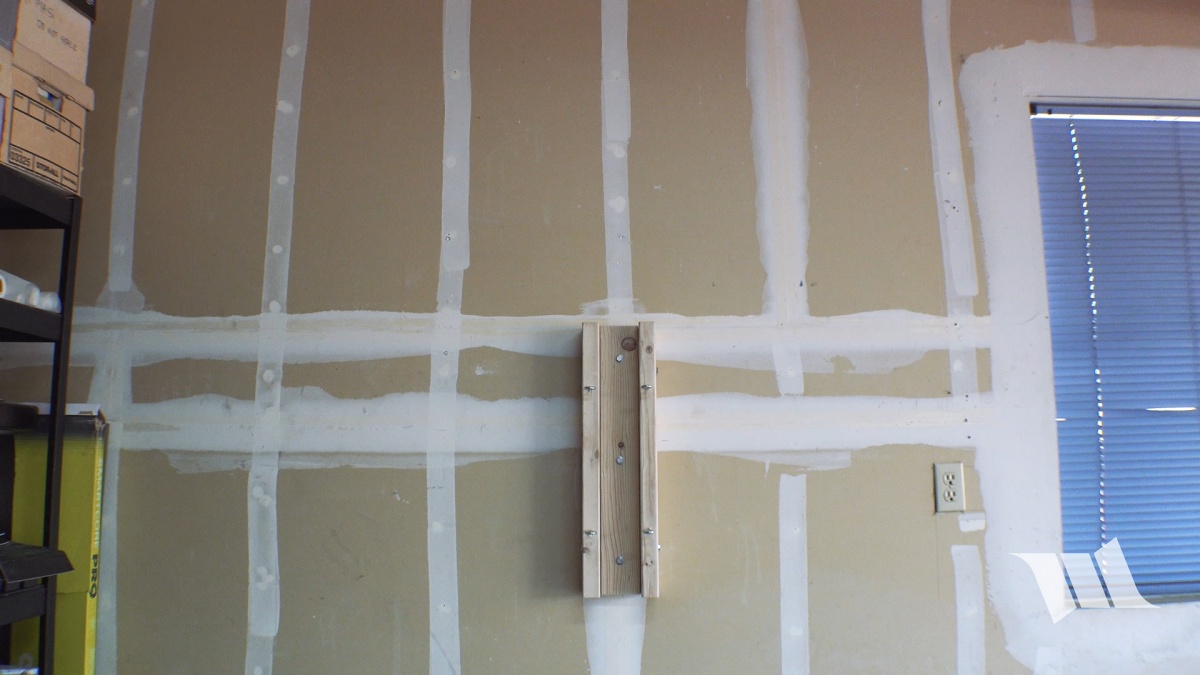
This is what your door hanger should look like when all is said and done.
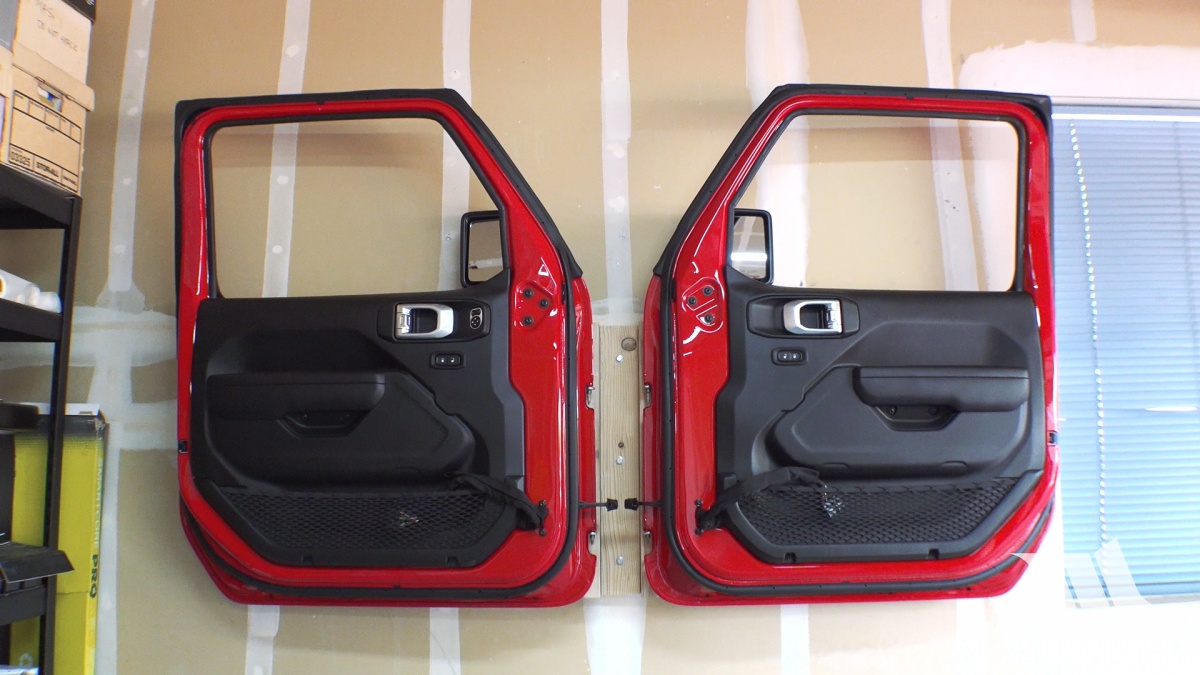
And, this is what it will look like with your doors hanging from it.
Easy as that! I hope you found this write-up to be helpful")
Happy to hear that we were able to help outThanks for the idea! Awesome!

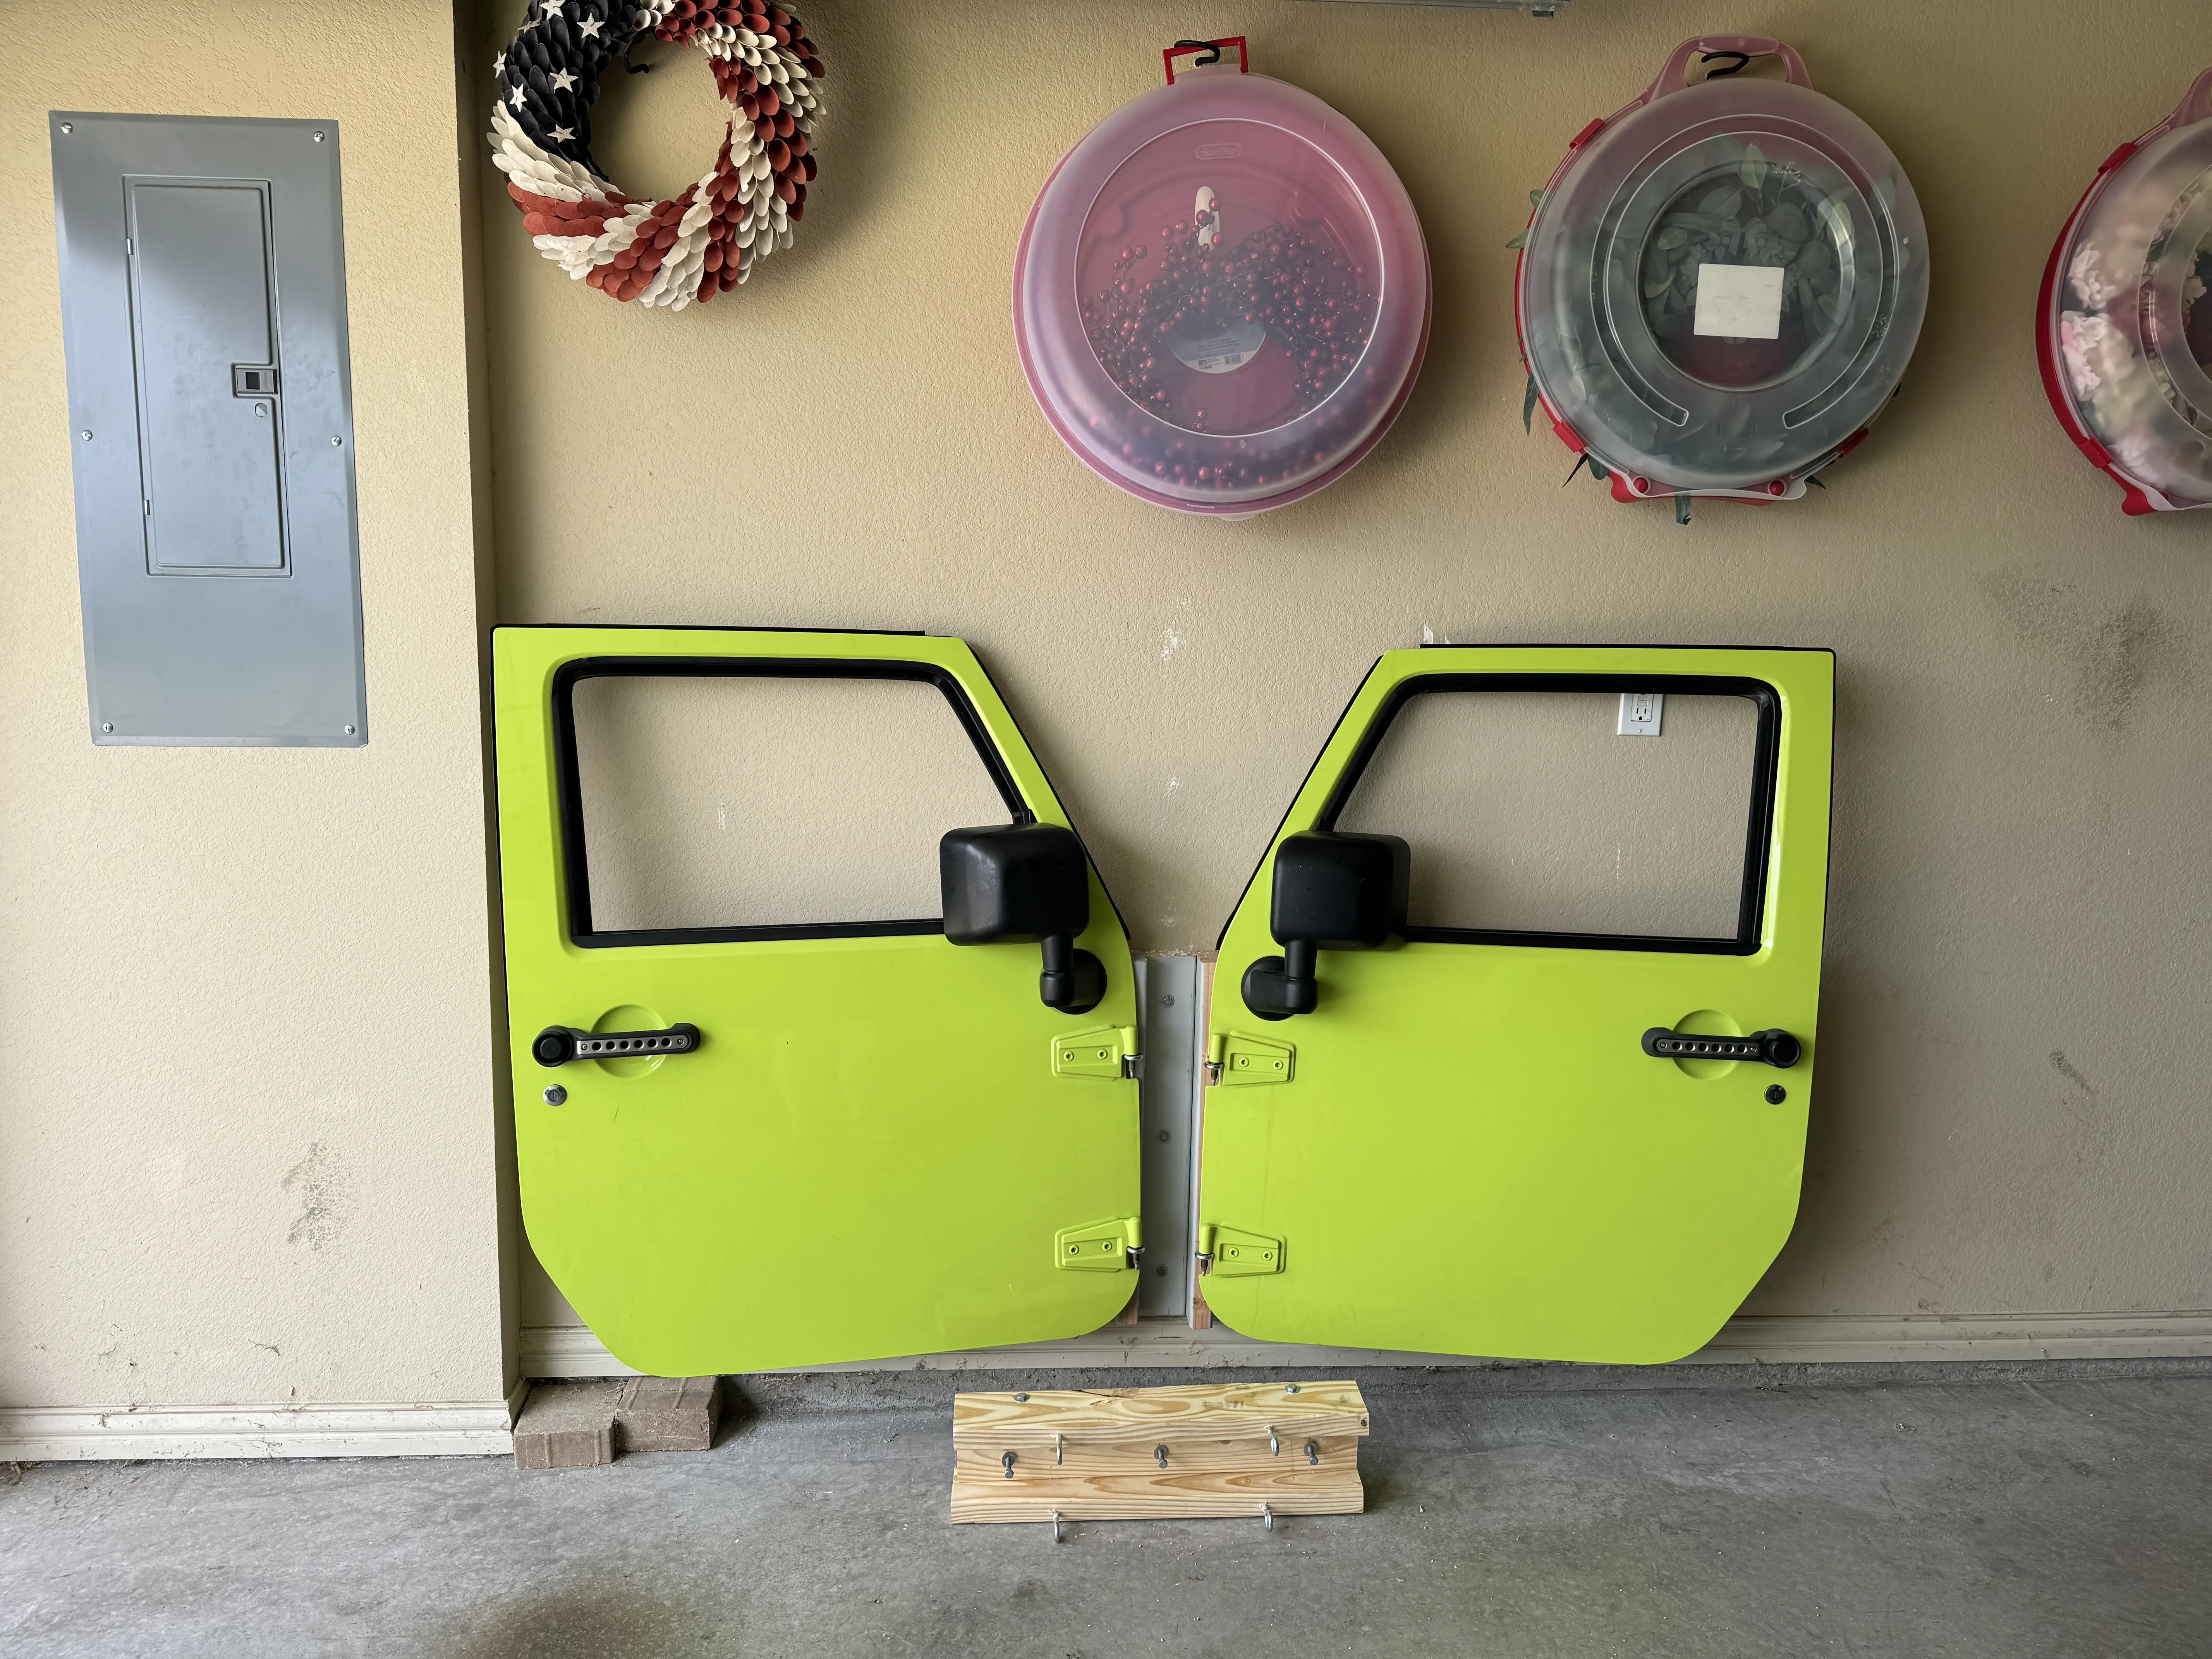
Simply awesome!Excellent write up and video! Really came in handy this weekend! Great getting these out of the boxes and creating more room in the garage. View attachment 378703
TrailHunter
Hooked
Never has there been a cleaner set of doors hanging on a garage wall.Excellent write up and video! Really came in handy this weekend! Great getting these out of the boxes and creating more room in the garage.
AZVAJKU
Hooked
Thanks! There's a lot you can buy with the money you save on some of the hangers out there.
Like this?


Mike Pierson
Hooked
Sooo good!!!
Awesome! Glad our video was helpful to youThanks for the video!

You know it
jeeeep
Hooked
I found another use for this - pour it over salmon before baking

Mike Pierson
Hooked
Oh hell no!I found another use for this - pour it over salmon before baking


