GraniteCrystal
New member
Modified Carrich's iPad mini mount install - powered and cooled
I'll create a separate thread for this, but posting it here first.
Here is video link showing functionality and end result: https://youtu.be/rVfyRpq6kY8
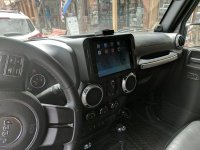
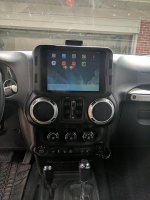
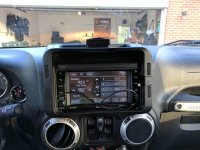
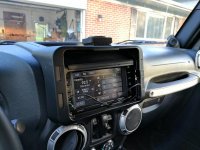
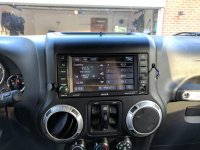
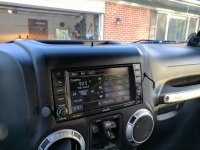
I recently purchased the iPad mini mount from Carrich's using the amazing wayalife discount (thanks!). It looked promising, my 430N has just crapped out in terms of navigation, and my sister-in-law was willing to sell me her unused iPad mini for $50. The stars aligned.
If you're just installing the mount with an iPad, you can do this in an hour or so. However, since I'm basically using the iPad as a replacement for the 430N, I went to greater lengths. If you do everything in this how-to, I'd set aside a full day. Benefits of my system include:
1) full-time power to iPad
2) dedicated GPS unit (not necessary if your iPad has GPS, mine is WiFi only)
3) full-time power to GPS unit
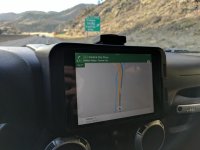
4) turn-by-turn navigation
5) can watch Netflix, etc while driving (not true with stock 430N unit which disables DVD player when driving)
6) active cooling system for iPad so it doesn't overheat when hot outside, doors/top off, and watching movies, using navigation, etc
7) iPad is removable with little effort (may or may not be a benefit depending on the neighborhood you live in)
8) audio is piped thru the entire Jeep sound system and volume controlled thru steering wheel
9) still can listen to radio, etc using steering wheel controls
10) much nicer screen than any replacement unit for the 430N I've seen and for a fraction of the price
11) more stable due to mechanical reinforcement of position on dash
I'll break this down into a few options. Most people will fall in 1 of 4 categories:
Category A - I just want to install the mount and have it hold my iPad
Category B - I want to install the mount and run full-time power to the iPad
Category C - I want to install the mount and a GPS unit and run full-time power to both
Category D - I want to install the mount and GPS unit, run full-time power to both, and pipe some AC in to cool the iPad
For each step below, I'll call out which group of people need to perform the step (roughly speaking). It's ultimately up to you to decide which steps you want to do.
Also, I'm putting these in the most logical order looking back on it. This was not the order I did them in as my strategy had to change multiple times and I was figuring it out as I went. If you feel I missed a step, please call it out. I'll do my best to keep this post updated with the most accurate information.
Materials & Supplies
No need to use exactly what I did, but I'll include links so you know if you're getting the equivalent
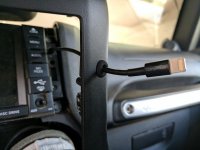
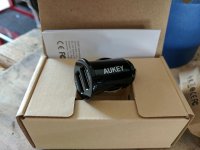
1) Flush fit, dual port, USB car charger for cigarette lighter
https://www.amazon.com/gp/product/B00M6QODH2/ref=oh_aui_detailpage_o01_s00?ie=UTF8&psc=1
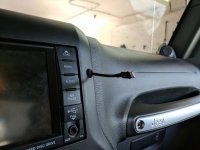
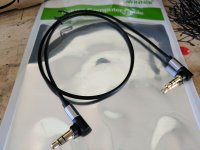
2) Aux-in cable, also known as headphone cable, 1.5' long
https://www.amazon.com/gp/product/B01N2MY88J/ref=oh_aui_detailpage_o02_s00?ie=UTF8&psc=1
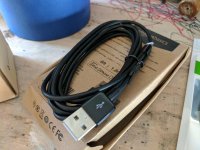
3) Charger cable for iPad (if you don't have one or don't want to leave it full-time in the Jeep)
https://www.amazon.com/gp/product/B010U3XVMU/ref=oh_aui_detailpage_o03_s00?ie=UTF8&psc=1
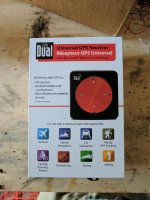
4) GPS unit that connects via Bluetooth to iOS devices
https://www.amazon.com/gp/product/B006M49G80/ref=oh_aui_detailpage_o00_s00?ie=UTF8&psc=1
5) Assorted drill bits (you're mostly drilling plastic and a little metal)
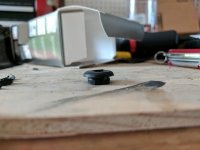
6) One of the plastic push pin things that holds your fenders on
7) Painters tape
8) Electrical tape
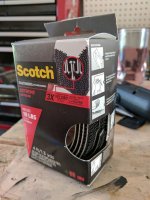
9) Velcro
10) Rubber grommets (you'll need two, sizes will vary based on the power cords you use. Just get a variety from the hardward store, they're like $0.34 each)
11) 7mm socket and extension
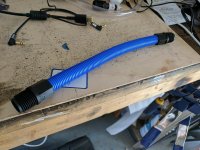
12) Some sprinkler hose tubing from Lowes - see step 33
https://www.lowes.com/pd/Orbit-12-in-Flexible-Riser/3424922
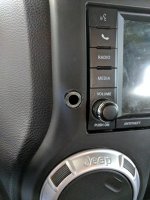
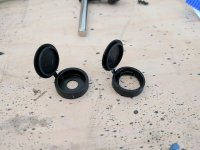
13) Hinged screw covers, qty 2 in case you screw one up (Ace Hardware is a great place to find these) - see step 44
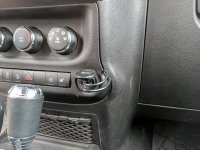
Step 1: plug in dual port power adapter to cigarette lighter (B, C, D)
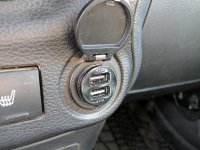
Next several steps follow the Carrich's instructions, but here are better pics explaining.
Step 2: pop out the window controls (A, B, C, D)
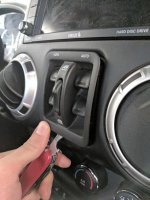
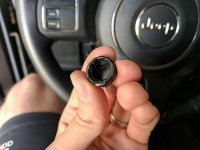
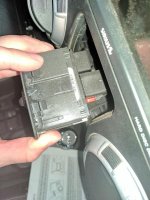
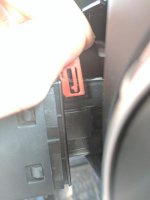
Step 3: Remove the red lock switch (A, B, C, D)
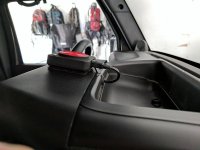
Here it is in place:
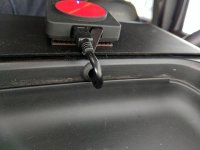
And removed:
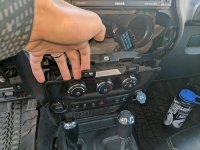
Step 4: push down on the black release and remove window controls entirely (A, B, C, D)
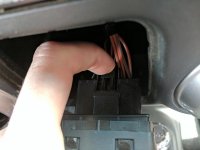
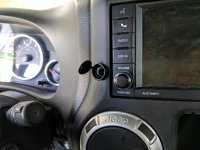
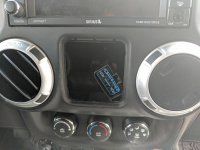
How it looks once they're out of the way:
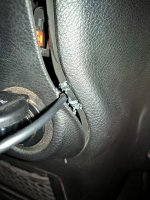
Step 5: Use a 7mm socket and extension to remove bolt (A, B, C, D)
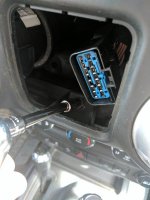
Step 6: pop off the dash part underneath the steering wheel (A, B, C, D)
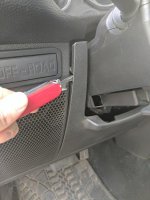
How it looks with it removed:
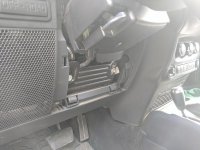
Step 7: Use 7mm socket to remove bolts on left and right side of steering wheel (A, B, C, D)
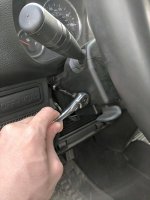
Step 8: remove dash (A, B, C, D)
Lowering the steering wheel will help. Grip as shown and pull toward you. Does not take very much force. Don't force it.
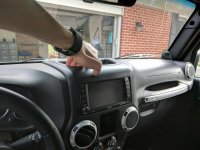
How it looks with it removed:
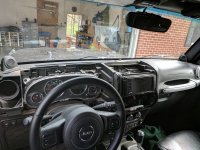
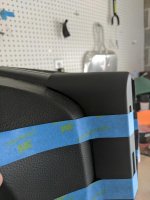
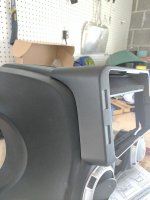
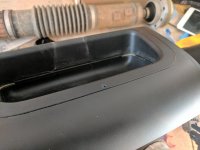
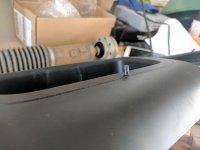
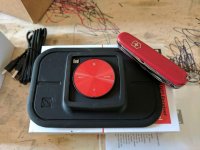
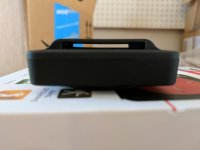
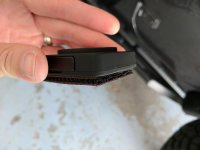
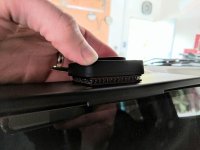
At this point in the process, take the dash over to your workbench. The Carrich's instructions call for it to be mounted up, but I wasn't getting quite the fit I wanted. Here is a side pic of it not mating as well as I'd like (notice gap above top piece of blue tape):
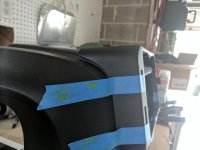
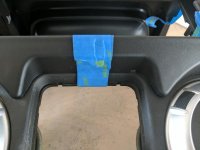
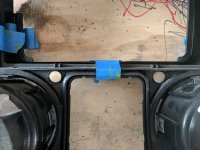
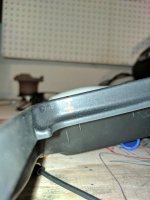
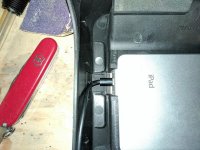
which is largely due to this bow in the plastic:
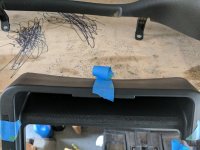
I wanted a better fit, so I decided to modify it.
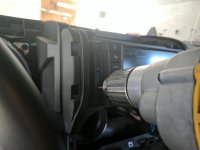
Step 9: heat the Carrich's mount with blow dryer or heat gun (A, B, C, D)
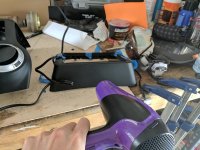
Step 10: Use your hands to bend it outward and hold until it cools (A, B, C, D)
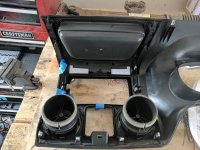
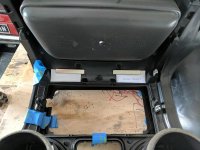
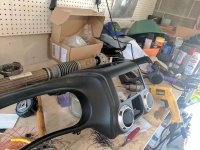
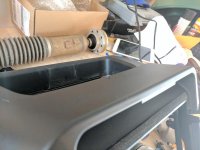
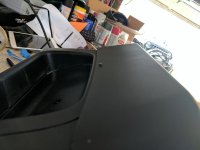
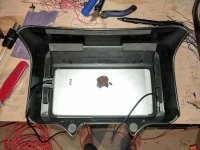
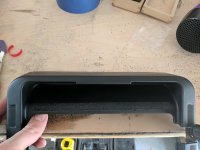
Here is a pic of it when I was done...much flatter:
I'll create a separate thread for this, but posting it here first.
Here is video link showing functionality and end result: https://youtu.be/rVfyRpq6kY8
I recently purchased the iPad mini mount from Carrich's using the amazing wayalife discount (thanks!). It looked promising, my 430N has just crapped out in terms of navigation, and my sister-in-law was willing to sell me her unused iPad mini for $50. The stars aligned.
If you're just installing the mount with an iPad, you can do this in an hour or so. However, since I'm basically using the iPad as a replacement for the 430N, I went to greater lengths. If you do everything in this how-to, I'd set aside a full day. Benefits of my system include:
1) full-time power to iPad
2) dedicated GPS unit (not necessary if your iPad has GPS, mine is WiFi only)
3) full-time power to GPS unit
4) turn-by-turn navigation
5) can watch Netflix, etc while driving (not true with stock 430N unit which disables DVD player when driving)
6) active cooling system for iPad so it doesn't overheat when hot outside, doors/top off, and watching movies, using navigation, etc
7) iPad is removable with little effort (may or may not be a benefit depending on the neighborhood you live in)
8) audio is piped thru the entire Jeep sound system and volume controlled thru steering wheel
9) still can listen to radio, etc using steering wheel controls
10) much nicer screen than any replacement unit for the 430N I've seen and for a fraction of the price
11) more stable due to mechanical reinforcement of position on dash
I'll break this down into a few options. Most people will fall in 1 of 4 categories:
Category A - I just want to install the mount and have it hold my iPad
Category B - I want to install the mount and run full-time power to the iPad
Category C - I want to install the mount and a GPS unit and run full-time power to both
Category D - I want to install the mount and GPS unit, run full-time power to both, and pipe some AC in to cool the iPad
For each step below, I'll call out which group of people need to perform the step (roughly speaking). It's ultimately up to you to decide which steps you want to do.
Also, I'm putting these in the most logical order looking back on it. This was not the order I did them in as my strategy had to change multiple times and I was figuring it out as I went. If you feel I missed a step, please call it out. I'll do my best to keep this post updated with the most accurate information.
Materials & Supplies
No need to use exactly what I did, but I'll include links so you know if you're getting the equivalent
1) Flush fit, dual port, USB car charger for cigarette lighter
https://www.amazon.com/gp/product/B00M6QODH2/ref=oh_aui_detailpage_o01_s00?ie=UTF8&psc=1

2) Aux-in cable, also known as headphone cable, 1.5' long
https://www.amazon.com/gp/product/B01N2MY88J/ref=oh_aui_detailpage_o02_s00?ie=UTF8&psc=1

3) Charger cable for iPad (if you don't have one or don't want to leave it full-time in the Jeep)
https://www.amazon.com/gp/product/B010U3XVMU/ref=oh_aui_detailpage_o03_s00?ie=UTF8&psc=1

4) GPS unit that connects via Bluetooth to iOS devices
https://www.amazon.com/gp/product/B006M49G80/ref=oh_aui_detailpage_o00_s00?ie=UTF8&psc=1

5) Assorted drill bits (you're mostly drilling plastic and a little metal)
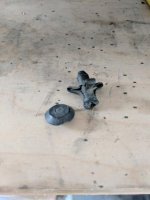
6) One of the plastic push pin things that holds your fenders on
7) Painters tape
8) Electrical tape
9) Velcro
10) Rubber grommets (you'll need two, sizes will vary based on the power cords you use. Just get a variety from the hardward store, they're like $0.34 each)
11) 7mm socket and extension
12) Some sprinkler hose tubing from Lowes - see step 33
https://www.lowes.com/pd/Orbit-12-in-Flexible-Riser/3424922
13) Hinged screw covers, qty 2 in case you screw one up (Ace Hardware is a great place to find these) - see step 44
Step 1: plug in dual port power adapter to cigarette lighter (B, C, D)

Next several steps follow the Carrich's instructions, but here are better pics explaining.
Step 2: pop out the window controls (A, B, C, D)

Step 3: Remove the red lock switch (A, B, C, D)
Here it is in place:

And removed:

Step 4: push down on the black release and remove window controls entirely (A, B, C, D)

How it looks once they're out of the way:

Step 5: Use a 7mm socket and extension to remove bolt (A, B, C, D)

Step 6: pop off the dash part underneath the steering wheel (A, B, C, D)

How it looks with it removed:

Step 7: Use 7mm socket to remove bolts on left and right side of steering wheel (A, B, C, D)

Step 8: remove dash (A, B, C, D)
Lowering the steering wheel will help. Grip as shown and pull toward you. Does not take very much force. Don't force it.

How it looks with it removed:

At this point in the process, take the dash over to your workbench. The Carrich's instructions call for it to be mounted up, but I wasn't getting quite the fit I wanted. Here is a side pic of it not mating as well as I'd like (notice gap above top piece of blue tape):

which is largely due to this bow in the plastic:

I wanted a better fit, so I decided to modify it.
Step 9: heat the Carrich's mount with blow dryer or heat gun (A, B, C, D)

Step 10: Use your hands to bend it outward and hold until it cools (A, B, C, D)
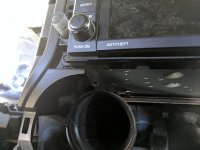
Here is a pic of it when I was done...much flatter:

Last edited:

