Okay, I know there are more than a few of you who've looked at GLUETREAD and I know it because I certainly have and even went so far as to buy a kit for myself. That said, I would be the first to say that I had some doubt as to how well or if it would really work at all but over the weekend and out on the Rubicon, I got a chance to see it being used first hand and... when done right... I can tell you that this stuff really works!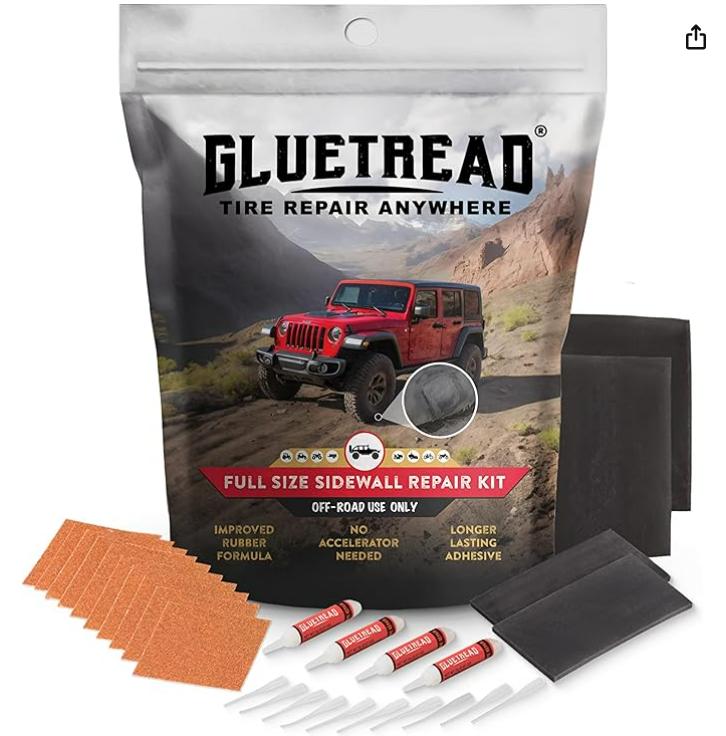
I should note that the BEST THING to do is CARRY A SPARE TIRE any time you hit the trail - PERIOD. The one rig in our group who got the sidewall damage didn't have one and was super lucky to come across another Jeeper on the trail who just happened to have a GLUETREAD kit. Also, the BEST TIME to use GLUETREAD is SOON after you realize that you have sidewall damage causing a leak. As in, get it while the hole is small! The GLUETREAD will work on a bigger hole but it will require more work to make it work.
THINGS YOU NEED TO KNOW
1. It is critical that you READ THE INSTRUCTIONS COMPLETELY AND CAREFULLY. This repair ultimately had to be done twice as the first time around, the instructions were not followed exactly.
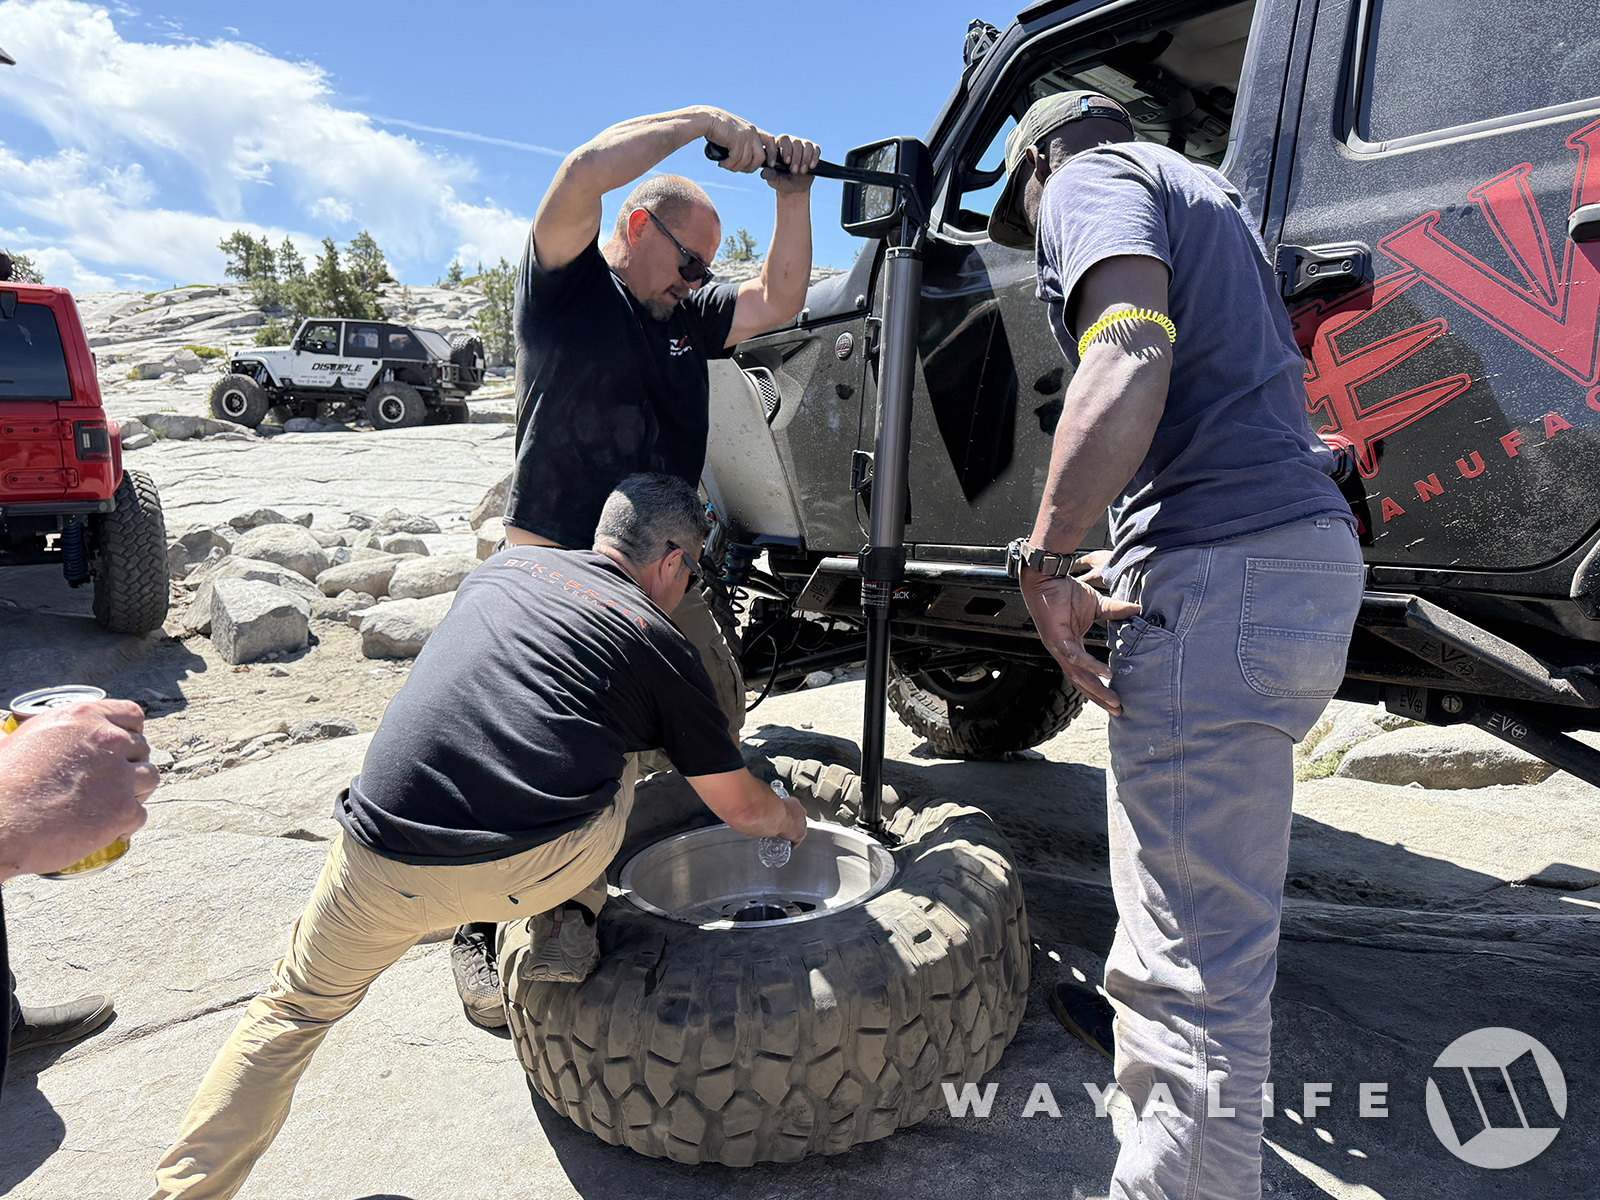
2. While this will work to patch a hole on the outside of your tire, it will do a much better job if you can make the repair from the inside. Running beadlock wheels will make this a lot easier. Obviously, a HI-Lift will be needed to break the bead. NOTE : The ARB jack you see in this pic is total junk and it blew its seal and sprayed oil all over the place soon after the bead was broken.
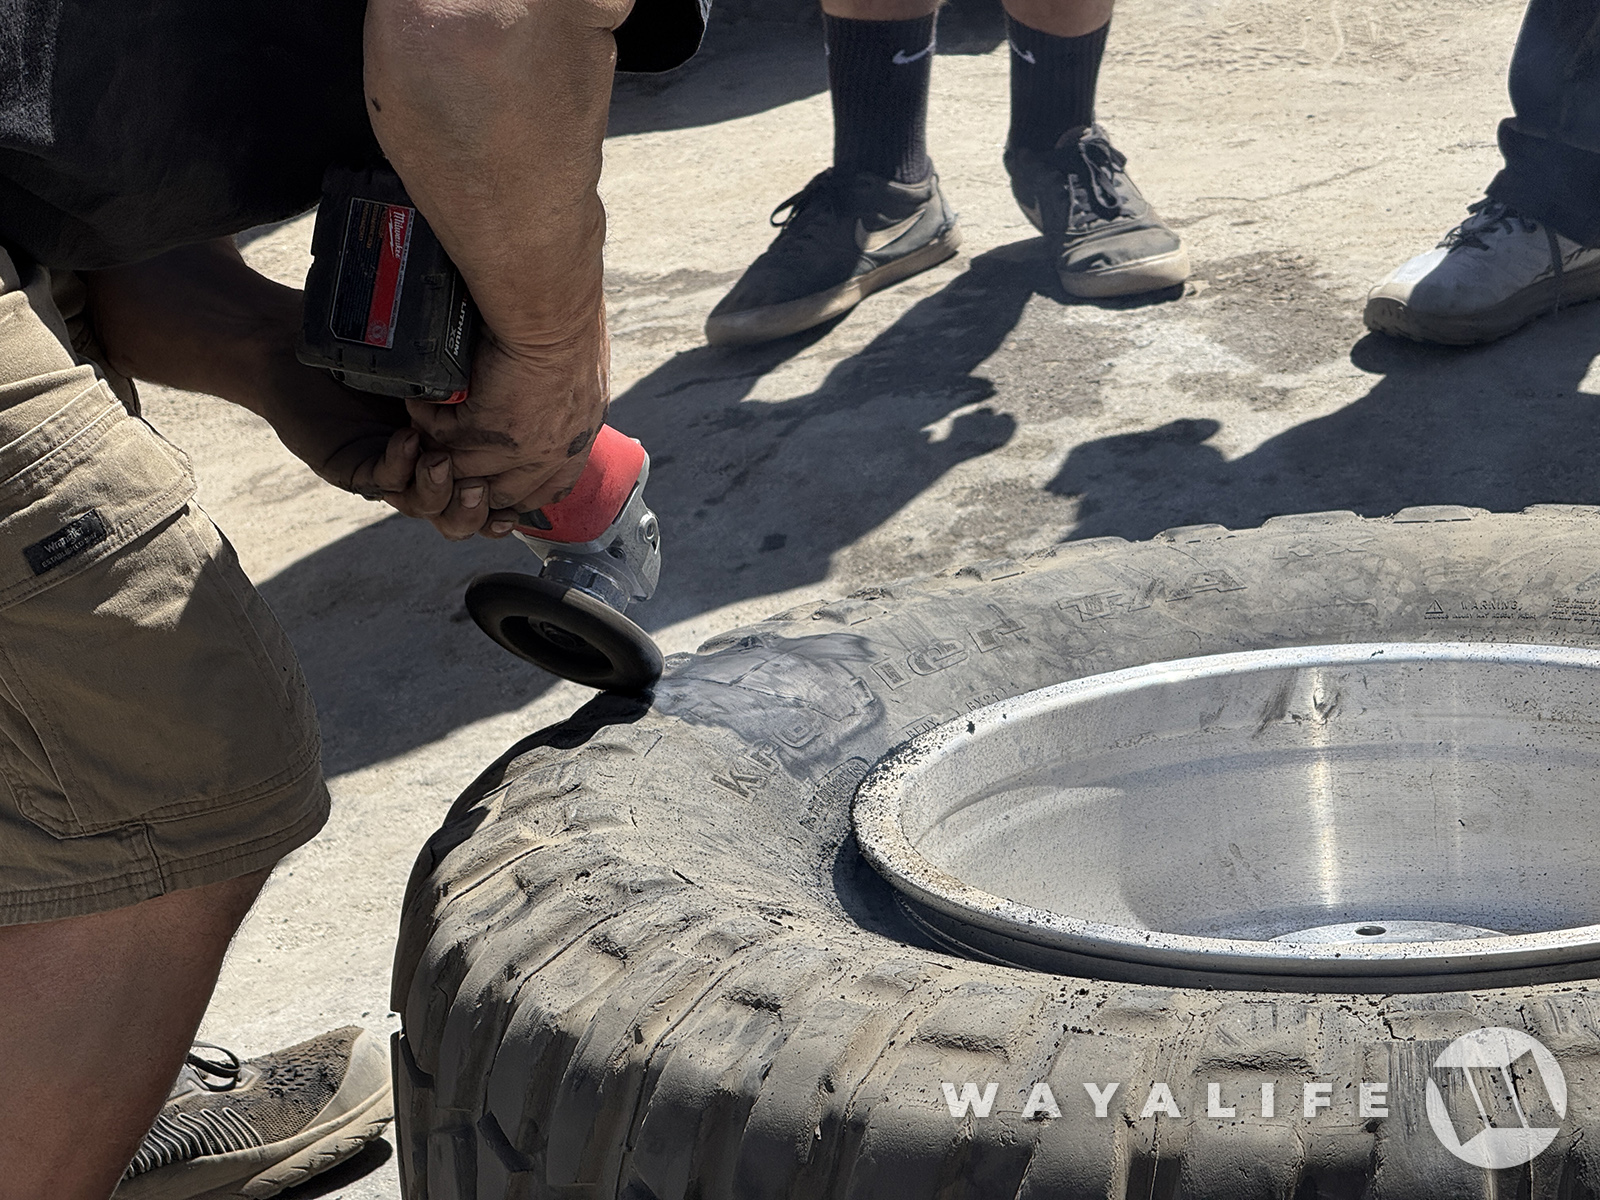
3. The kit does come with sand paper to help flatten out the area that needs to be patched but if the damage is close to the shoulder lugs, a grinder with a flap disc will help to flatten them done a lot faster and easier.
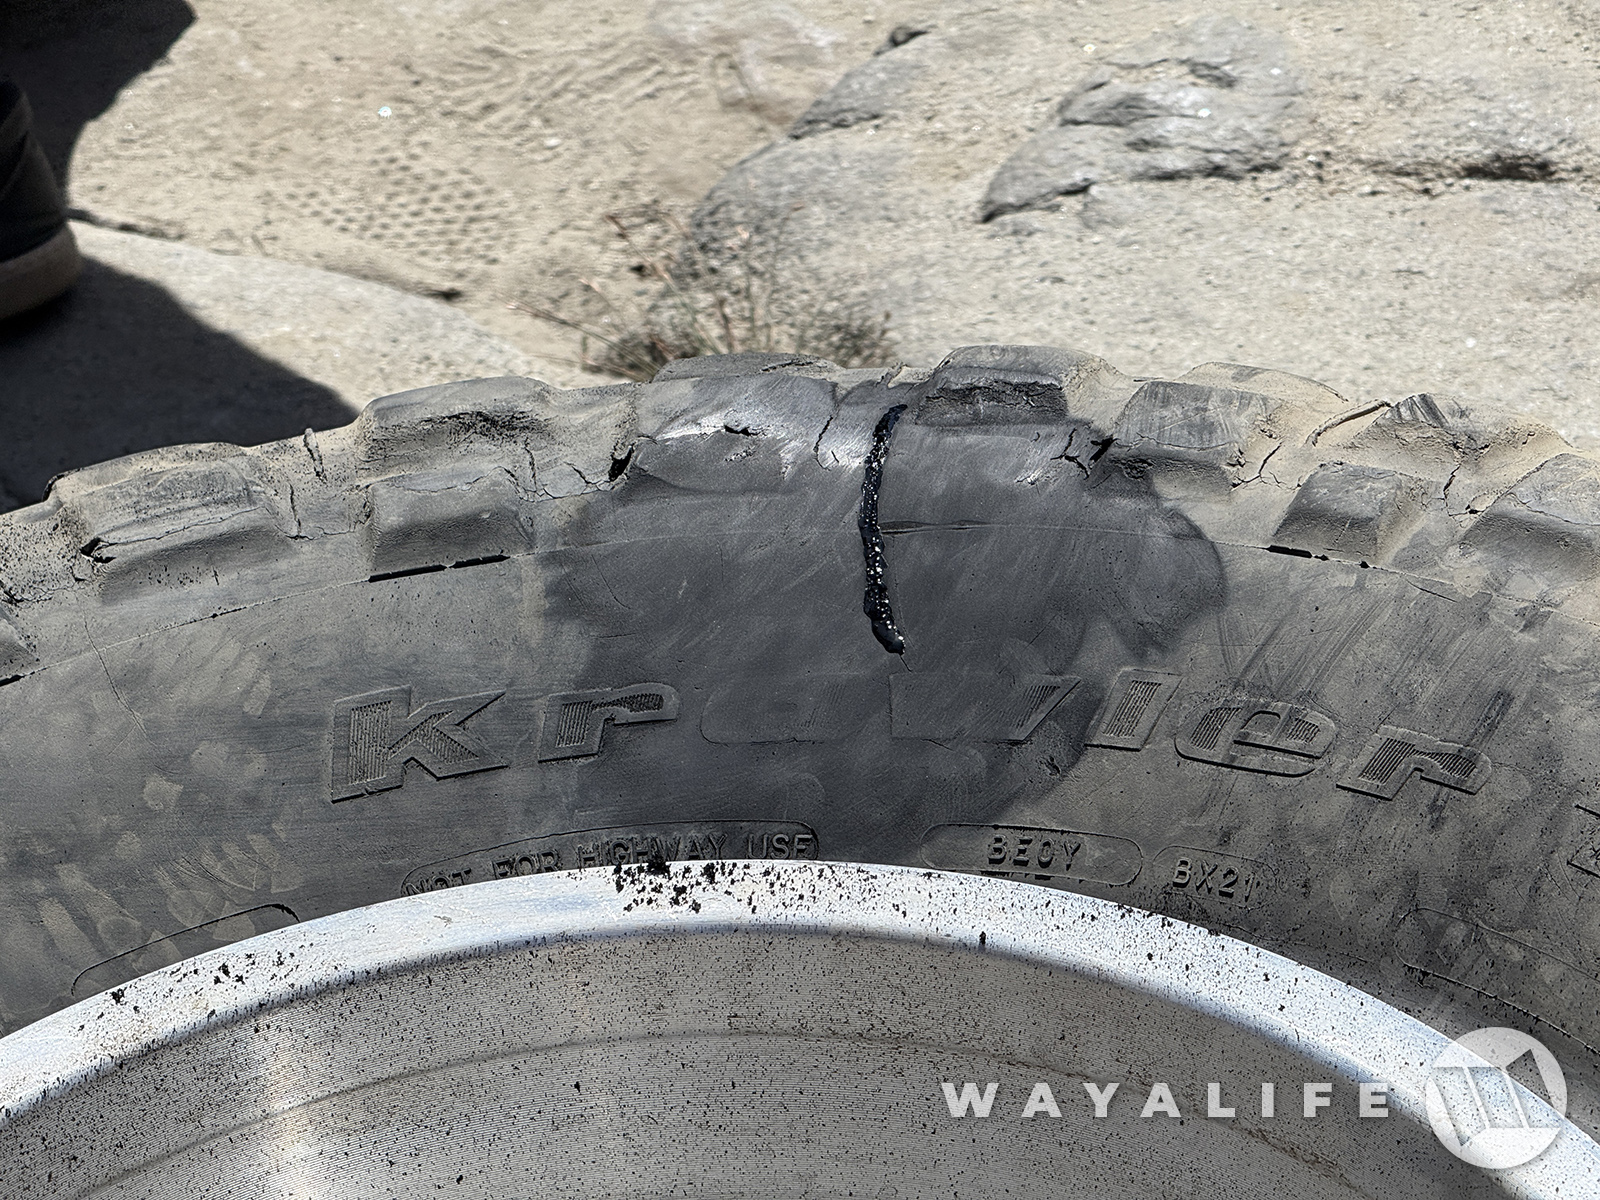
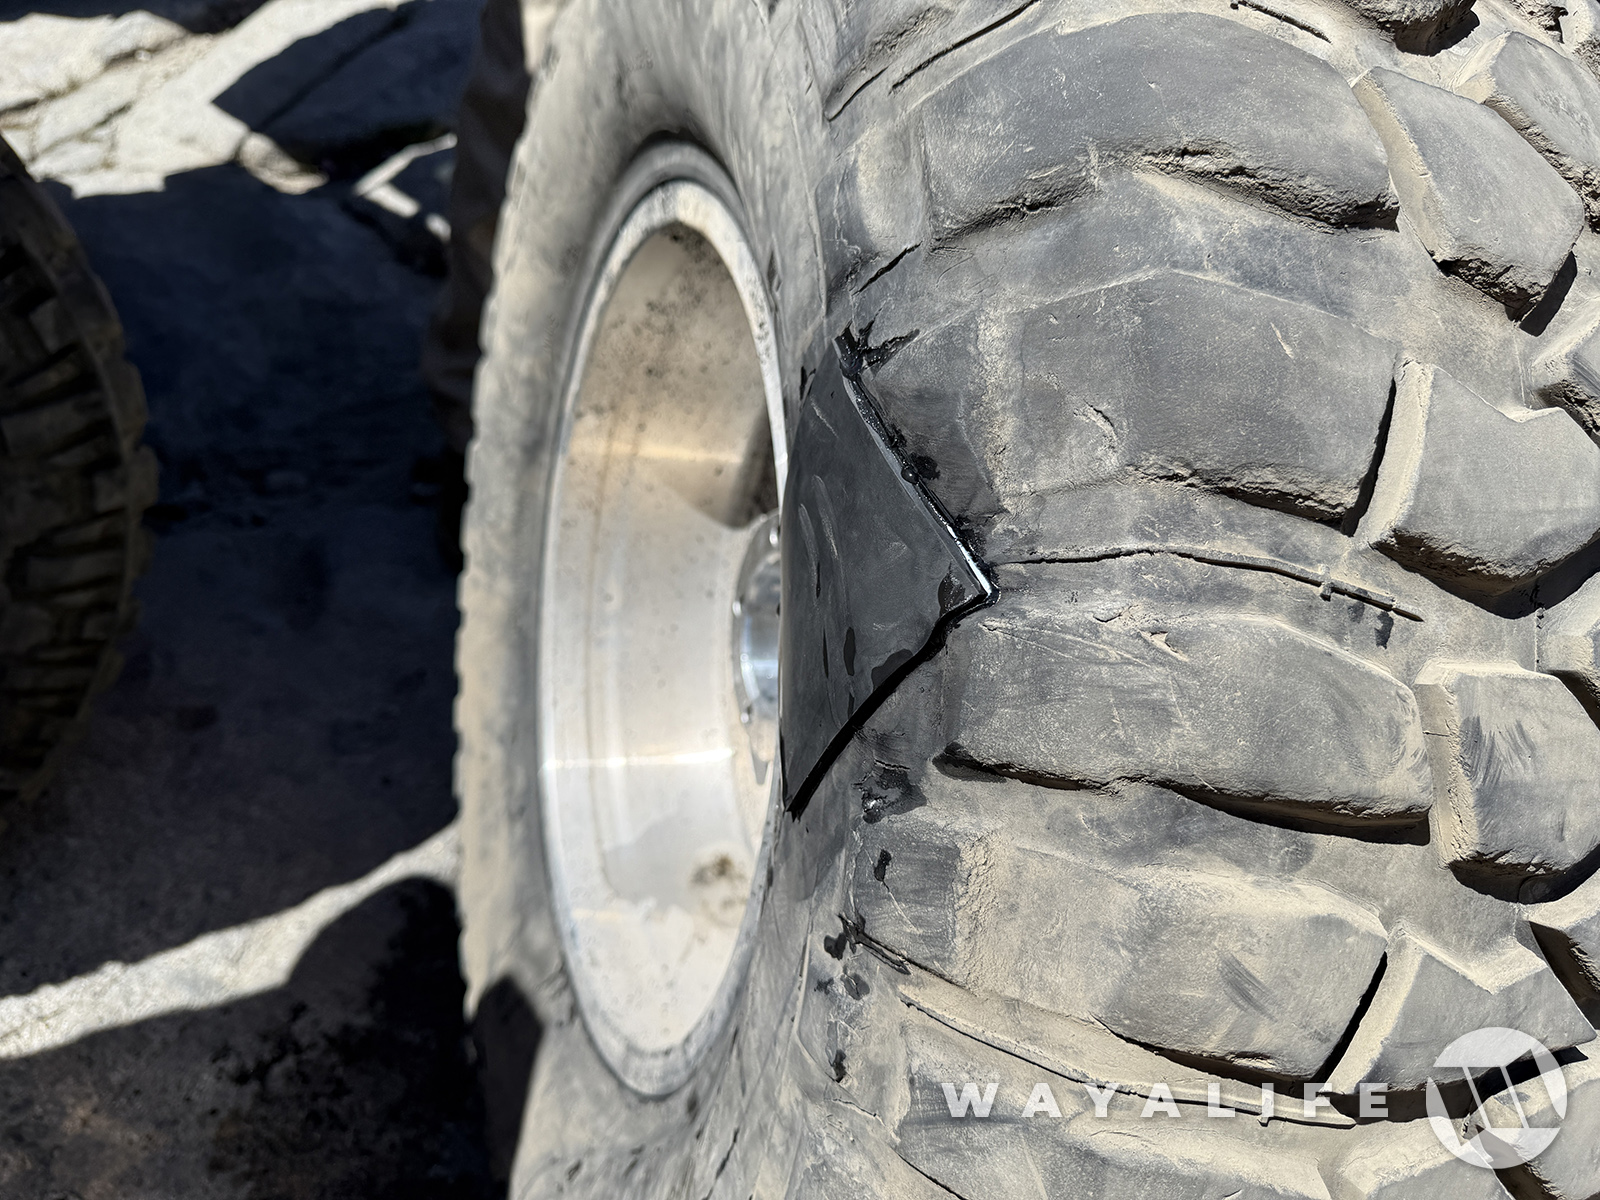
4. With the sidewall cleaned up and flattened out, glue needs to be applied to the tear.
5. Again, following the instructions, you NEED to just make dots on the patch and not slather on the glue. Also, not shown in this pic is that the corners should be cut and rounded off. This is a step that wasn't followed and I think in part, caused it to fail on the first attempt.

6. Make sure to let it set fully, check for leaks AND ADD more glue as needed. If all is good, Inflate your tire to maximum pressure to prevent any sidewall flexing as that can cause the patch to come undone.
Because instructions weren't followed carefully the first time around AND the tire wasn't inflated to max pressure, the patch had to be redone later on in the day. However, after it was done correctly the second time around, it held up all the way through the end of the trail.
With all that said, I would highly recommend that you buy GLUETREAD for your Jeep and you get get it here:
I should note that the BEST THING to do is CARRY A SPARE TIRE any time you hit the trail - PERIOD. The one rig in our group who got the sidewall damage didn't have one and was super lucky to come across another Jeeper on the trail who just happened to have a GLUETREAD kit. Also, the BEST TIME to use GLUETREAD is SOON after you realize that you have sidewall damage causing a leak. As in, get it while the hole is small! The GLUETREAD will work on a bigger hole but it will require more work to make it work.
THINGS YOU NEED TO KNOW
1. It is critical that you READ THE INSTRUCTIONS COMPLETELY AND CAREFULLY. This repair ultimately had to be done twice as the first time around, the instructions were not followed exactly.
2. While this will work to patch a hole on the outside of your tire, it will do a much better job if you can make the repair from the inside. Running beadlock wheels will make this a lot easier. Obviously, a HI-Lift will be needed to break the bead. NOTE : The ARB jack you see in this pic is total junk and it blew its seal and sprayed oil all over the place soon after the bead was broken.
3. The kit does come with sand paper to help flatten out the area that needs to be patched but if the damage is close to the shoulder lugs, a grinder with a flap disc will help to flatten them done a lot faster and easier.
4. With the sidewall cleaned up and flattened out, glue needs to be applied to the tear.
5. Again, following the instructions, you NEED to just make dots on the patch and not slather on the glue. Also, not shown in this pic is that the corners should be cut and rounded off. This is a step that wasn't followed and I think in part, caused it to fail on the first attempt.
6. Make sure to let it set fully, check for leaks AND ADD more glue as needed. If all is good, Inflate your tire to maximum pressure to prevent any sidewall flexing as that can cause the patch to come undone.
Because instructions weren't followed carefully the first time around AND the tire wasn't inflated to max pressure, the patch had to be redone later on in the day. However, after it was done correctly the second time around, it held up all the way through the end of the trail.
With all that said, I would highly recommend that you buy GLUETREAD for your Jeep and you get get it here:

")